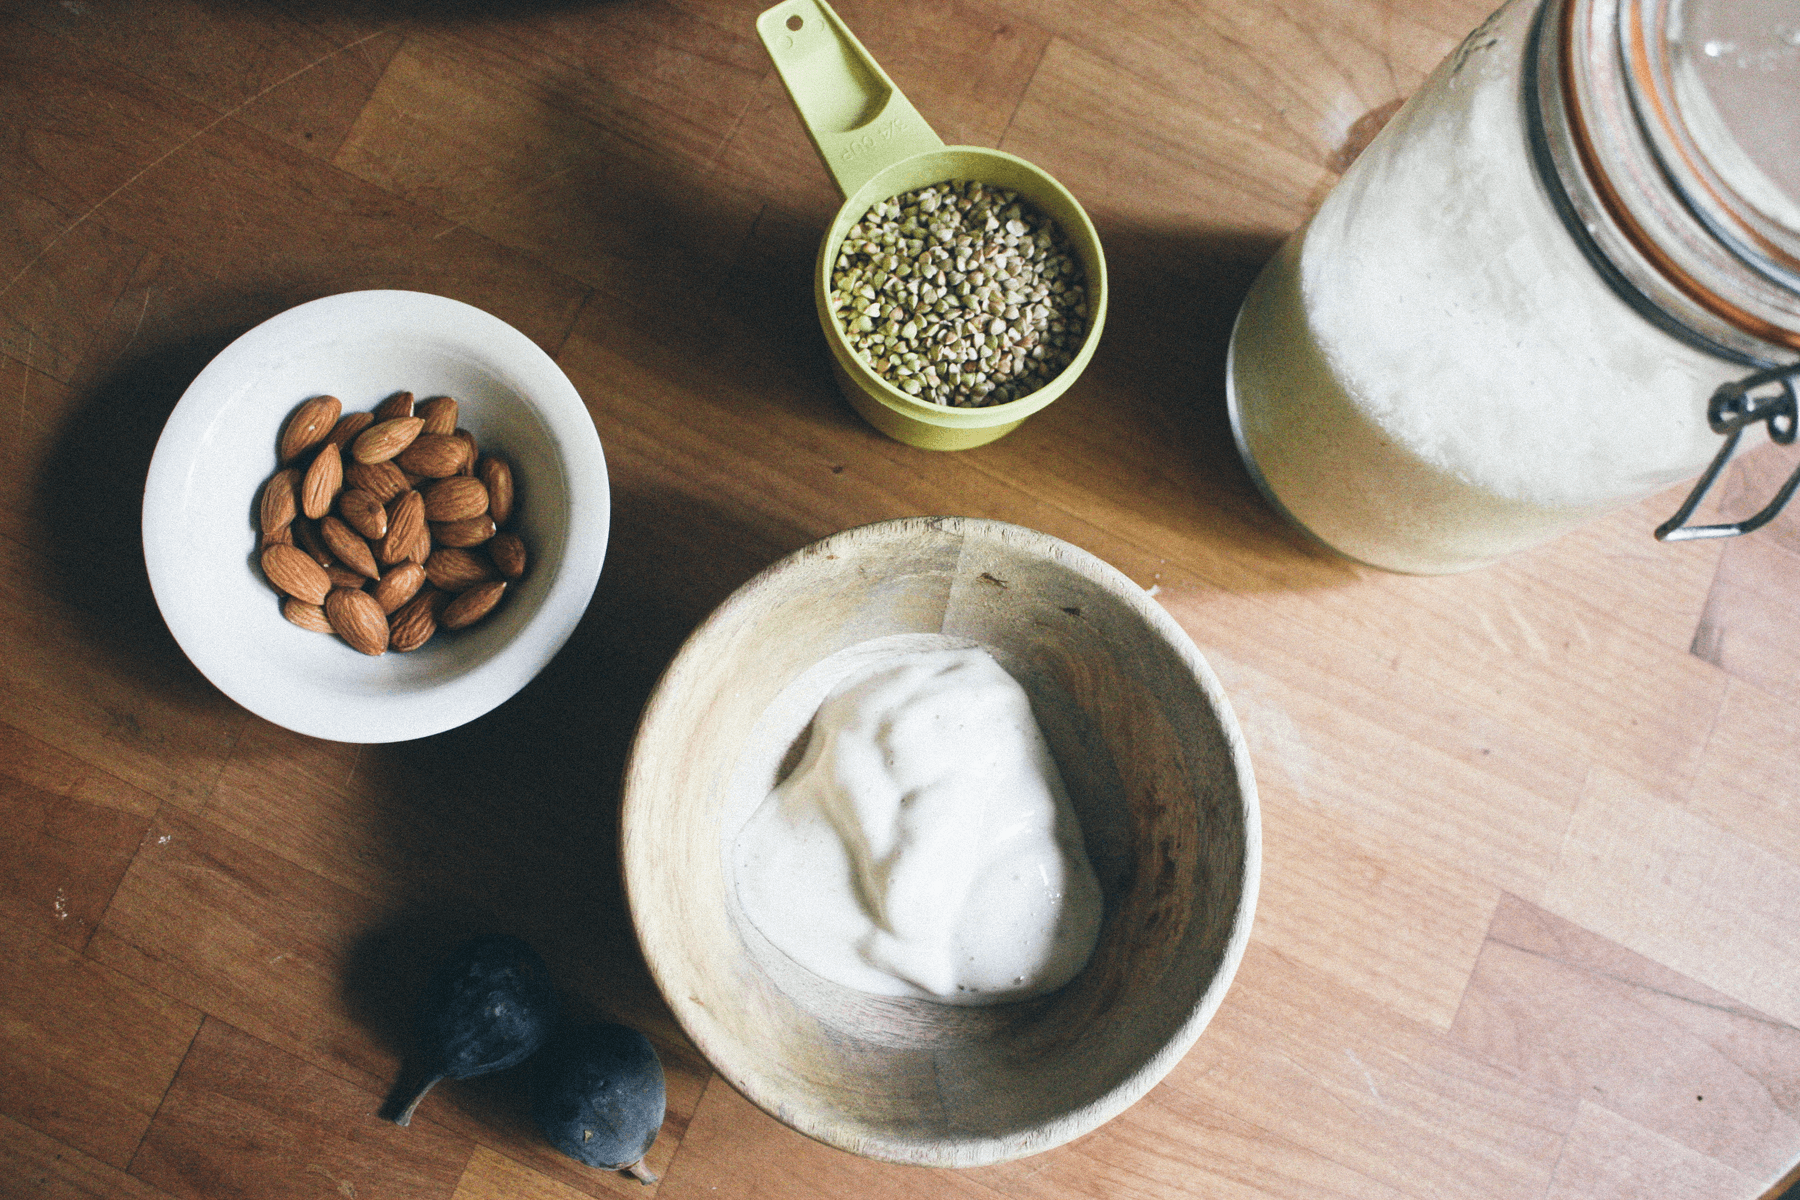
Amaranth has taken the number one spot on my list of favorite breakfast porridge grains/seeds this season, but then I discovered that it comes in this popped/puffed version which is perfect for breakfast on those days when you just want something on the go. The popping part can get a little tricky but see below for a few tips. This is my new favorite portable food and a way healthier and tastier alternative to commercial granola bars that are loaded with sugar and other additives.


Ingredients:
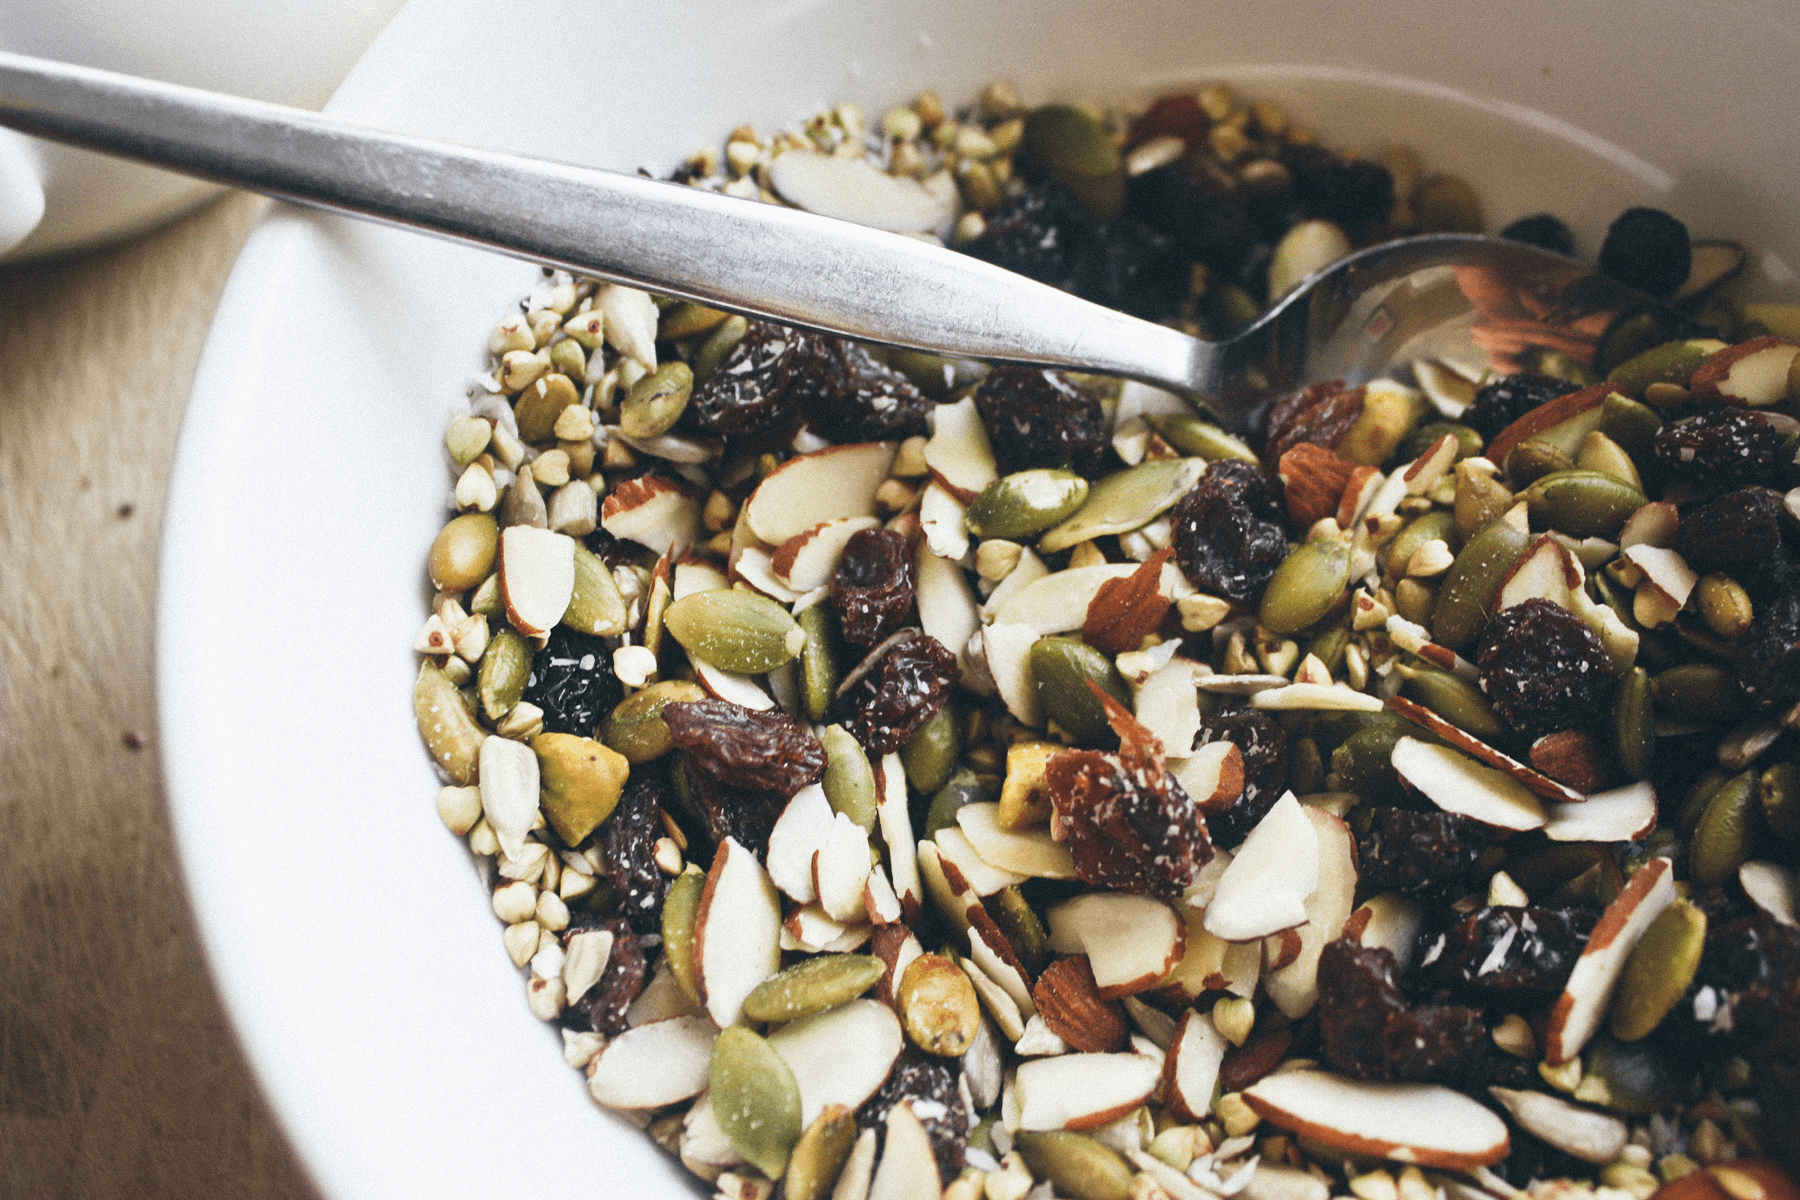
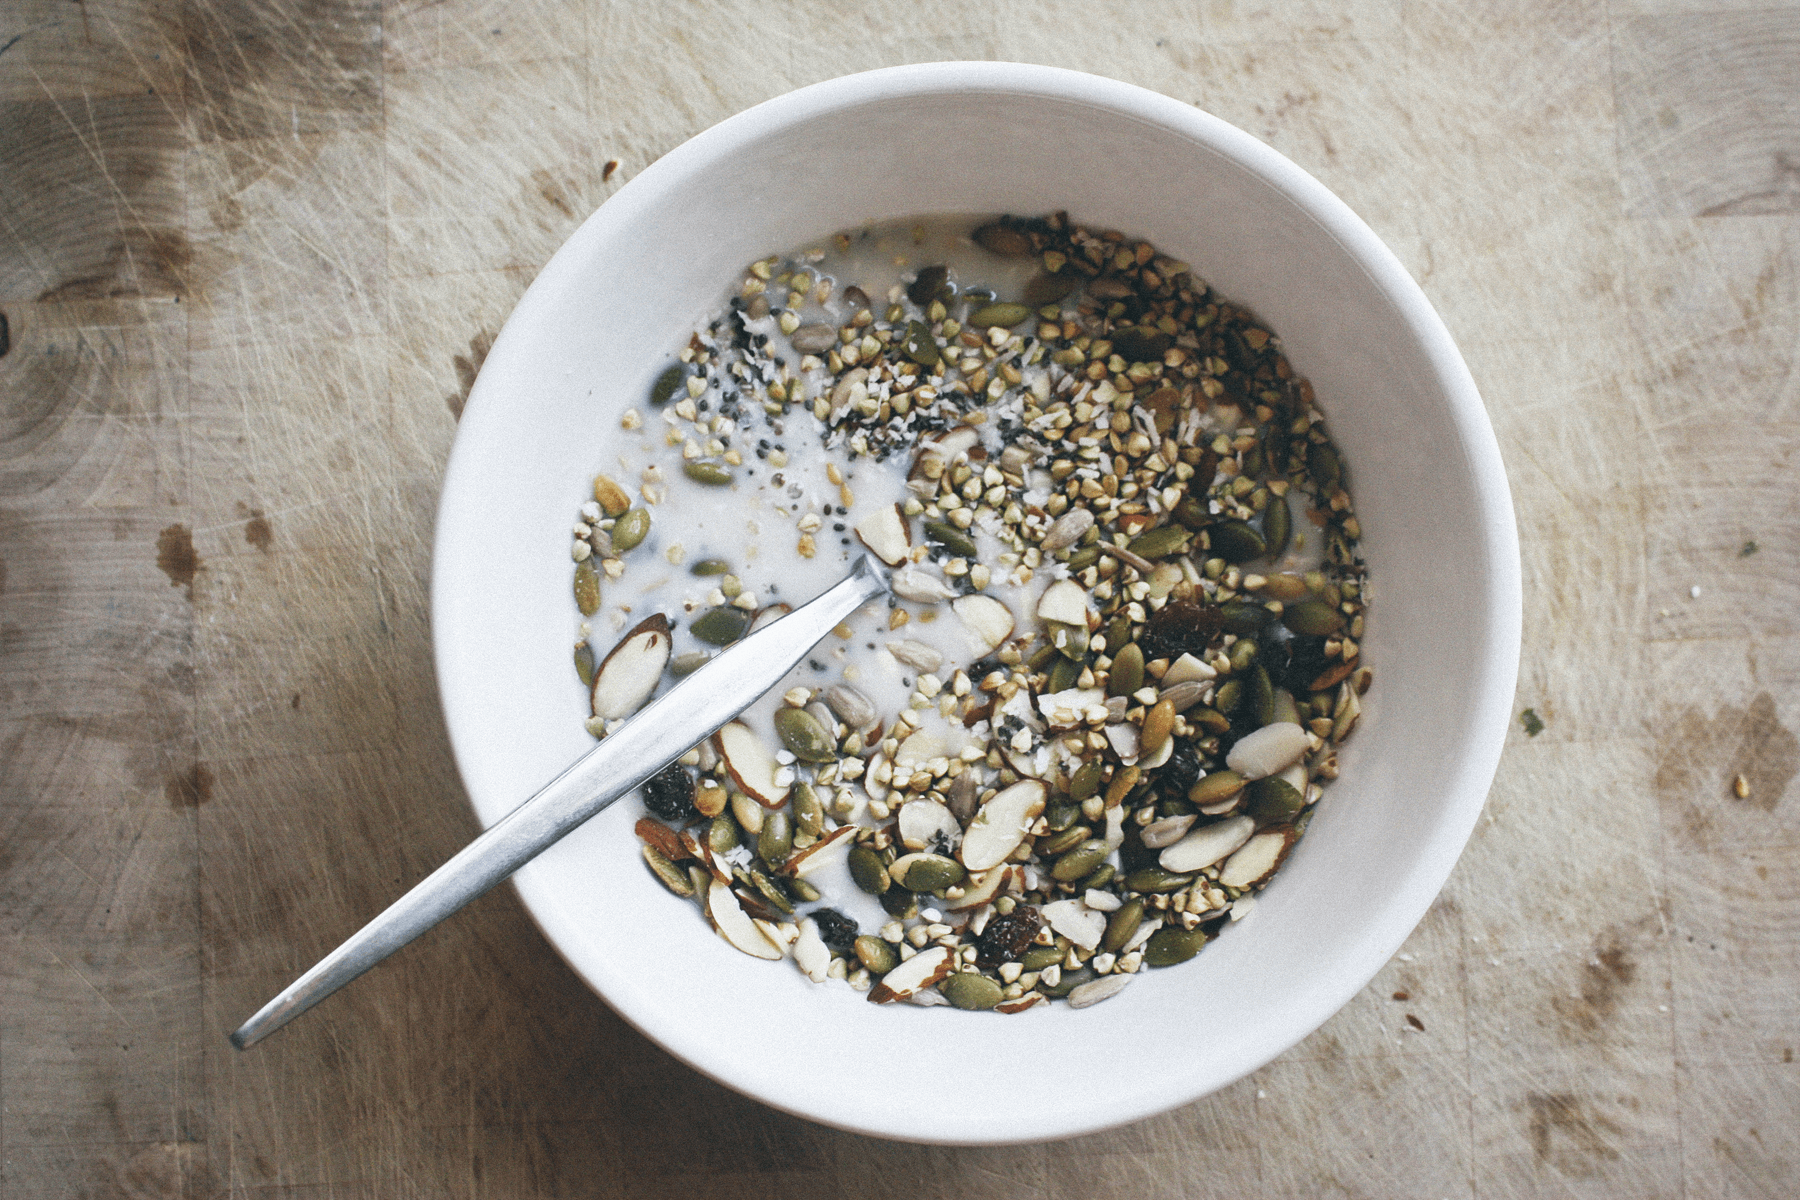
1 C Puffed Amaranth
1/4 C Quick Cooking Rolled Oats
1 C Dried prunes & apricots, or whatever dried fruit you have on hand
1/2 C Date Paste (dates + water)
1 Tbsp Flax Seeds
1/2 C Shredded Coconut
Handful of chopped nuts
1/4 C Almond Butter
1/4 C Honey
1/2 tsp Salt
Method:
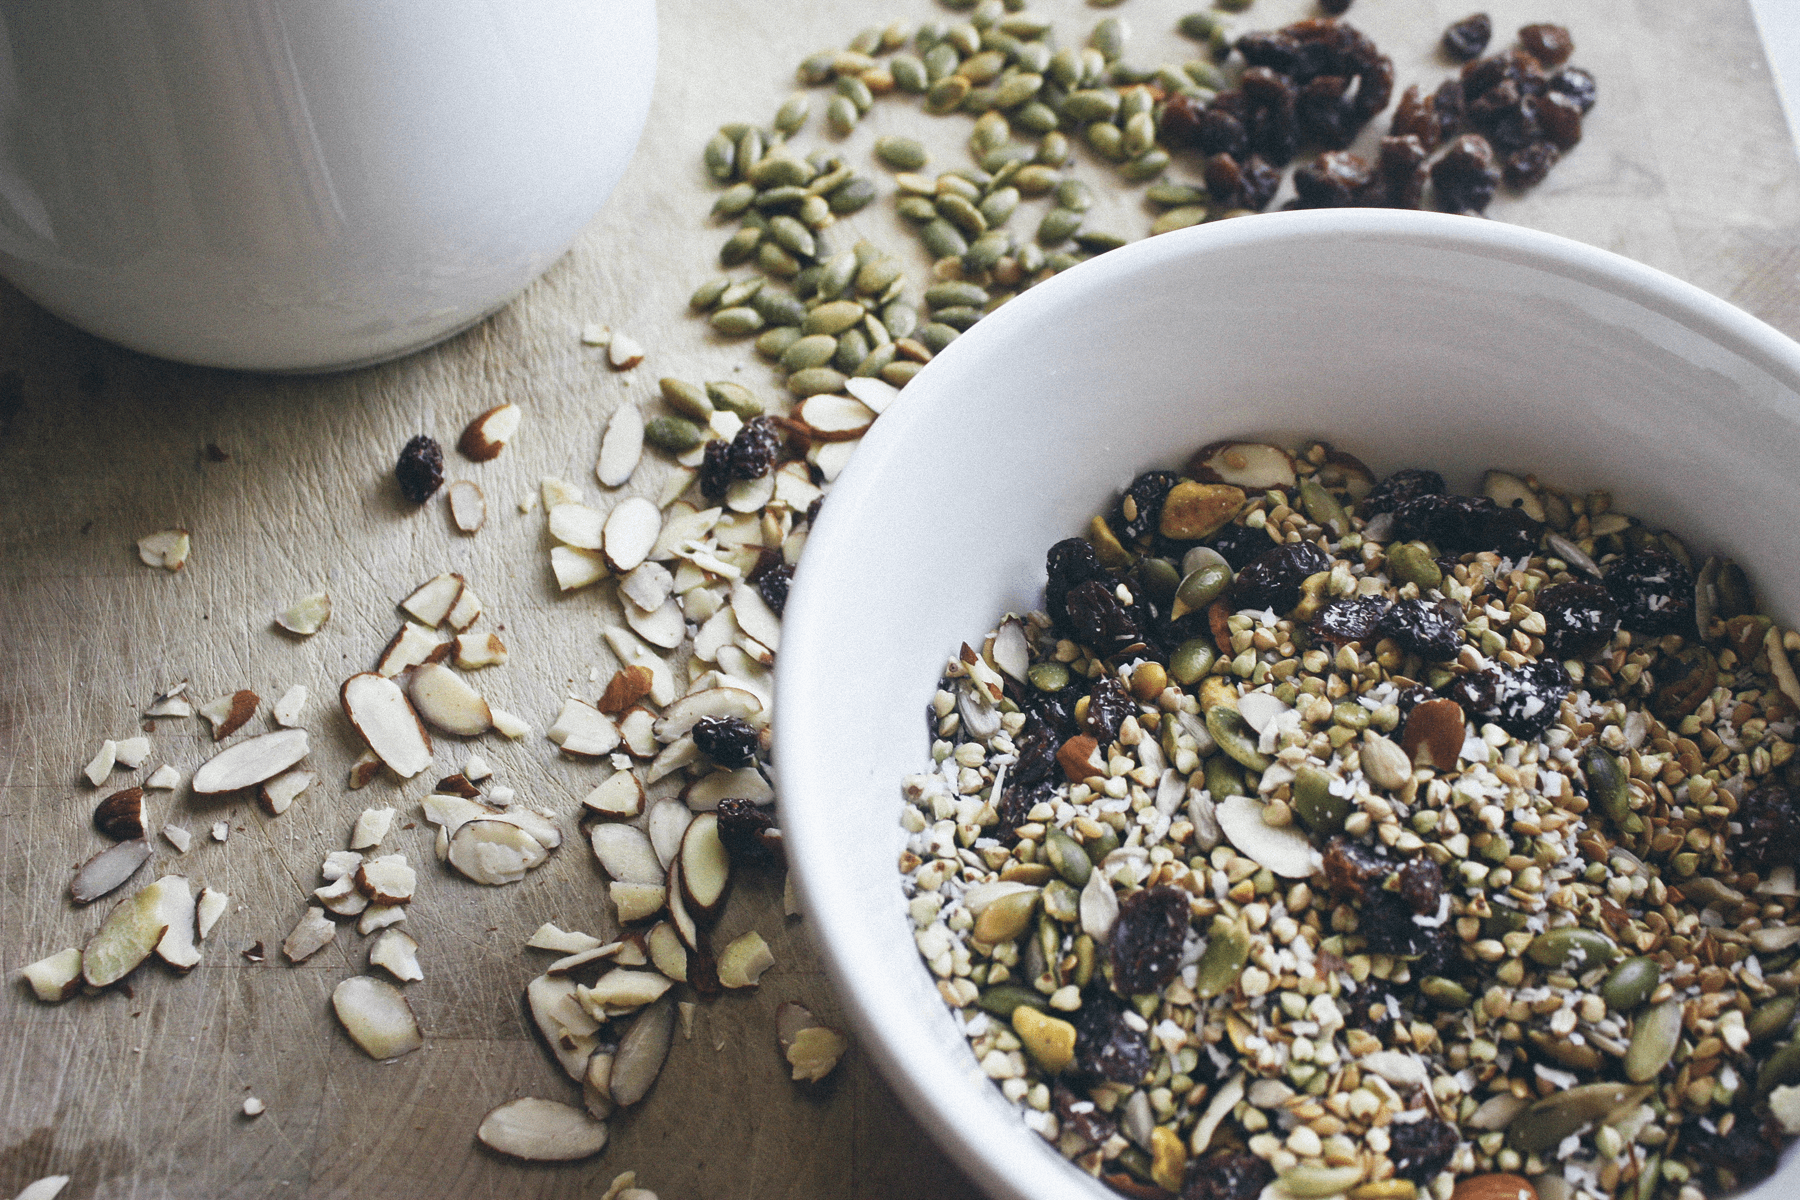
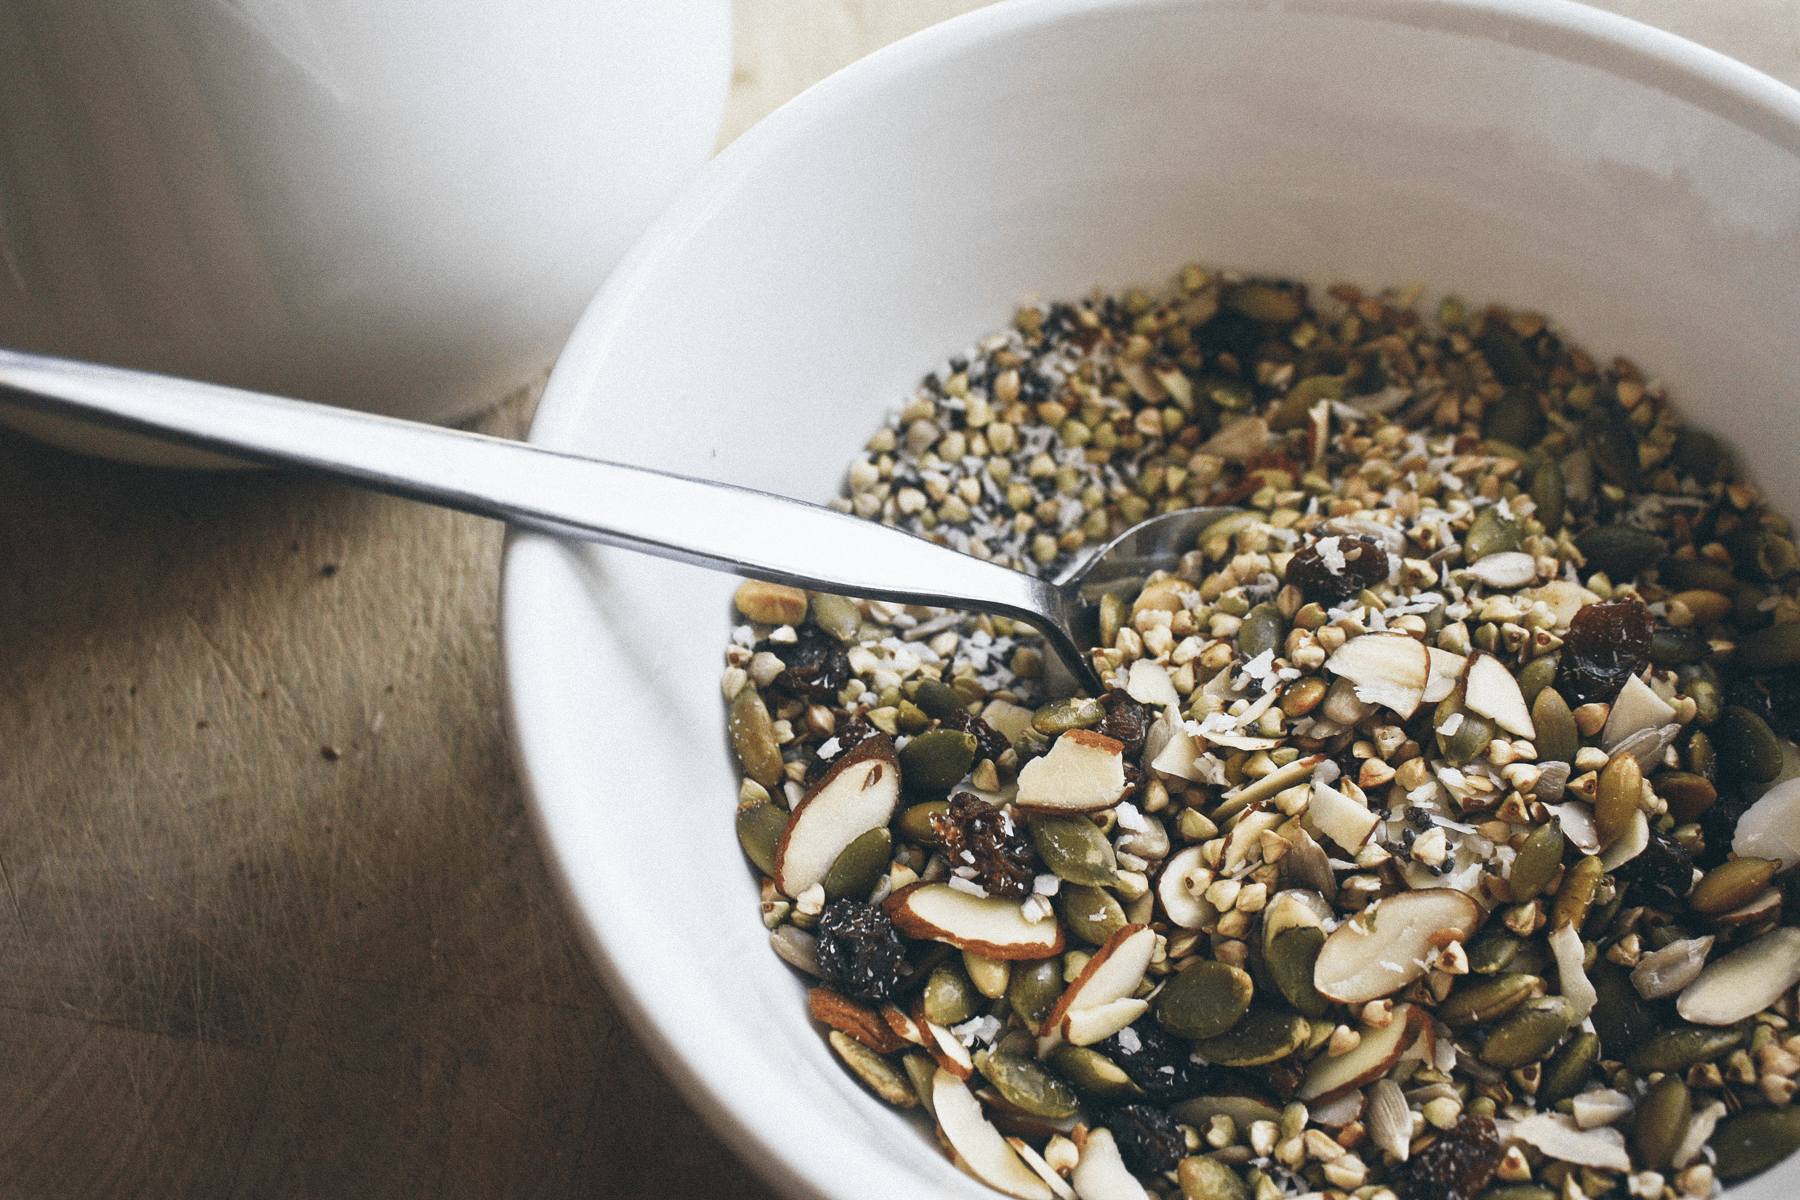
1. Combine puffed amaranth with oats, salt. coconut, cinnamon, flax seeds, nuts and dried fruit in a bowl.
2. Prepare Date paste with just 5 pitted dates and 3 tbsp water in a blender. Add the paste, almond butter and honey to your dry ingredients and still until ingredients bound well together.
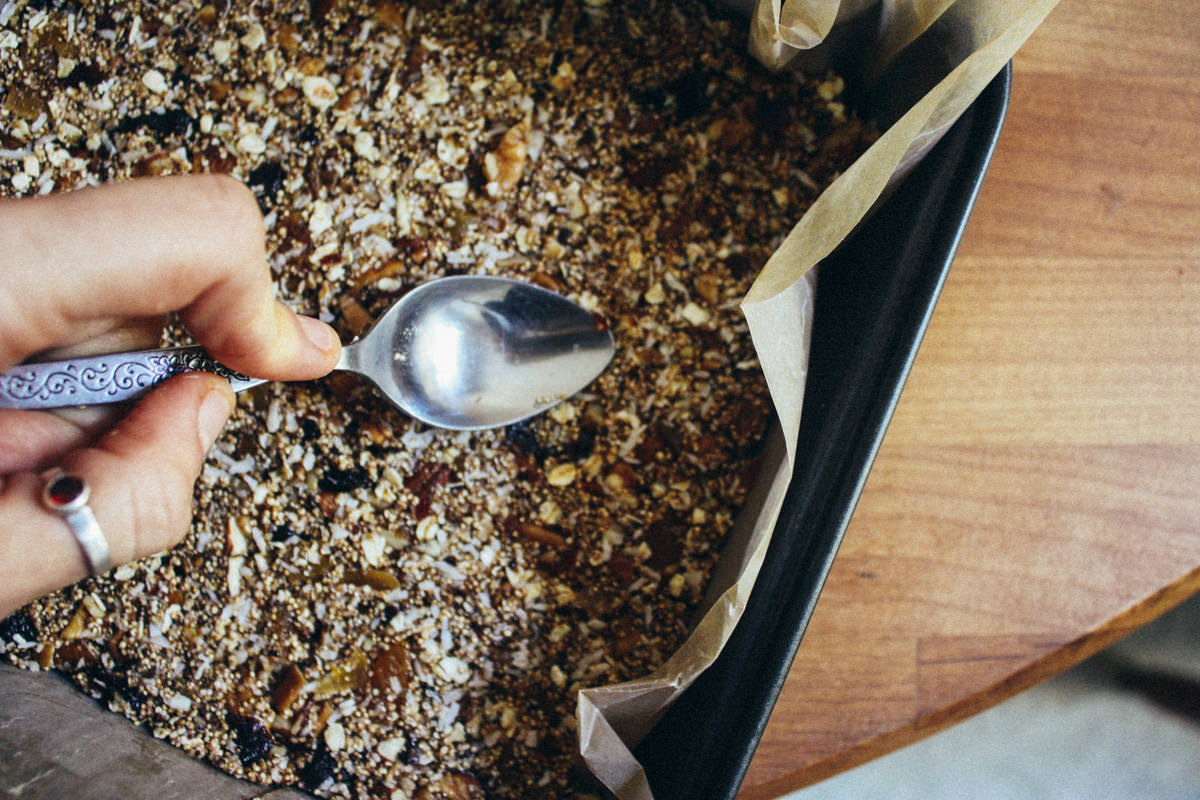
3. Press mixture firmly into a parchment paper lined glass baking dish, using your hands or the back of a spoon.
4. Let rest for 30 in the fridge for a chewy bar or stick in the dehydrator for a crispy bar. Then let the picnic outings and energy packed noms commence.
Tips for popped amaranth:
- Make sure your pan is hot enough. If the amaranth doesn’t start popping almost immediately, the pan needs to heat longer.
- Allow for a few test batches. Much like popping popcorn for the first time, it will take a few times to get into your groove. I usually start with 1 tablespoon at a time.
- Accept the fact that not all of the amaranth will pop. If you wait for the last few grains to pop, inevitably some of your amaranth will be burned. The little unpopped grains are fine and can be eaten as well, so just throw them in the mixing bowl along with the popped ones.