recipes

Pickled Okra with Chive Flower Infused Vinegar

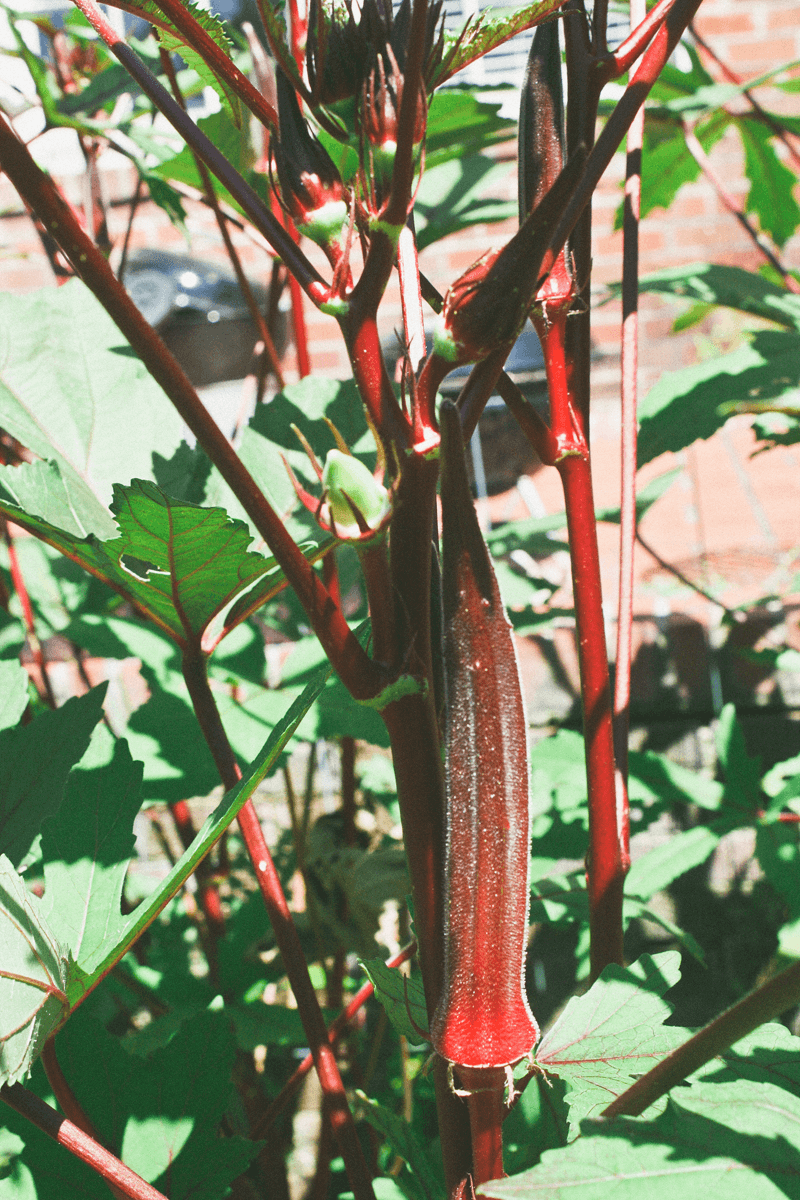
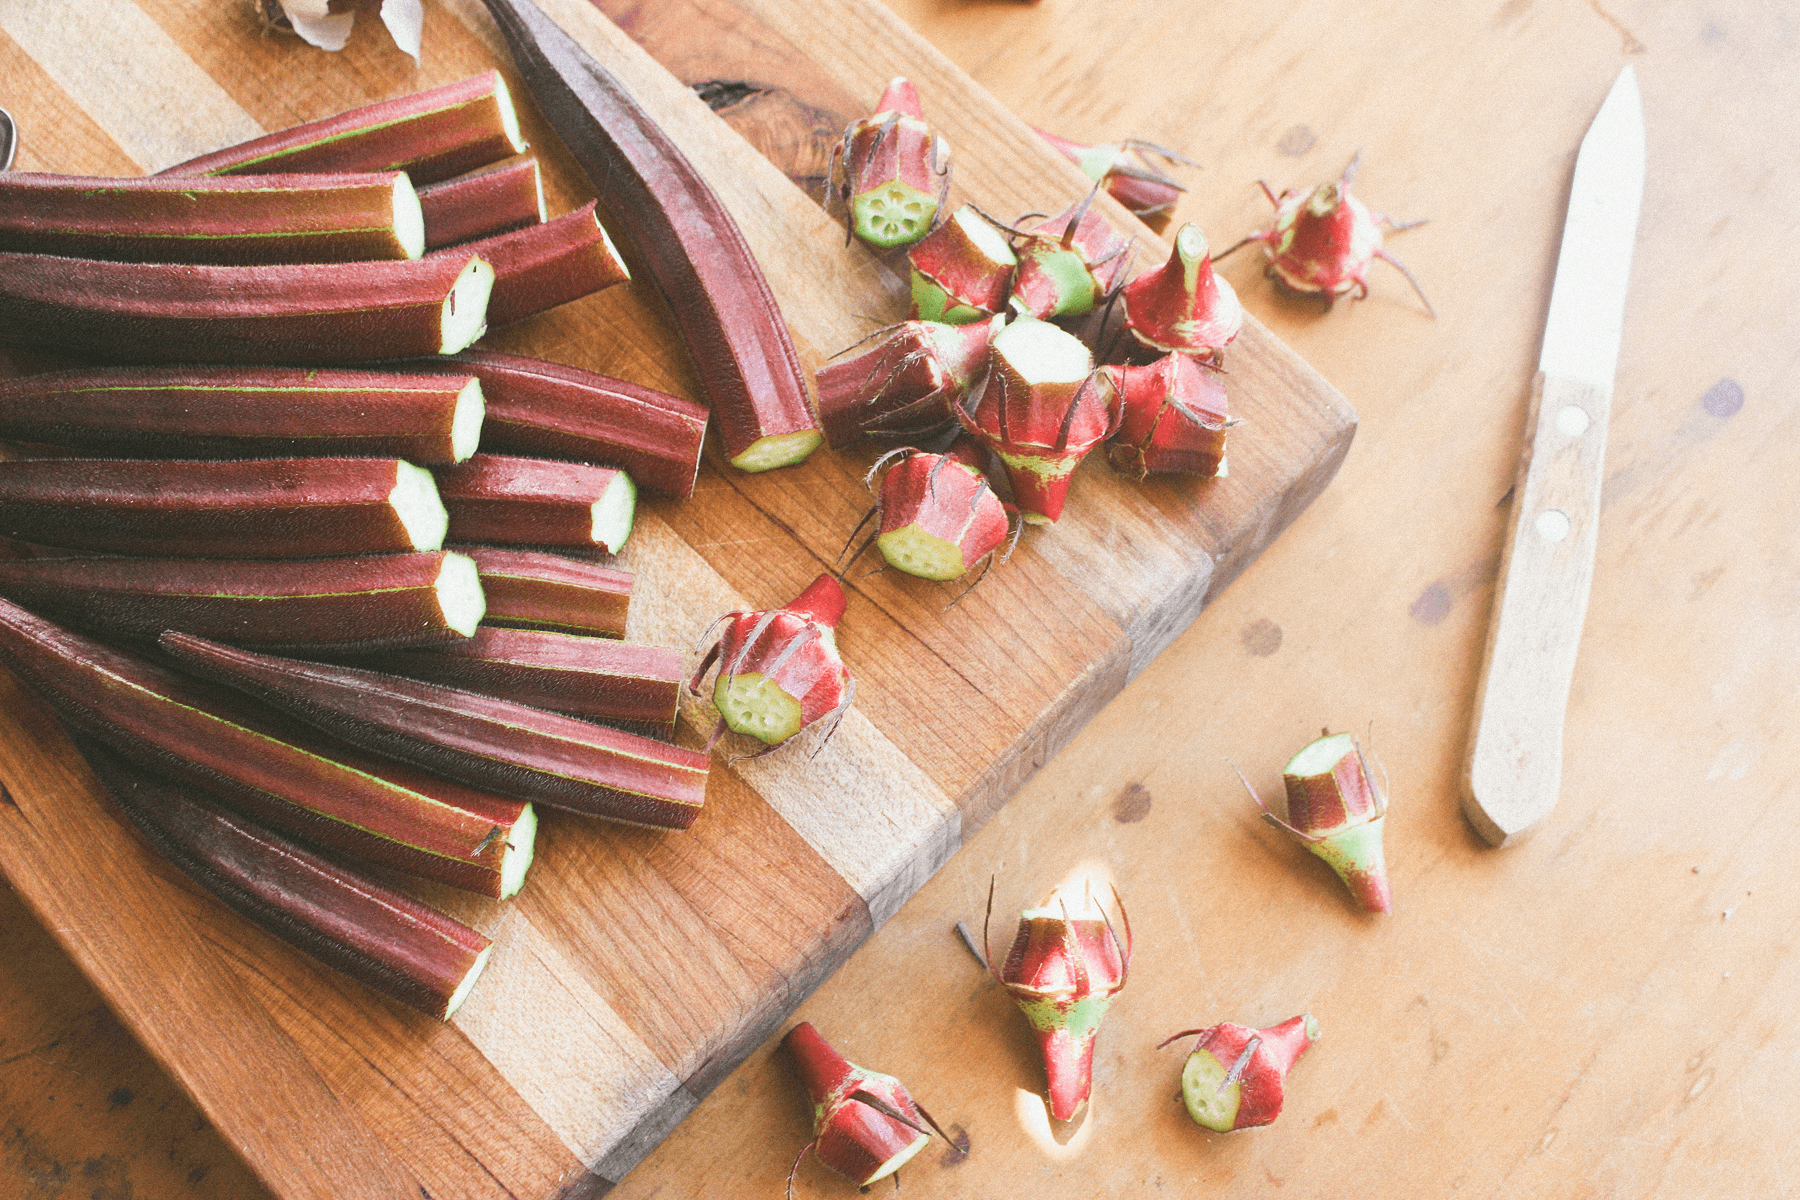
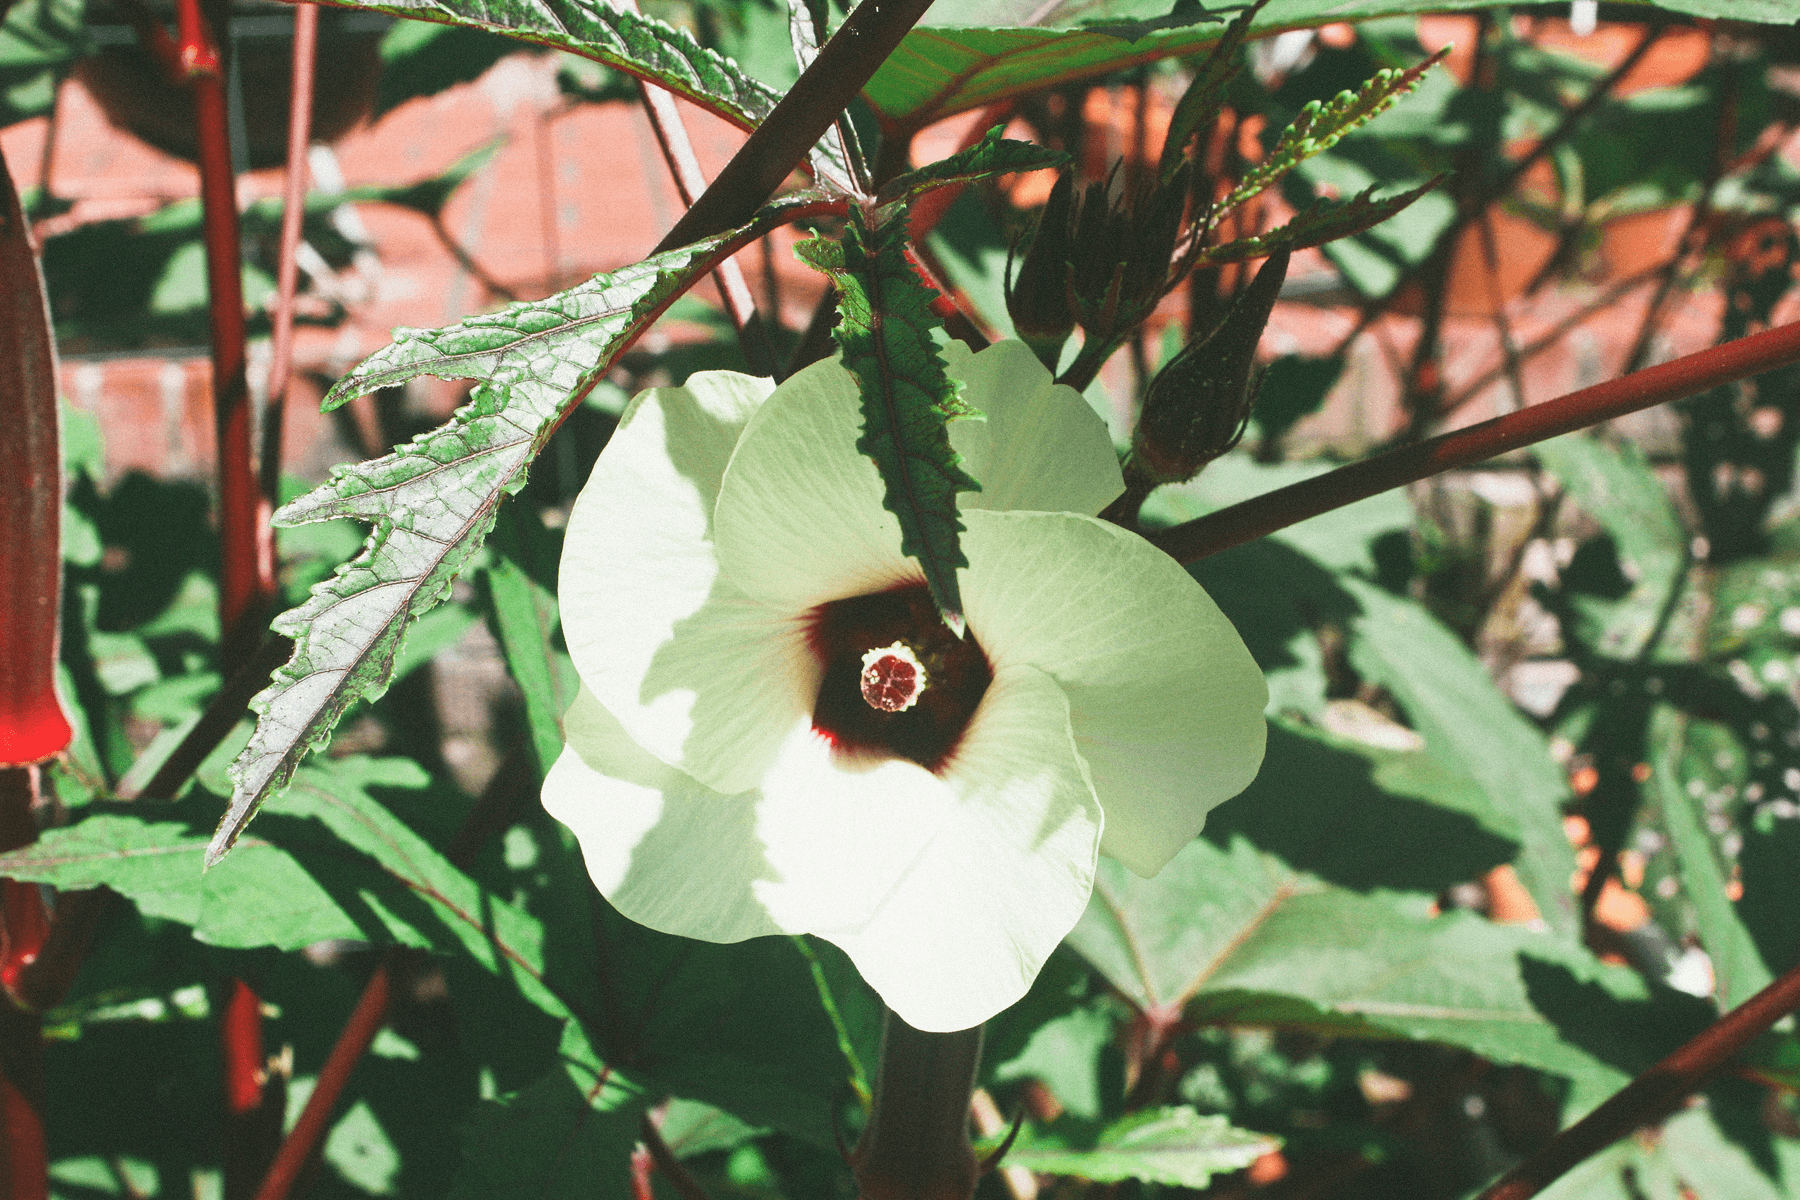
If you know us, we love all things pickled and infused. Currently the mansion garden is exploding with red crimson okra plants so we have our own steady supply. I've never been able to find decent looking okra in the grocery store, but let me tell you that this is the most beautiful plant I've ever grown in the edible garden. And it grows so amazingly well here in North FL summers. Some people aren't fans of okra because of the slime issue. If you are one of these people you've got to try pickled okra at least once. I'm telling you.. it's crunchy and it makes the one of the best pickles ever. The chive flower infused vinegar was just something I pulled off my panty shelf that I thought would pair well. We highly suggest getting experimental with flavoring your vinegars. Creating new flavor combos with vinegar will take any recipe to the next level. 
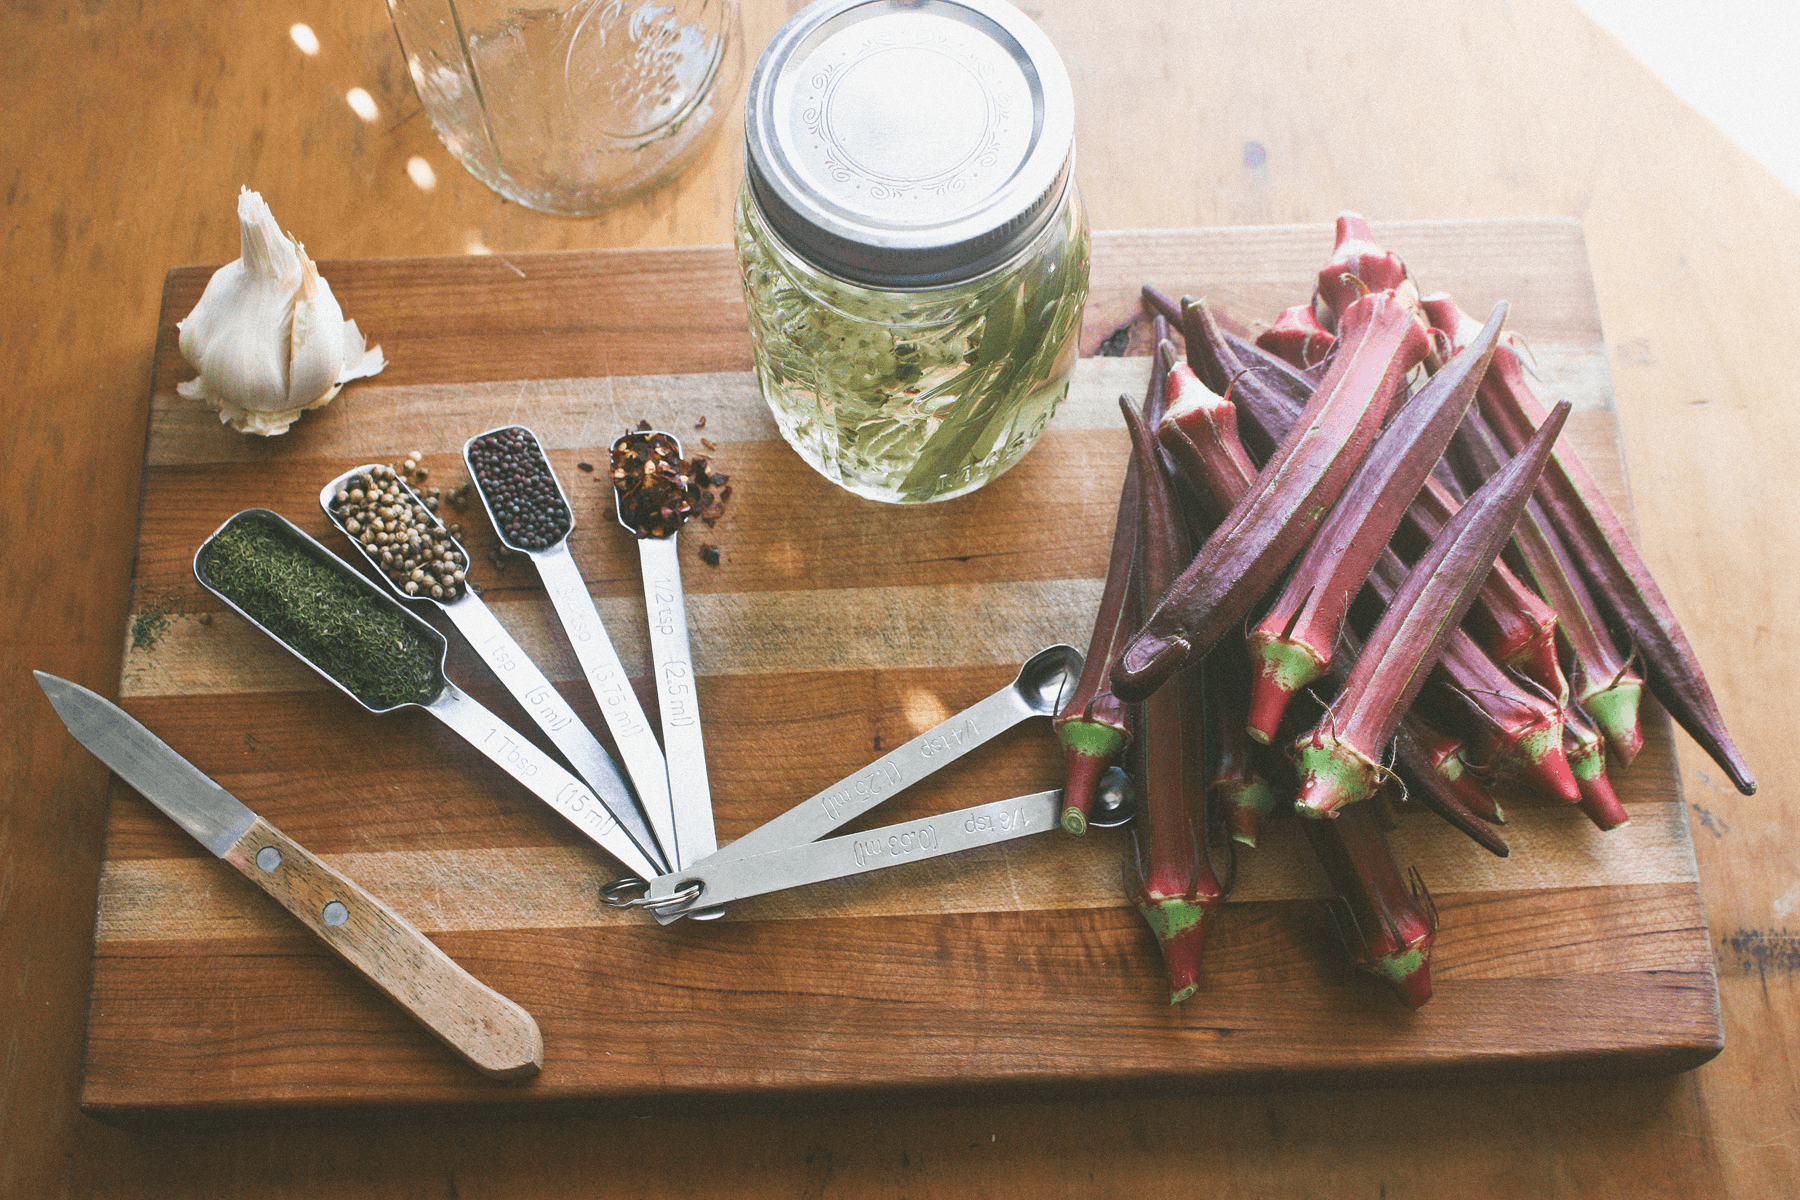

Ingredients:

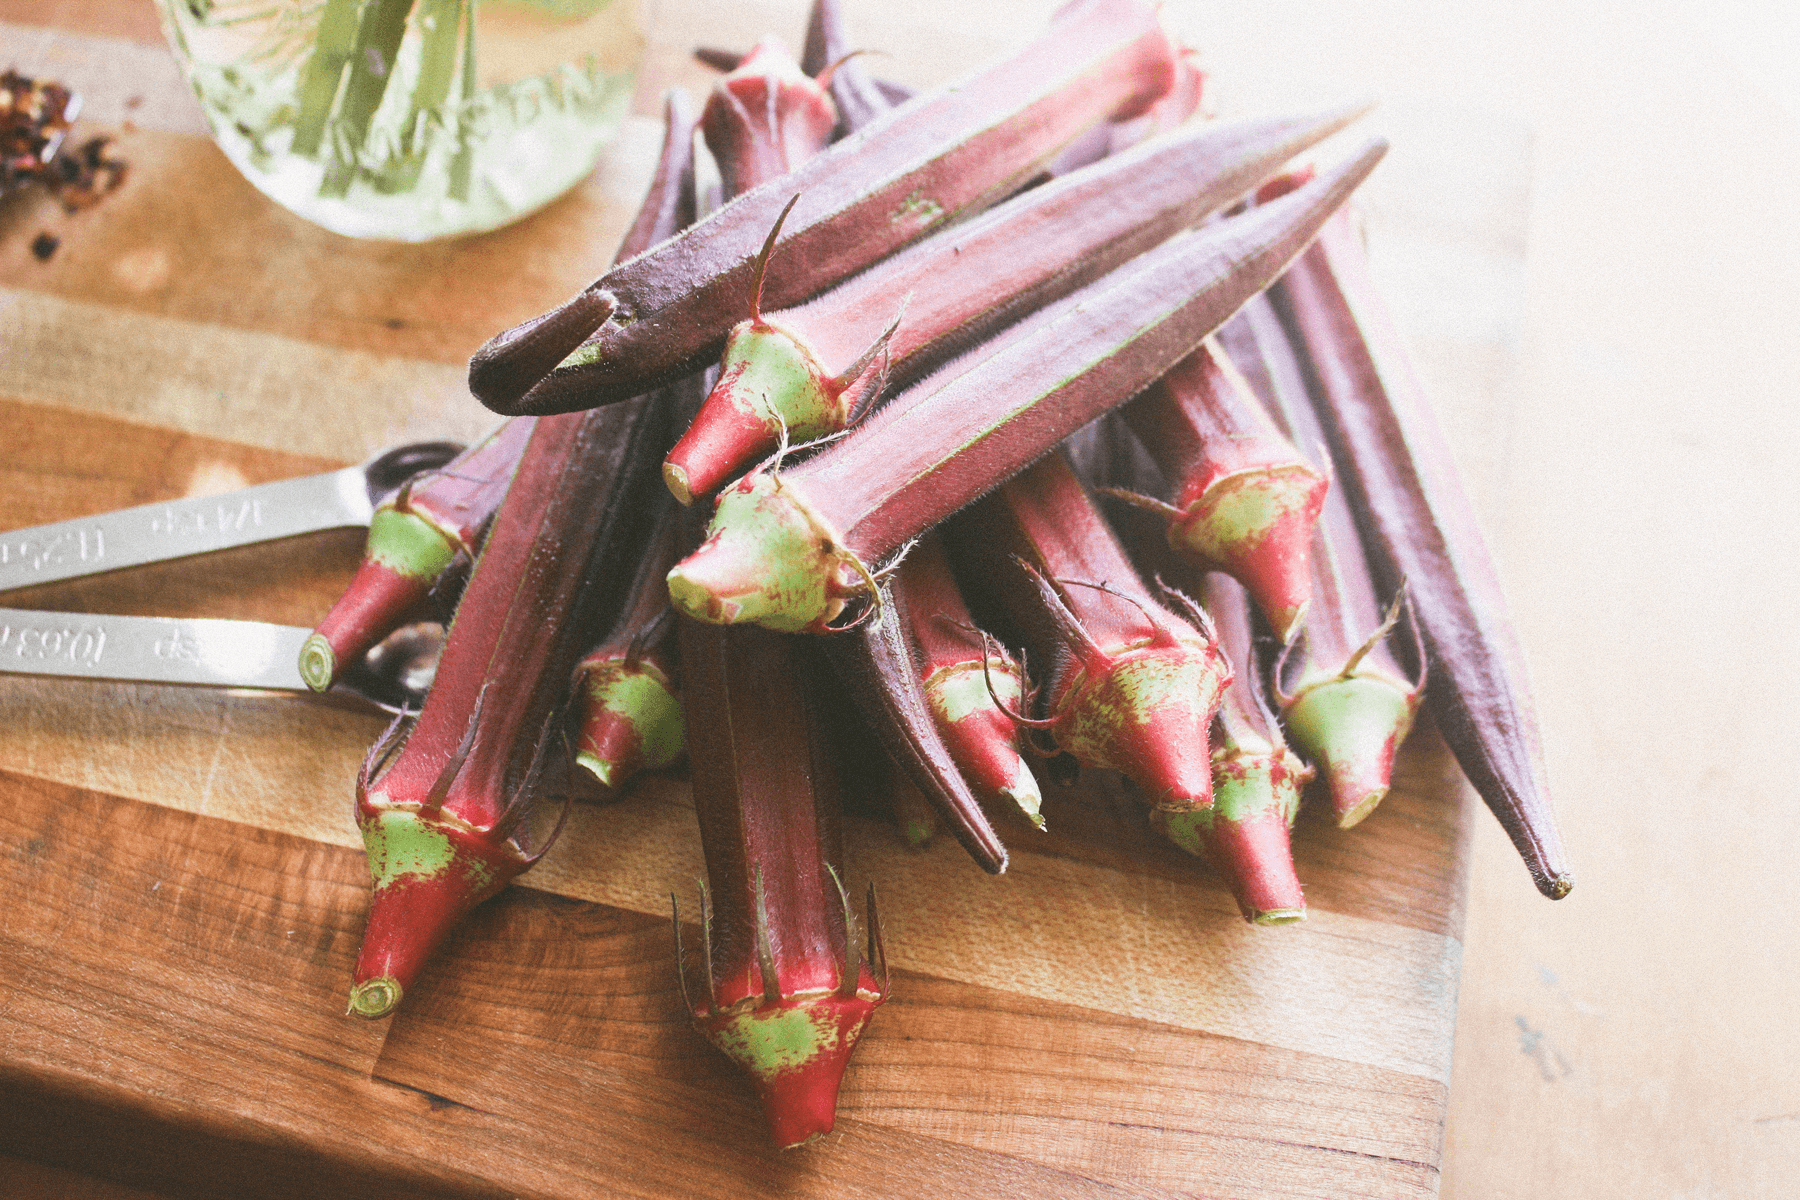
1 pound fresh okra pods, 3-1/2 to 4 inches long
3/4 teaspoons black mustard seed
1 tablespoon dill weed
6 garlic cloves, peeled
1/2 - 1 teaspoon hot red pepper flakes
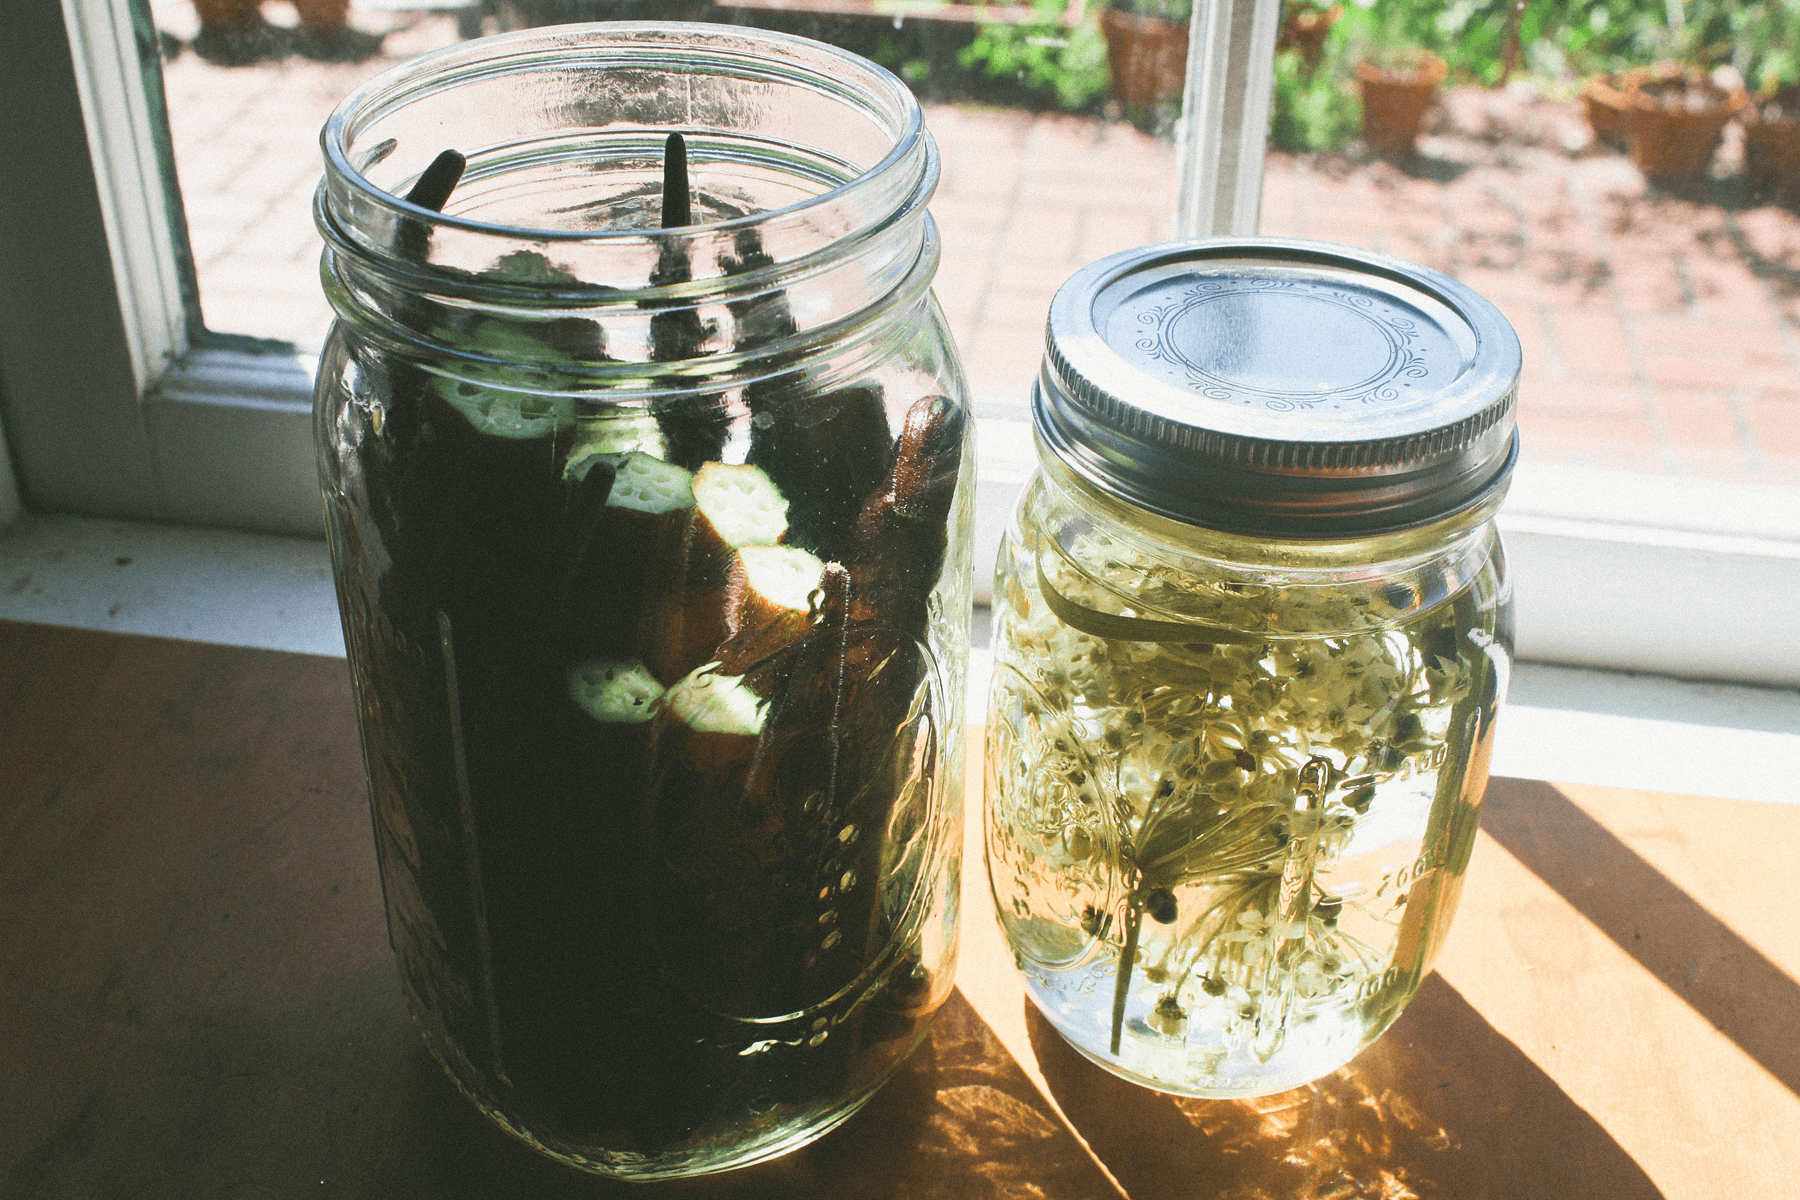
1 cup garlic chive infused vinegar (reg vinegar/ACV will do fine)
2 cups filtered water
3 teaspoons sea salt

Method:

1. Optional*** Remove the stem tops of the okra, cutting them off with a sharp knife. We did this to try to fit as much in the jar as we could. 

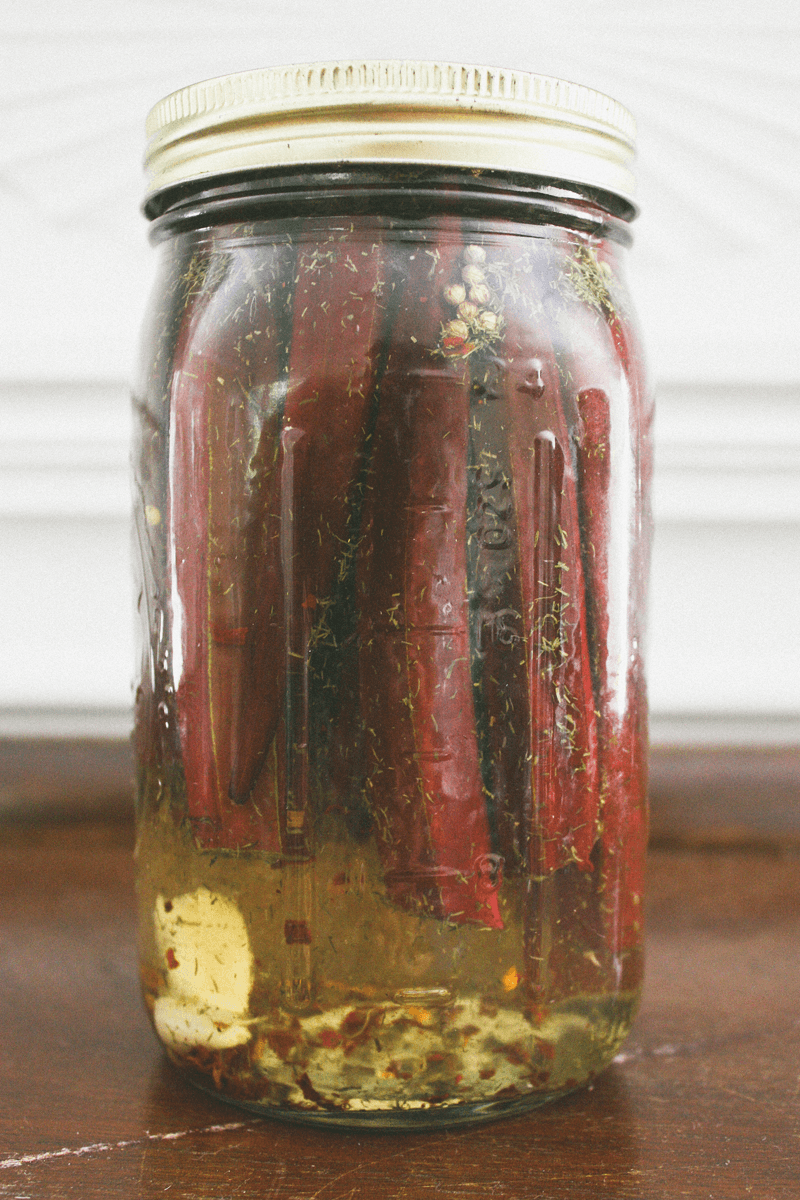
2. Pack the jars with okra and your hot pepper flakes, mustard seed, garlic, sea salt and dill weed. 

3. Chop the garlic cloves in half lengthwise, crush them a bit, and add 3 of these halves to each pint jar.

4. Pour vinegar on top of mixture and then fill the rest of the jar with filtered water.

5. Screw the lids on tightly and place them in a cool place away from drafts and direct sunlight for 2 to 3 weeks or until they are ready. Burp the jars often. 

6. Once your okra pickles are done, store them in a cellar or some other cool, dark place until you are ready to eat them. Store opened jars in the refrigerator.

If you are canning for shelf storage you’ll want to take the extra precautions of sterilizing the jars up front, and sterilizing the lids. But you can skip that if you just want to store them in the fridge and eat them up quickly.

Naner Creamy Breakfast Bowl

Naner aka Banana Creamies have become a staple of bloom diets. You know those bananas sitting on your counter, the ones with all those brown spots that you think are passed their prime. Well those bananas make the best dairy-free, vegan, gluten-free, fat-free, frozen ice cream treat. No cream, or sugar added. Just pop em in the freezer, mix and match your favorite ingredients. Eating a bowl of ice-cream for breakfast has never felt this healthy. Naner Creamies definitely deserve a more elaborate post but we'll save it for our definitive guide coming in the future. 


Ingredients:

For the Creamies:
Frozen Naners
Nut Mlik (optional)

For the bowl:
Buckwheat (see muesli recipe for soaking/sprouting and health benefits)
Nuts & Fruit

Method:

1. Peel bananas and slice into 2 inch discs. Freeze overnight for firm, frozen naners.

2. Place the banana slices in a food processor or powerful blender. Puree banana slices, scraping down the bowl as needed. If you have a hard time creating a creamy consistency, you can add 1-2 tablespoons of milk to help puree the banana slices. Puree until the mixture is creamy and smooth. Serve immediately for soft-serve ice cream consistency. If you prefer harder ice cream, place in the freezer for a few hours and then serve with fruit, nuts, grains, nut butter, or our delish muesli cereal.

Carrot Cake for the GF-Vegan Sweethearts

Carrot cake might be an all time fave amongst us bloomers, and we are especially fond of it when it is made without loads of sugar, oil, and things that are not, by our standards, wholesome ingredients. However, this recipe is. This recipe was taken out of an old journal filled with college notes passed back in fourth in class amongst friends. Yes, college going on high school. An old friend wrote this recipe out for me when I first started kicking wheat out of my diet, in I think it was a statistics class. Has remained the tried and true in my heart inspired by the deathly boredom of frequency tables and math equations. This cake is sweetened with maple syrup, vegan, flour-less, made with coconut oil and yeah, packed with nutrition from garden carrots, ginger, omega-3s and everything in between. I would even say this cake is healthy enough to eat for breakfast (which we did and totally recommend).


Ingredients:

For the cake: 
3/4 cups brown rice flour
1 cup garbanzo bean flour
3/4 tsp baking soda
1/4 tsp salt
lotsa cinnamon
1/8 tsp cardamon *this is optional, not traditional but definitely delish!
1/2 cup coconut oil
1 cup of warm water
1/2 tbsp vanilla extract
1/2 cup maple syrup
3/4 cups grated carrots
2 tbsp grated ginger
1 1/4 cups shredded unsweetened coconut
1 cup of chopped pecans

For the icing:
2 cups raw and soaked cashews
1 cup water
1/2 cup lemon zest
1/2 cup coconut oil
Sweeten with maple syrup to taste


Method:

1.  Combine dry ingredients in a large mixing bowl.

2. In a second bowl mix together oil, water, vanilla, and sweetener.

3. Fold wet mixture into dry and mix until just combined.

4. Grate your carrots and ginger, and then add into the bowl. Add any other remaining dry ingredients to the mixing bowl.

5. Pour into your lightly oil cake pan and pop in the oven at 350 degrees for about 40 minutes or until toothpick comes clean.

6. While the cake is baking, whip together your frosting. Just pour all of your frosting ingredients together into a high-speed blender. Scoop out and place in the freezer until your cake is done baking.

7. Take the cake out and let it cool for about 25 to 30 minutes. Slather it with cashew goodness, and eat a large warm slice with a dear friend.