beets

Quick Raw Beet & Carrot Salad

I know what you are thinking.. beets again?!  Yes folks, beets always. Because they are good to our taste buds and good for our bodies. Still in season, beets and carrots have been in abundance this past month or so, ruling our root veggie pallet with hella flavor combinations.  

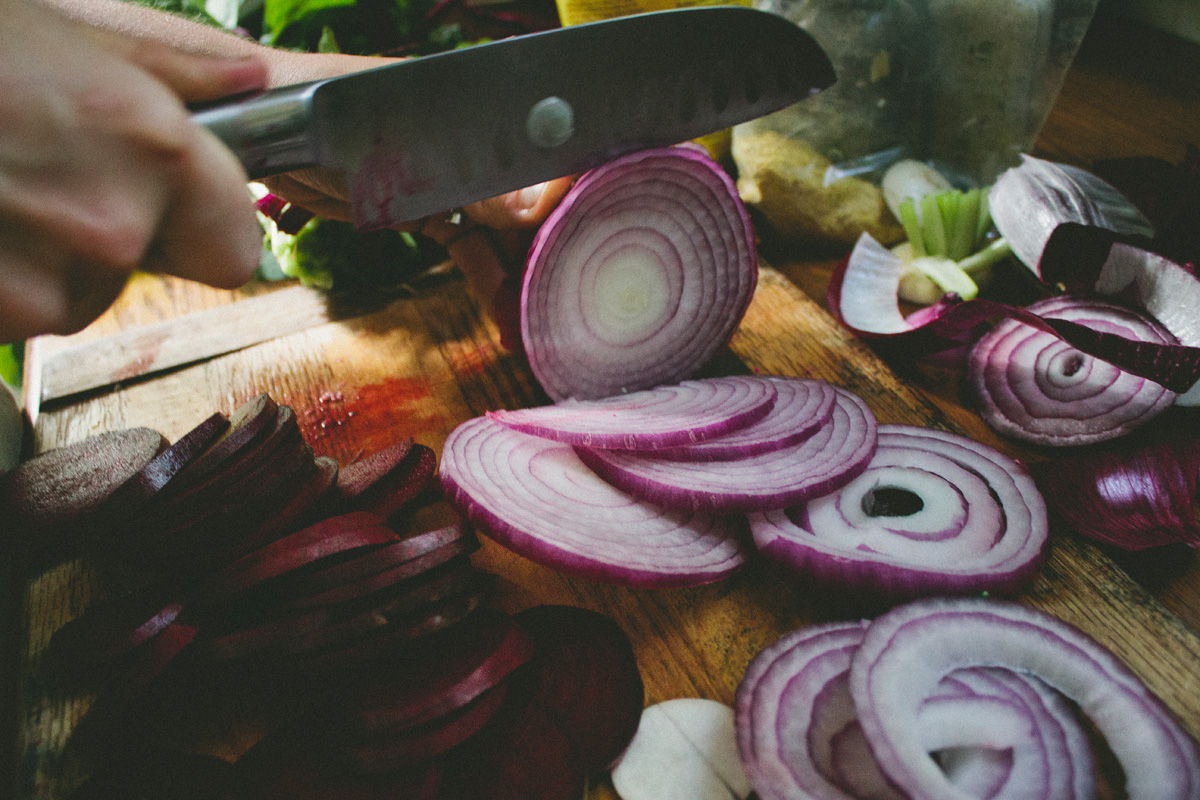
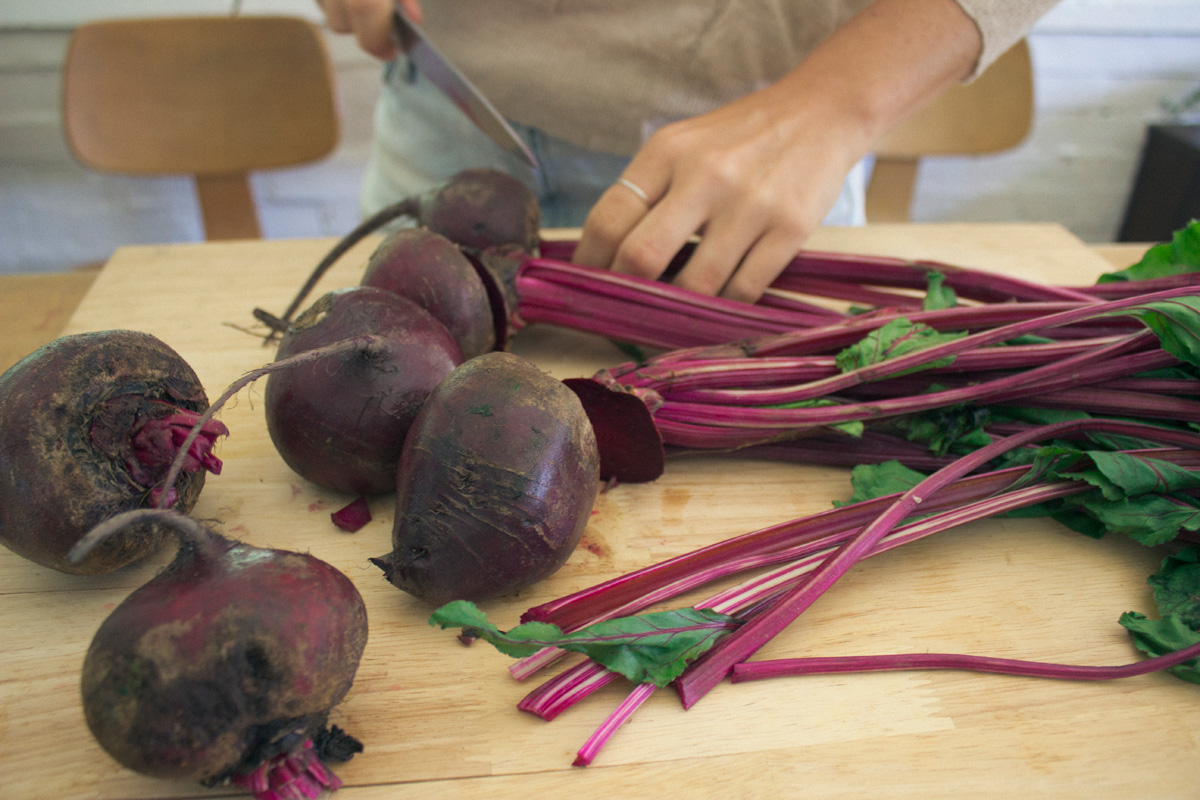
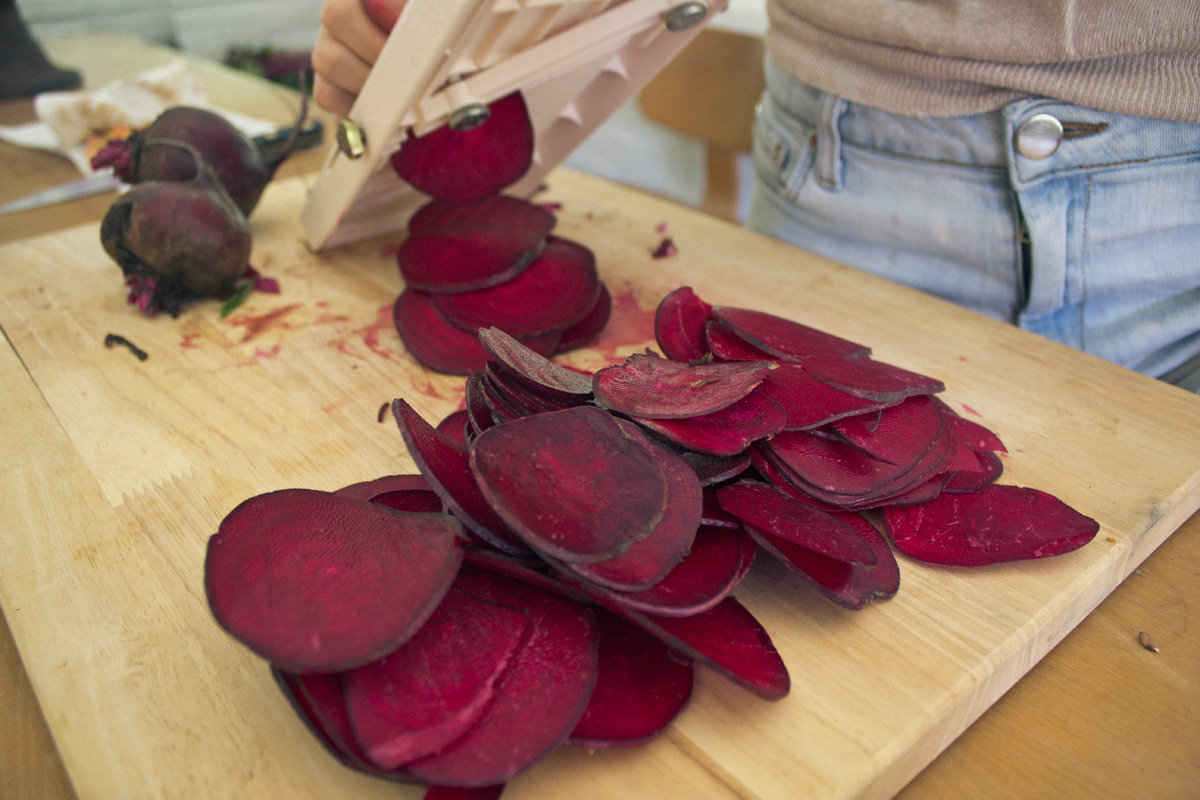
Sometimes raw beets don't get enough love. But stained hands aside, it's one of the healthiest ways to enjoy this delish vegetable. You see, beets are an incredible source of the phytonutrients, betalains. Betalains provide a wealth of anti-oxidants, specifically that promote eye health and nerve tissue health; aid in detoxification, and present anti-inflammatory benefits. This phytonutrient is also the pigment which gives beets those rich, stained hues. 

All to say - the v important betalains are not  heat stable. The longer you cook your beets, the less nutrients you'll receive. So! Bypass the whole problem and keep these babies raw. Fear not, because this simple and yum recipe makes that pretty easy to do.


Ingredients:

2 carrots, grated
1 medium beet, grated
3 tbsp chopped scallion
1 tbsp chopped fresh mint
juice from 1/4 lemon
juice from 1/4 orange
1 teaspoon sea salt
¾ teaspoon ground cumin
olive oil drizzle
1 tbsp hemp seed hearts

Method:

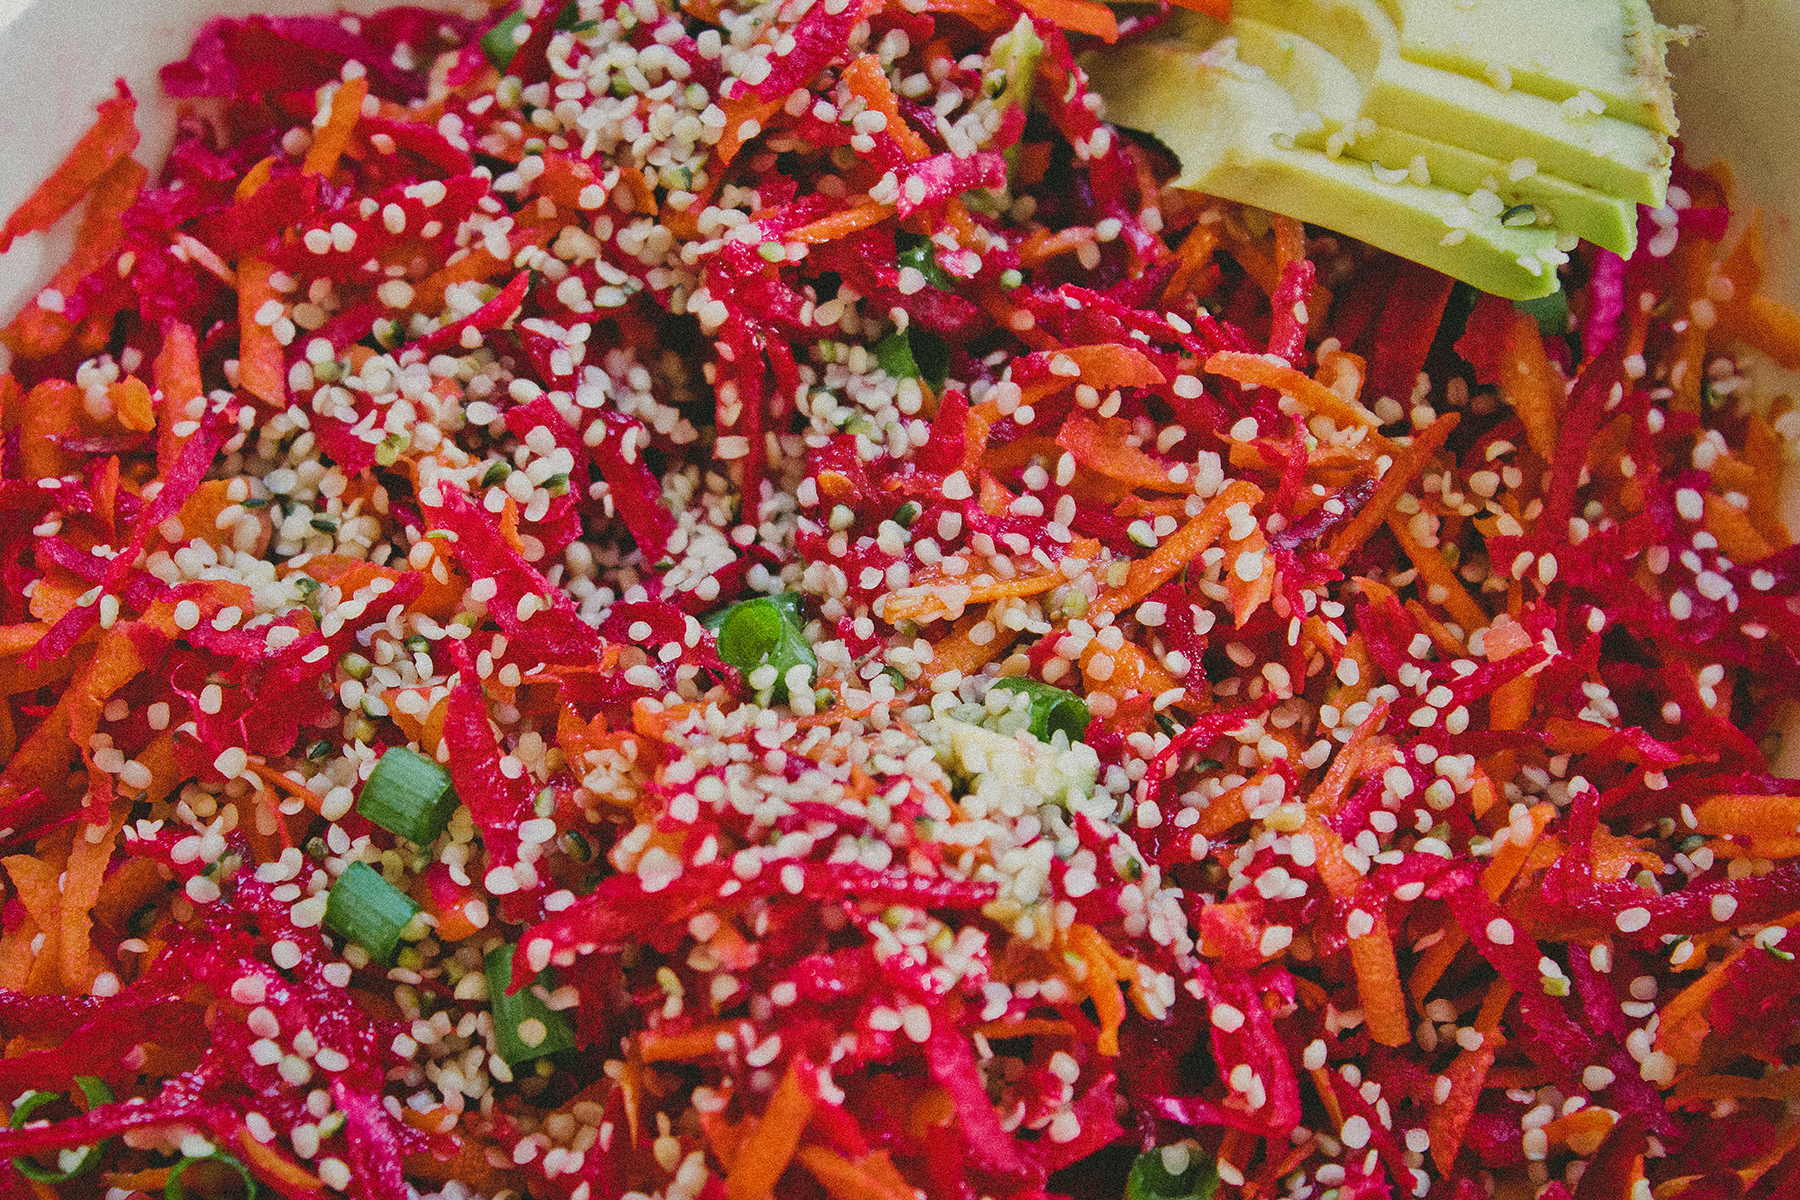
1. After carrots and beets are shredded in a food processor or grated by hand, transfer the veggies to a serving bowl.

2. Add chopped scallions and mint to the mix.

3. In a medium bowl or in a screw-top jar, combine lemon juice, orange juice, sea salt, cumin and olive oil.

4. Pour enough dressing on top of carrot and beet mixture to coat lightly and toss until combined.  Add more if desired.

5. Add hemp seeds and avocado on top of salad and taste for seasoning.

Dill We Beet Again..

Sometimes genius strikes when you least expect it - tired, without a plan, too lazy to drive to Publix... All we knew though was that a) time to try out that fancy expensive vegan nut cheese our Whole Foods recently started selling b) use those gigantic n gorgeous beets from E's super garden c) get as close to a sloppy joe as we possibly can.

Thus we found ourselves with the ever elusive "beet ball", loosely adapted from about 20 different random online recipes but with possibly the most flavorful results we've yet encountered.

This recipe is super easy, so delicious, and while is better considered a starting point for a more full dish (ie beet burgers), these lil fried balls we ended up with were clearly nom enough to post on Bloom.

With beets already in the equation, we had a serious 'aha' moment when we found that one of the only two cheese flavors (does it even need a flavor?) came in truffle, dill, and chive. ALSO pickles were buy one get one, clearly steering our palate towards Polish cuisine. 

Unfortunately we were kinda disappointed with the cheese... It's consistency was almost identical to tofu, it tasted good but not great, and doesn't really melt that well. So we basically just smashed it into the beets balls - which of course added great flavor, but just things to keep in mind if you plan on cooking with it in the future.

Fried these lil' suckers up in some coconut oil - ours were pretty moist so the final consistency wasn't that solid but still worked out. And last these make great fillers for a bread n butter pickle sandwich.

Final result is super healthy, easy, packed with flavor, and ingeniously versatile. Don't think we'll throw down all those dollas for the cheese again, but definitely was worth a try!

Enjoy!


Ingredients:

2 cooked and mashed medium sweet potato
2 packed grated medium sized beetroot
½ cup finely chopped red onion
1 clove garlic, finely chopped
¼ tsp chili powder
½ tsp cumin powder
1 tsp dried thyme
1/2 cup corn flour
salt to taste

Method:

1. Heat a teaspoon of coconut oil in a cast iron skillet and add in the chopped red onion and garlic. Saute until the red onions are translucent.

2. Add in the grated beetroot, sweet potato, cumin, salt, chili powder, thyme. Cover the pan and simmer on low heat until the beetroot and sweet potato have turned soft. Then crumble your cheese into the mixture.

3. Turn off the heat and allow the mixture to cool completely. Once cooled, add in the corn flour and keep the salt & pepper levels in check.

4. Make small lime sized balls or go big with a burger. You can cook them by baking for 30 minutes at 375 degrees or pan fry them up in a low heat.

Turnip the Beetza' with Fennel & Honey Cashew Cream

SPOILER ALERT: We won for our category!! Victory never tasted so savory. Congrats to the other winners, competitors, and big thanks to Ten-Speed Greens and our super profesh judges.

Ten-Speed Greens recently hosted their November pie contest, and with little to no mental effort we thought to attend as competitors. The categories were sweet and savory, and the opposition was fierce. Having recently proclaimed our love for Ten-Speed (plus the added incentive of getting to eat a lot of delicious pie without shame or the pain of a recent break-up) there was no way we were missin' this.

After serious deliberation (and looking at a lot of late-night pie pix), we finally decided on a savory pie recipe. Icing (cream?) on the pie, we were going to use part of our Ten-Speed CSA for the ingredients. A scallion cauliflower crust, kale pesto base, roasted veggies on top, with thick dollops of fennel and honey cashew cream. Noms. So not only did the pie sound good, have local ingredients, but it tasted alright too. 

Each step is pretty easy, none of the recipes call for unfamiliar ingredients. Plus we luuuuv cauliflower so why bother with a conventional crust? The scallions, turnips, and mustards came from our CSA. Of course using fresh produce is like, well duh, especially since this pie isn't too heavy and uses minimal seasoning. But two pro tips to be aware of: the last step of poppin' the pie back in the oven for about 10 minutes is crucial to ensure extra crispiness, especially since the crust only continues to moisten with the pesto; find that perfect balance of seasoning, it can be easy to too heavily season each component (because it tastes good) but then when you have finished layering your pie, it might taste like a someone poured a jar of salt in your mouth.


Ingredients:

for the crust:
3 C. mixed cauliflower (about 1 small head or ½ large head)
¾ C. almond flour or coconut flour
1 bunch of scallions
Salt & pepper to taste
2 eggs or
3 flax "eggs" (1 egg = 1 Tbsp. flaxseed meal and 3 Tbsp. water, so 3 Tbsp. flaxseed meal and 9 Tbsp. water)
* If you've got some nooch layin around, might as well add some to the crust!

for the pizza pie:
Beets
White turnips
Red onions
1 bunch of leafy greens,
we used mustard greens

3-4 thyme sprigs
Kale pesto*
Cashew cream*

for the kale pesto:
6 cups chopped kale
1/2 cup olive oil
1 tablespoon minced garlic
1 cup pine nuts
1 heaped teaspoon lemon zest
1 tablespoon lemon juice
salt & pepper to taste

for the cashew cream:
1 cup of cashews (soaked overnight)
water (so it just slightly covers the cashews)
2 tbsp of raw honey
1 to 2 tbsp of fennel seeds


Method:

1. Preheat oven to 400 degrees and line a baking sheet with parchment paper.
2. We used 2 real eggs as a binder, but to make the flax "eggs", mixing 3 Tbsp. flaxseed meal with 9 Tbsp water and set aside.
3. 
While the flax eggs are processing, wash the cauliflower and place in a food processor or blender. Chop until it reaches a rice-like consistency.
6. 
Finely chop scallions.
7. Place the cauliflower, almond flour, scallions, salt, pepper (and any other seasonings to taste) in a large bowl and mix well.
8. Add your 2 eggs now, or the flax eggs, to the dry mixture and combine until well blended. Add olive oil if the crust isn't moist enough. Form the dough into a ball.
9. 
Place the dough in the center of the lined pie panned and, using clean hands, flatten the dough to about ½ inch thickness, leaving the edges a bit thicker.
10. S
lice beets, onions, and turnips and then coat the veggies in olive oil and thyme.
11. Place the vegetables and crust in the oven, and cook for about 20 minutes.
12. While this is baking, prepare your kale pesto and cashew cream. Both require simply mixing, in the food processor and high speed blender, respectively. 

13. When the crust and pizza pie toppings are ready brush your kale pesto on top as your first layer. Place the beets, turnips, onions, and now leafy greens on second, and then drizzle your cashew cream on top.
13. 
Bake for another 10 or so minutes at 400 degrees (unfortunately we ran out of time to complete this last step... but please don't make our mistake! This step is crucial to definitely have cooked crust).

Dehydrated Snackings: Apple & Beet Chips

Because we all need a little munch in our life without added preservatives, you know? These recipes below are simple, crunchy, healthy, and totally addictive. The only problem we have with them, is how fast they seem to disappear from the pantry. Within moments, they’re just.. gone. 

Seasoning your chips is to your preference, but these recipes tend to lean toward a lil' sweet, and a lil' savory. If you're looking for a lot  of chew (like tough as leather), it's better to leave your chips in the dehydrator for a few hours less. For a crunchier bite, stick to our advised dehydrating time of about 12 hours.


Beet Chips


Ingredients:

 5 beets, I used golden and red
1/4 cup apple cider vinegar
1 tablespoon olive oil
1/4 cup water
Himalayan salt and pepper to taste


Method:

1. Mix together cider vinegar, oil and water. Set aside.

2. Slice the beets very thin. I used a mandoline for this.

3. Soak the sliced beets in the water mixture for about 10 minutes. You may have to toss to coat.

4. Spread on screens, sprinkle with salt and pepper. Dehydrate at 145 for 45 minutes, reduce heat to 115 and continue dehydrating for about 12 hours or until chips are crunchy. 

*Note: Don’t worry about beginning dehydration temp. The food never goes above 115 and it’s raw integrity is not compromised.


Cinnamon Apple Chips


Ingredients:

6-8 apples
5 tbsp lemon juice
1 tbsp maple syrup (optional)
2 tsp cinnamon


Method:

1. Slice the apples as thin as you can get them. The key tool to have to make a wafer thin, uniform, crisp apple chip is a mandolin.

2. In a bowl, combine apples, cinnamon, whatever spices, and lemon juice. Mix around so both sides of the apple rings are coated in the mixture. 

3. Place apple rings on mesh drying trays one at a time. Dry at 155°F for about 4 hours or until firm and crisp. Remove from trays, transfer to a wire rack and let cool completely. Serve immediately or store in an airtight container at room temperature for up to 3 months.

4. Embrace the smell of your kitchen.