Chia Blueberry Banana Bread

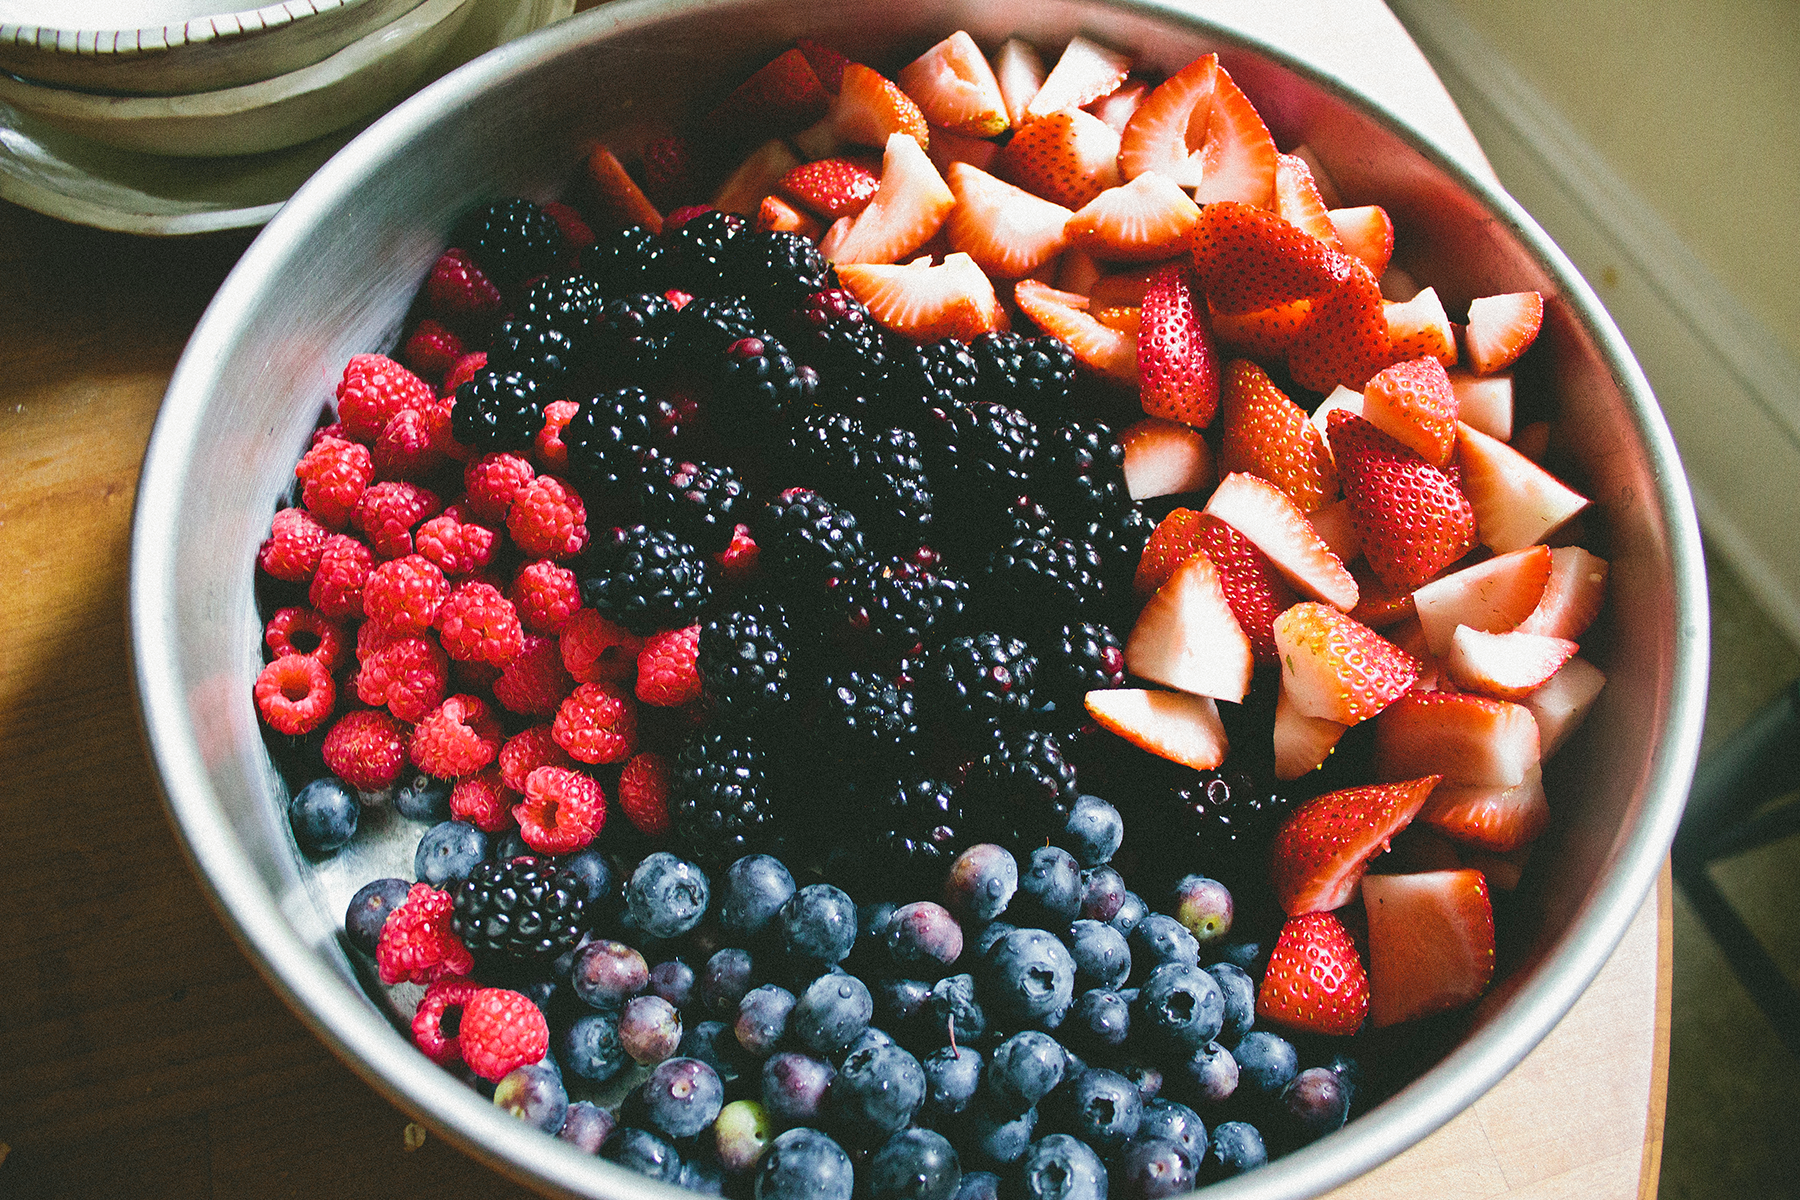
I always manage to keep bananas on deck at home, as frozen naners are the bff to any possible smoothie combo. Yet sometimes I admittedly get too lazy to peel them at their peak ripeness for the freezer and am left with perfectly, softy gooey brown bananas. This is in deed the true key to delish banana bread, and with those withering away on the counter and blubs withering away in the fridge I figured might as well throw it all together for a sweet, moist fiber-packed treat.

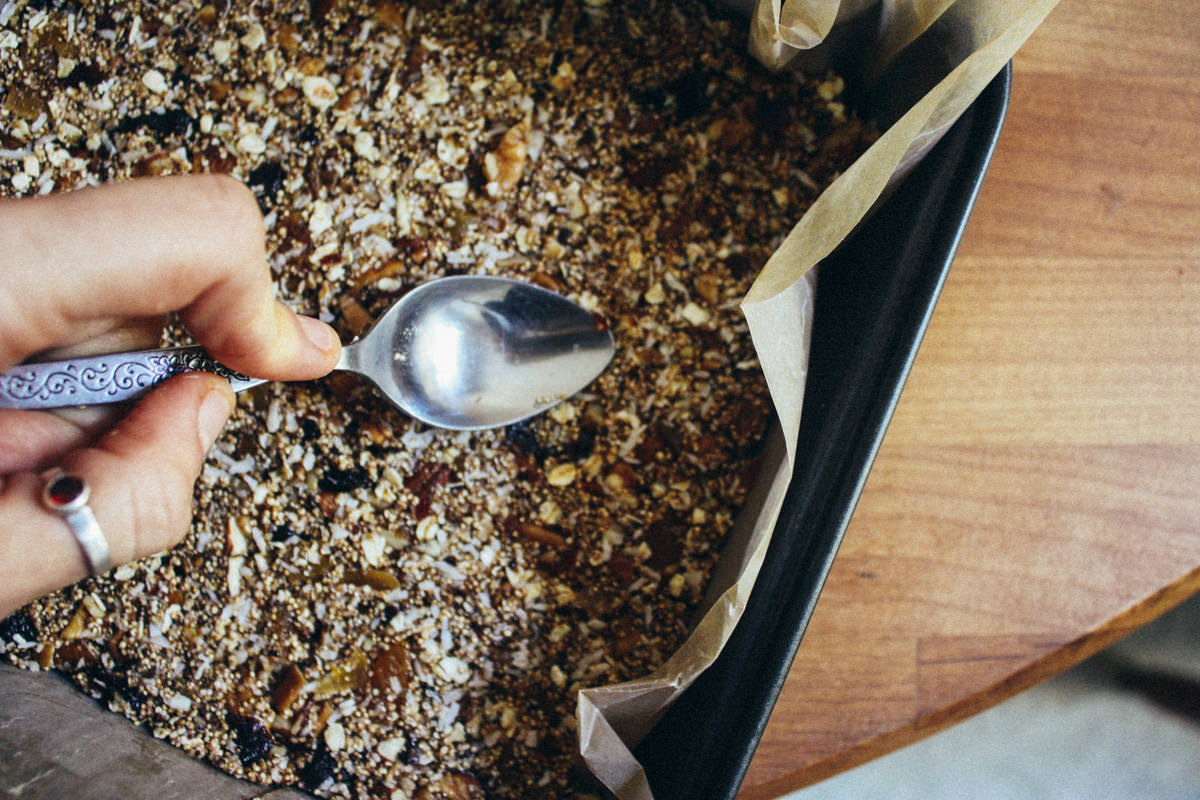
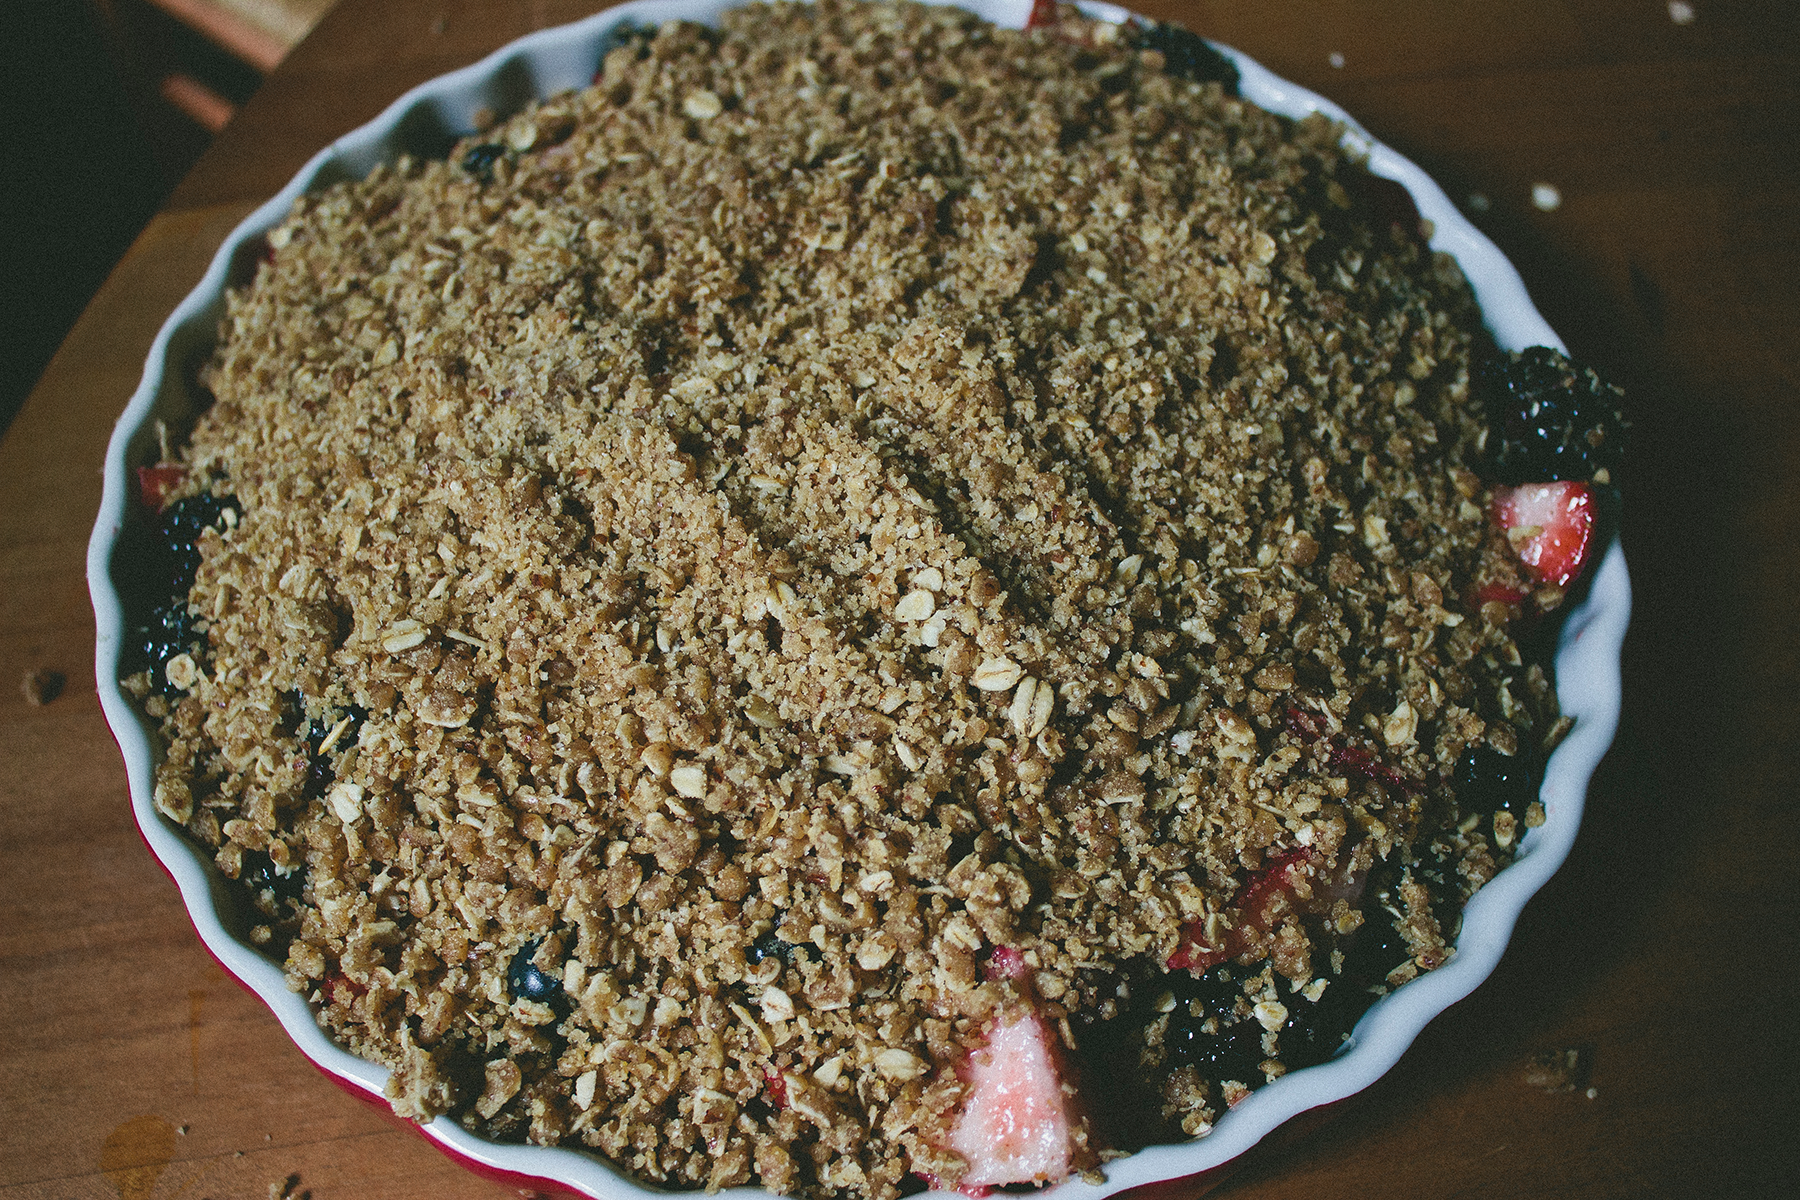
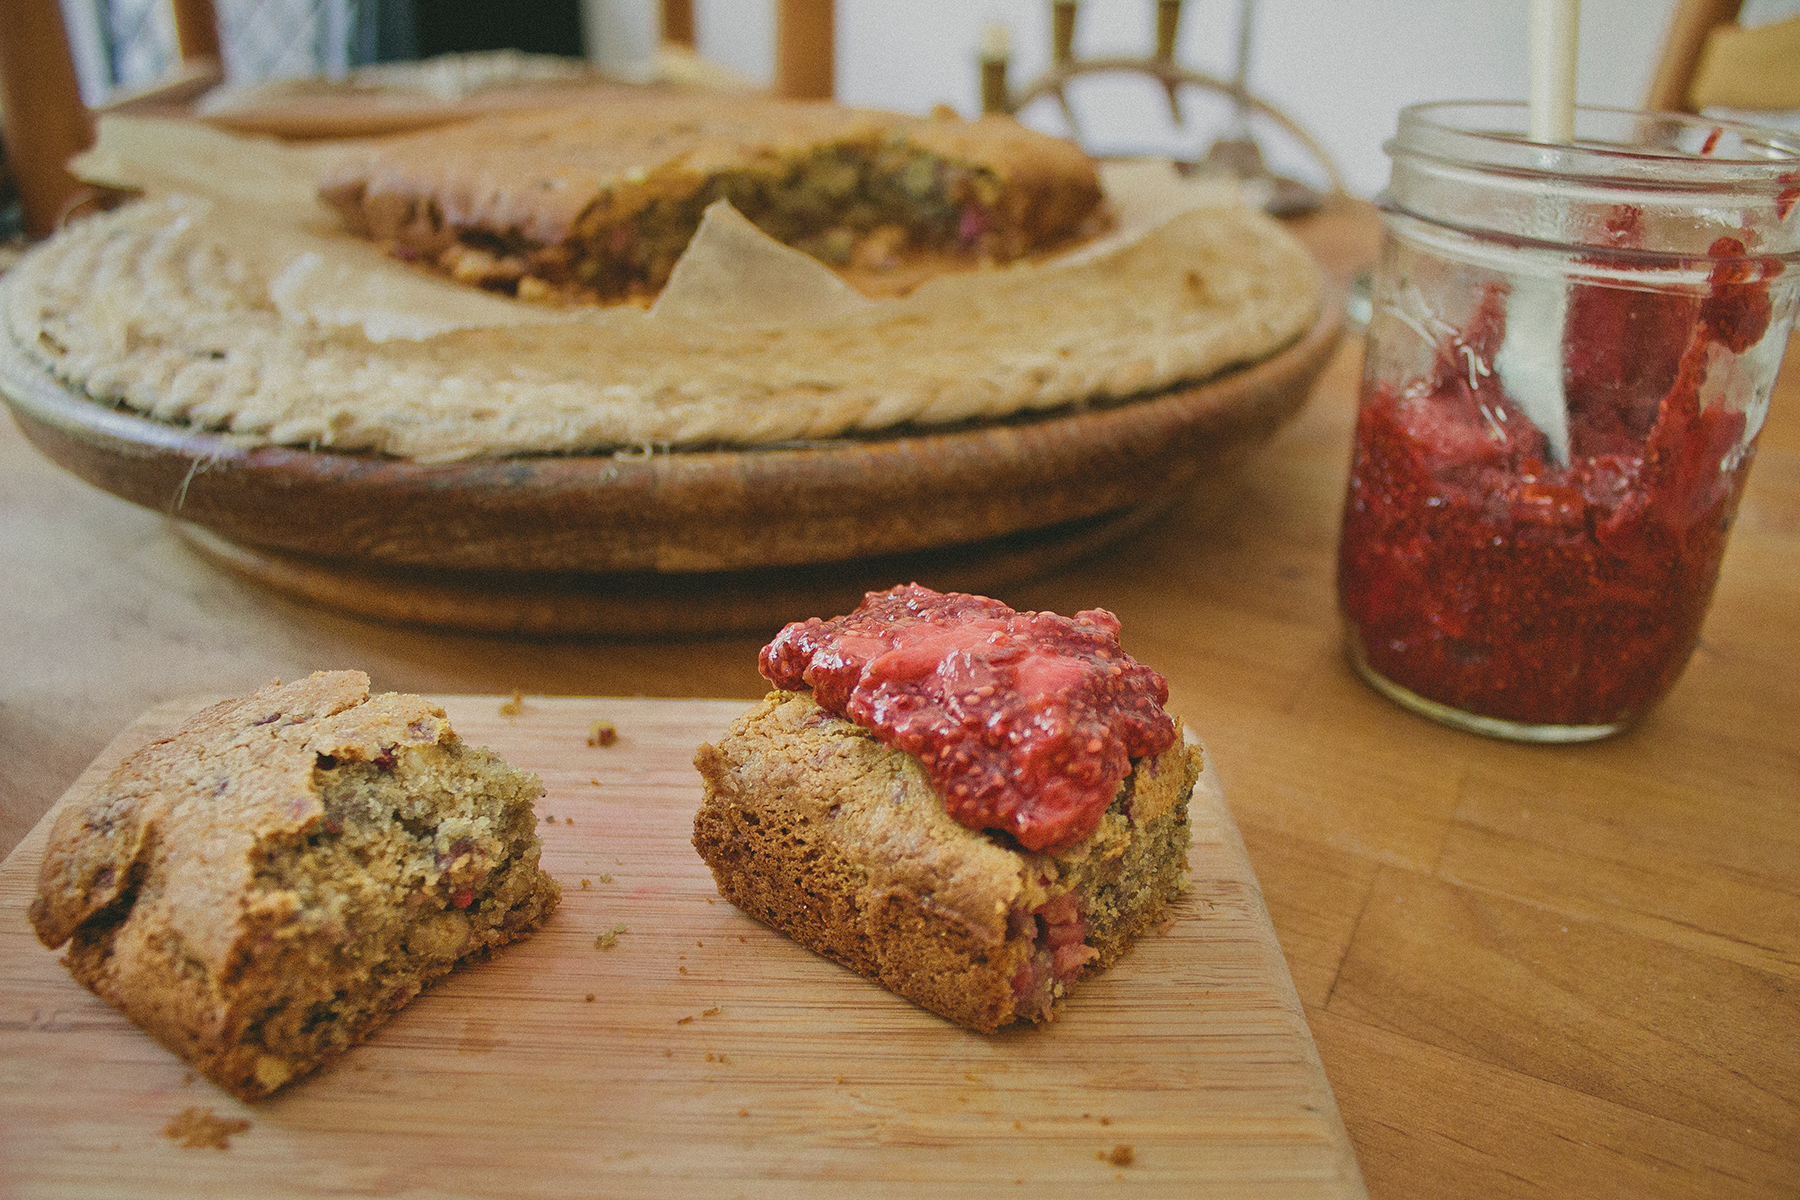
Chia seeds make for a nice little addition to this recipe and also rack up its somewhat-sorta-kinda-healthy points. Chia seeds are high in fiber, protein, antioxidants, and omega-3 fatty acids. Plus, turns out they make a pleasantly crunchy crust when baked on top.

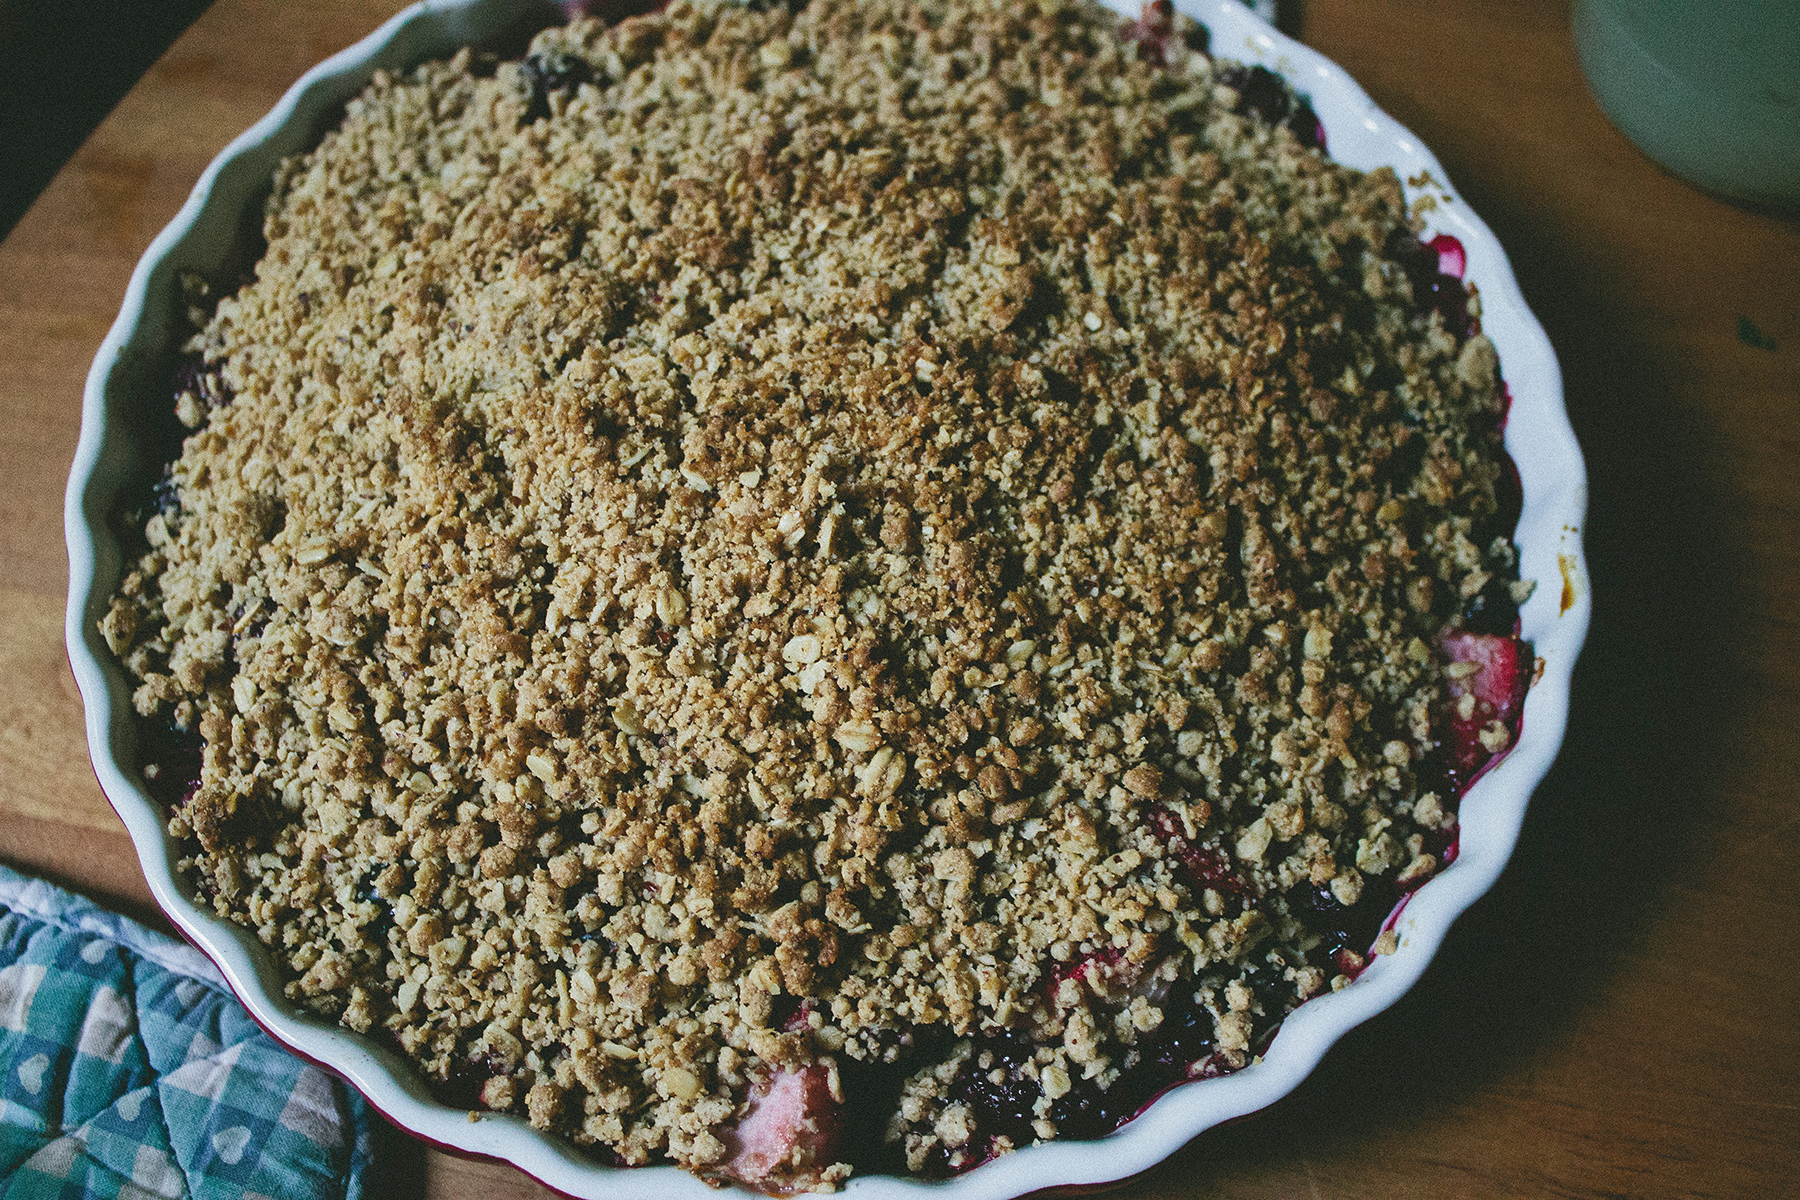
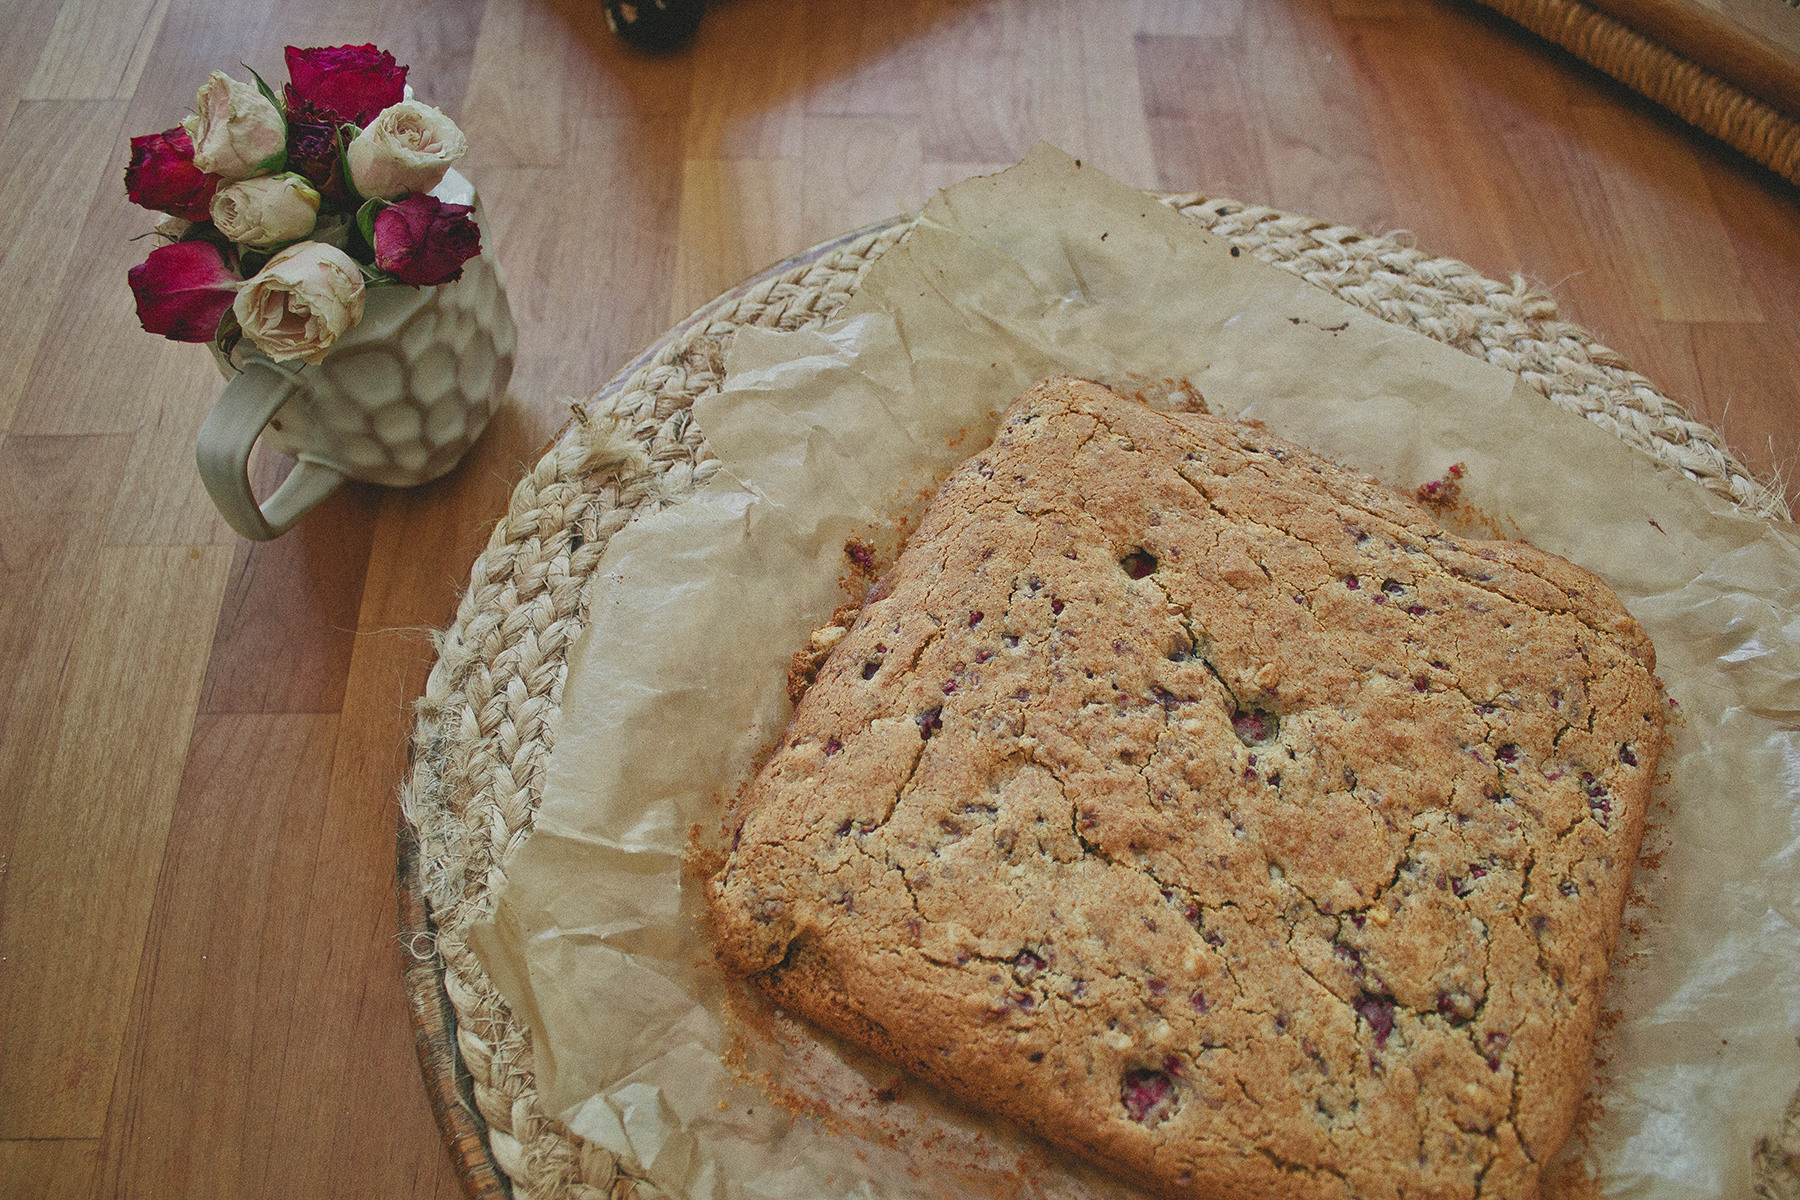
This recipe was super simple and turned out perfecto - def adding it to my "list of things to bake boys". Enjoy!

Adapted from this recipe


INGREDIENTS:

1/2 c wheat pastry flour
1 c coconut flour 
1 tsp baking soda
1/2 tsp baking powder
1/2 tsp salt
Lots of cinnamon
1 tbsp cardamom
3 mashed bananas
1 cup blueberries
3 eggs
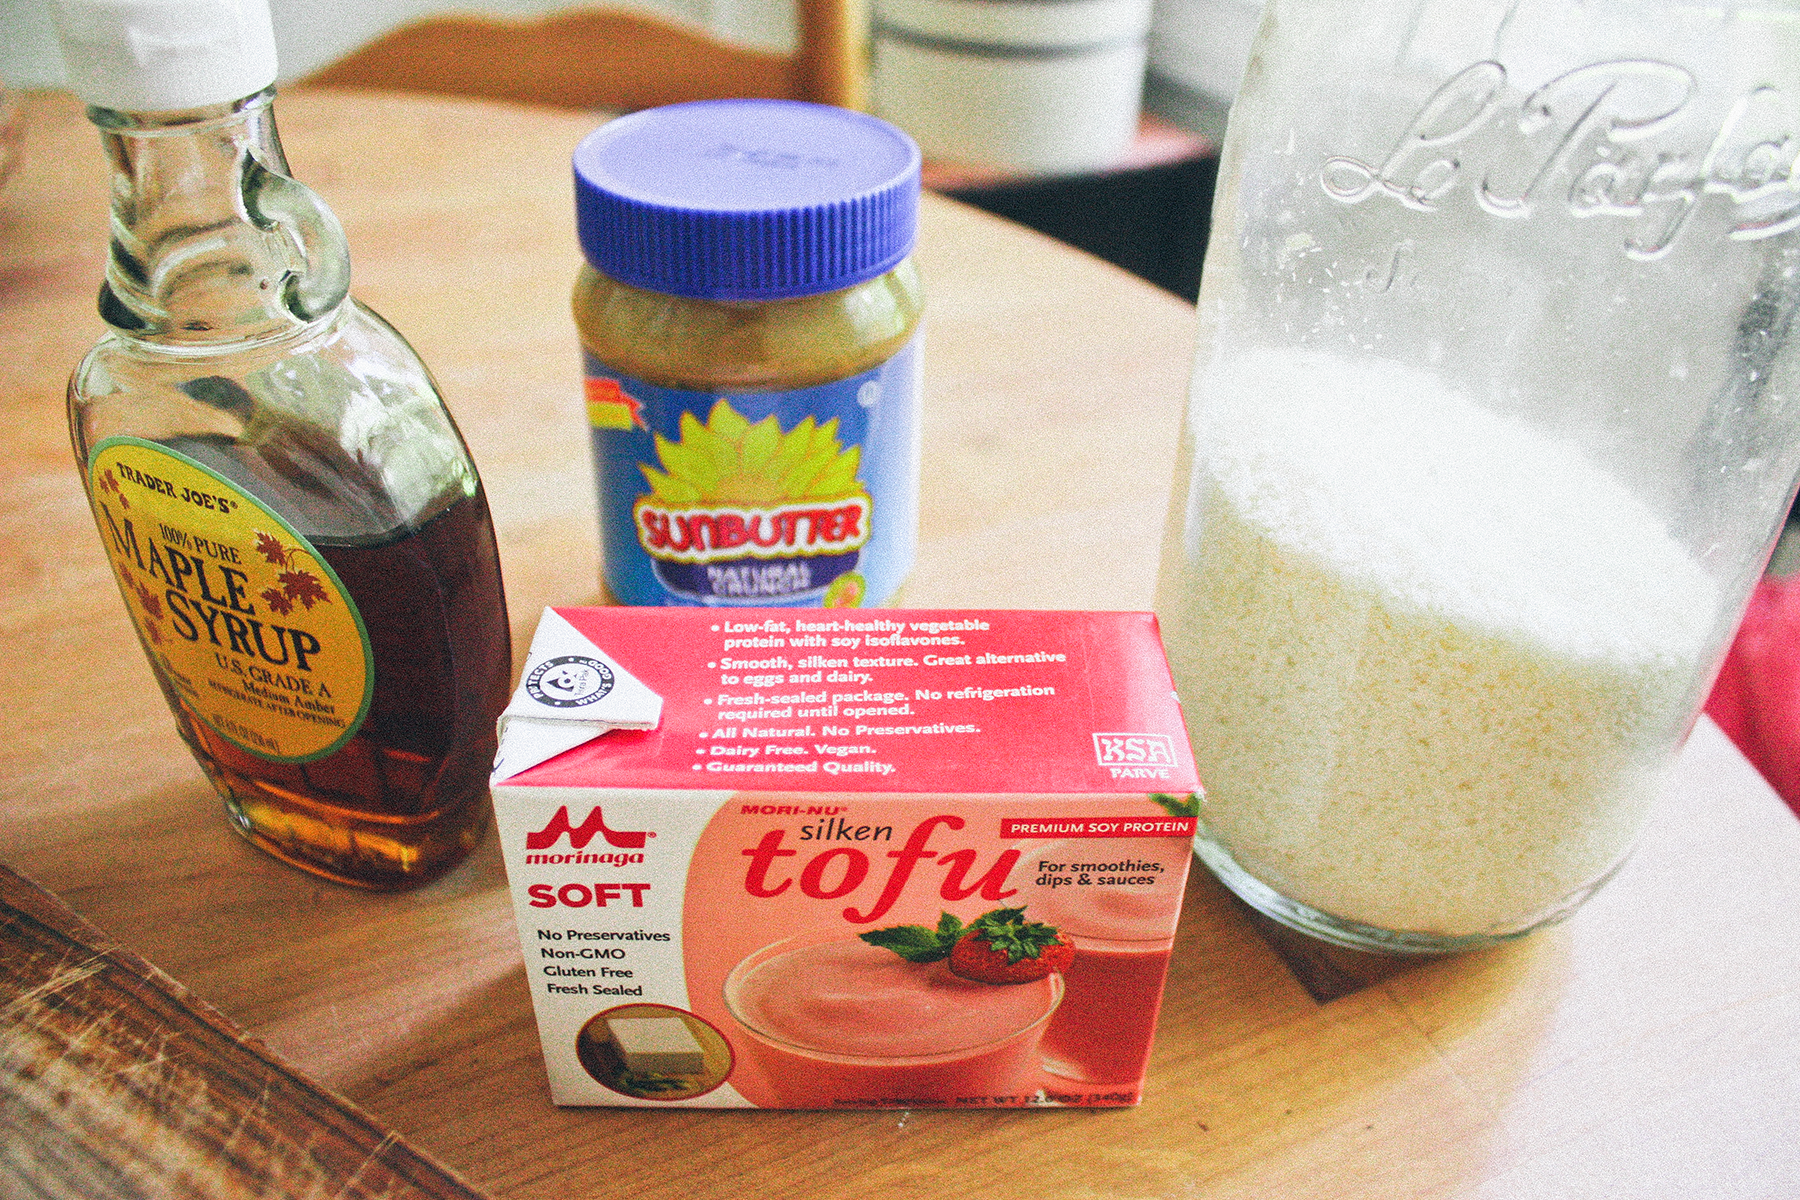
1/4 c of maple syrup
1 tsp vanilla
1/2 c coconut milk
1 Tbs coconut oil
4 tbs ground chia seeds

Method:

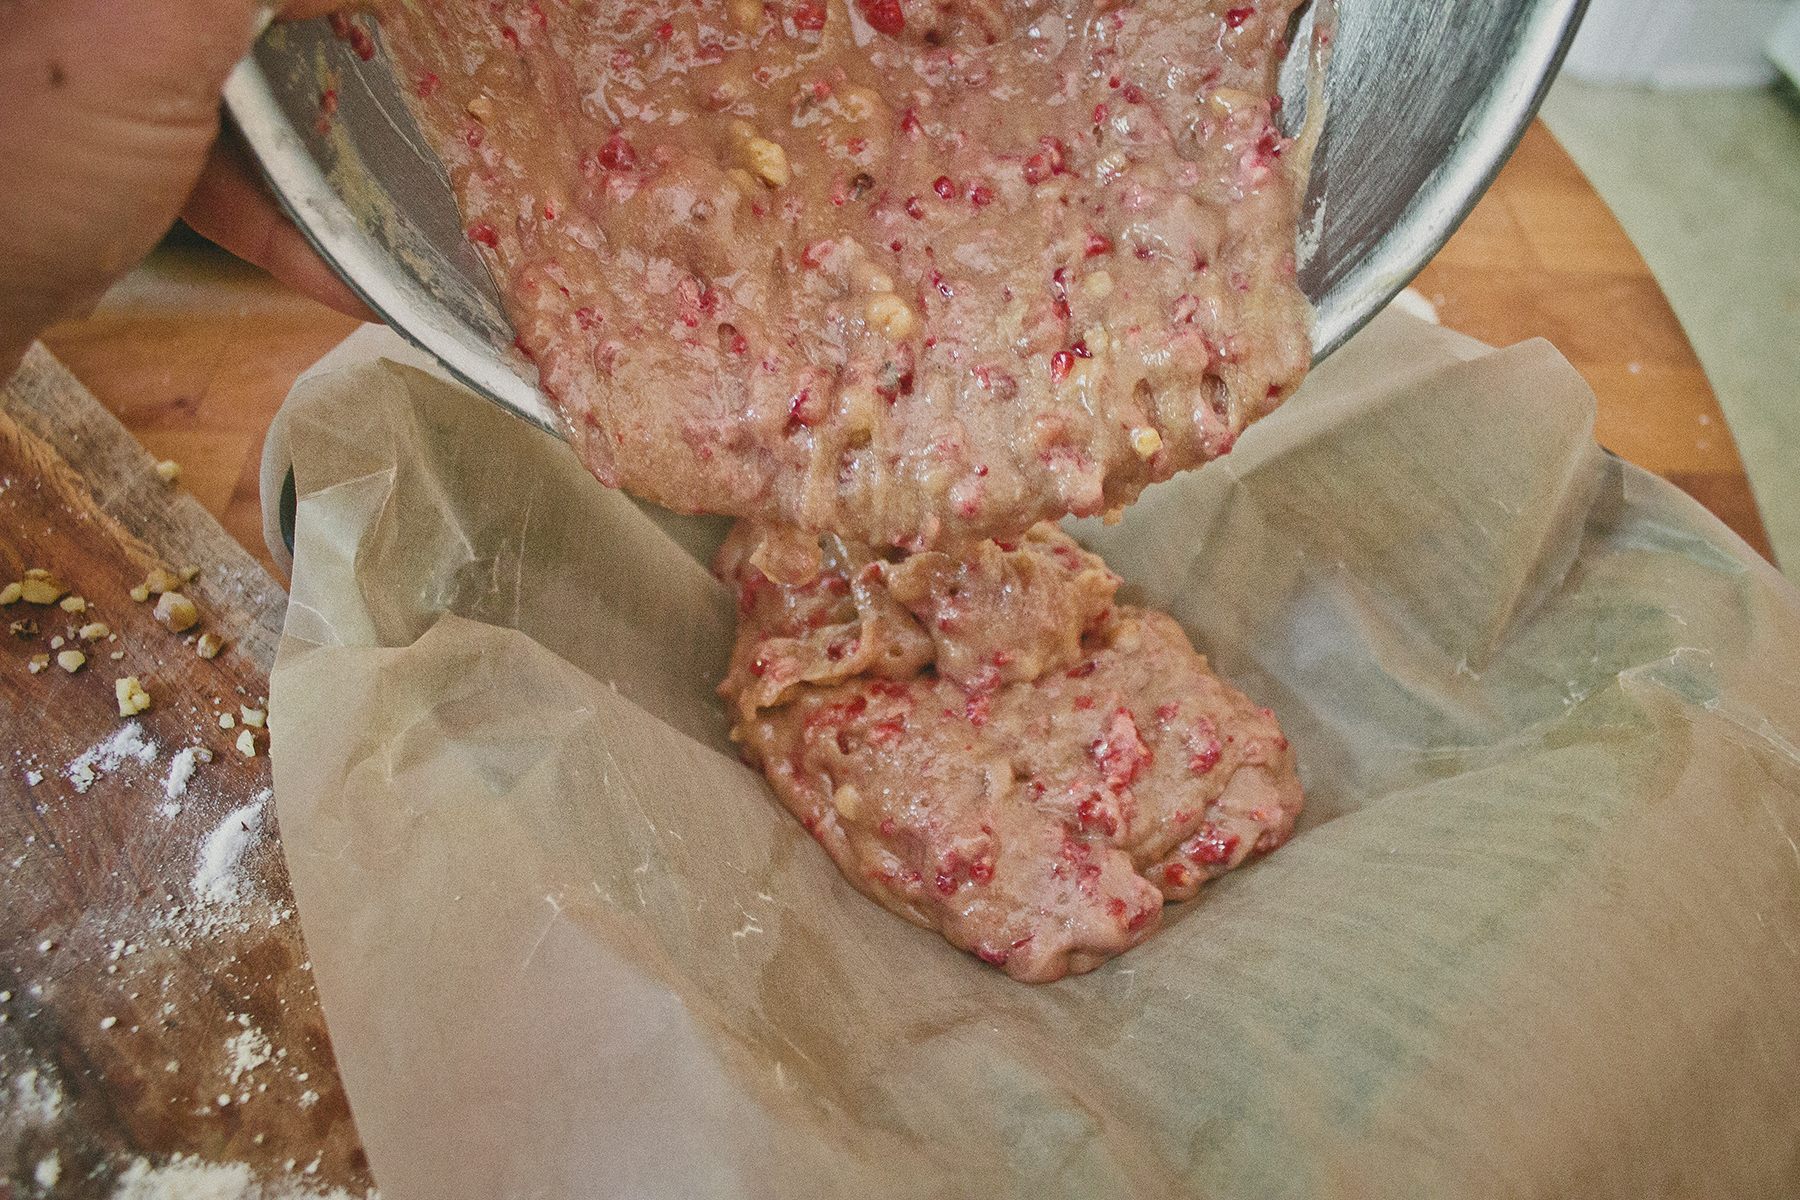
1. Preheat oven to 350 degrees. While preheating, line a bread pan with wax paper.

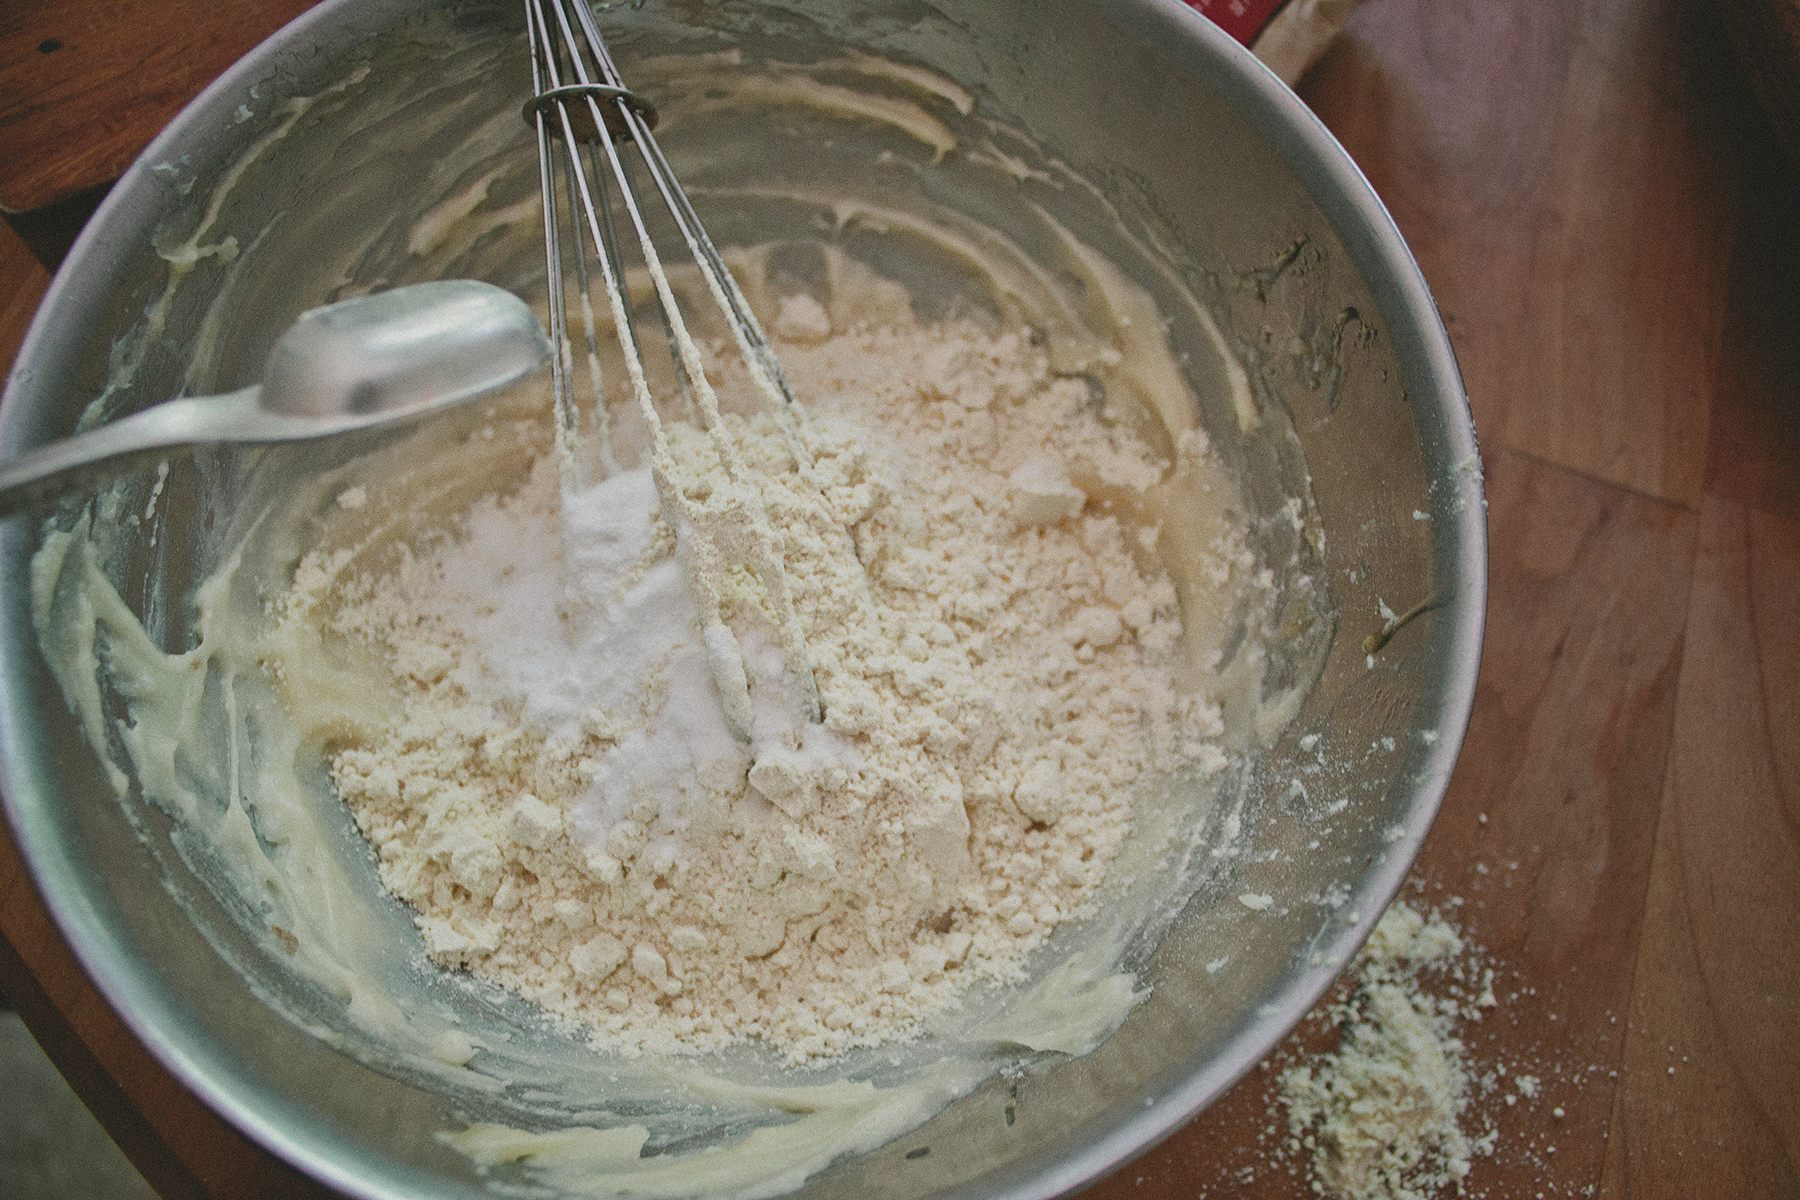
2. Mix all the dry ingredients and half of your chia seeds together until well sifted.

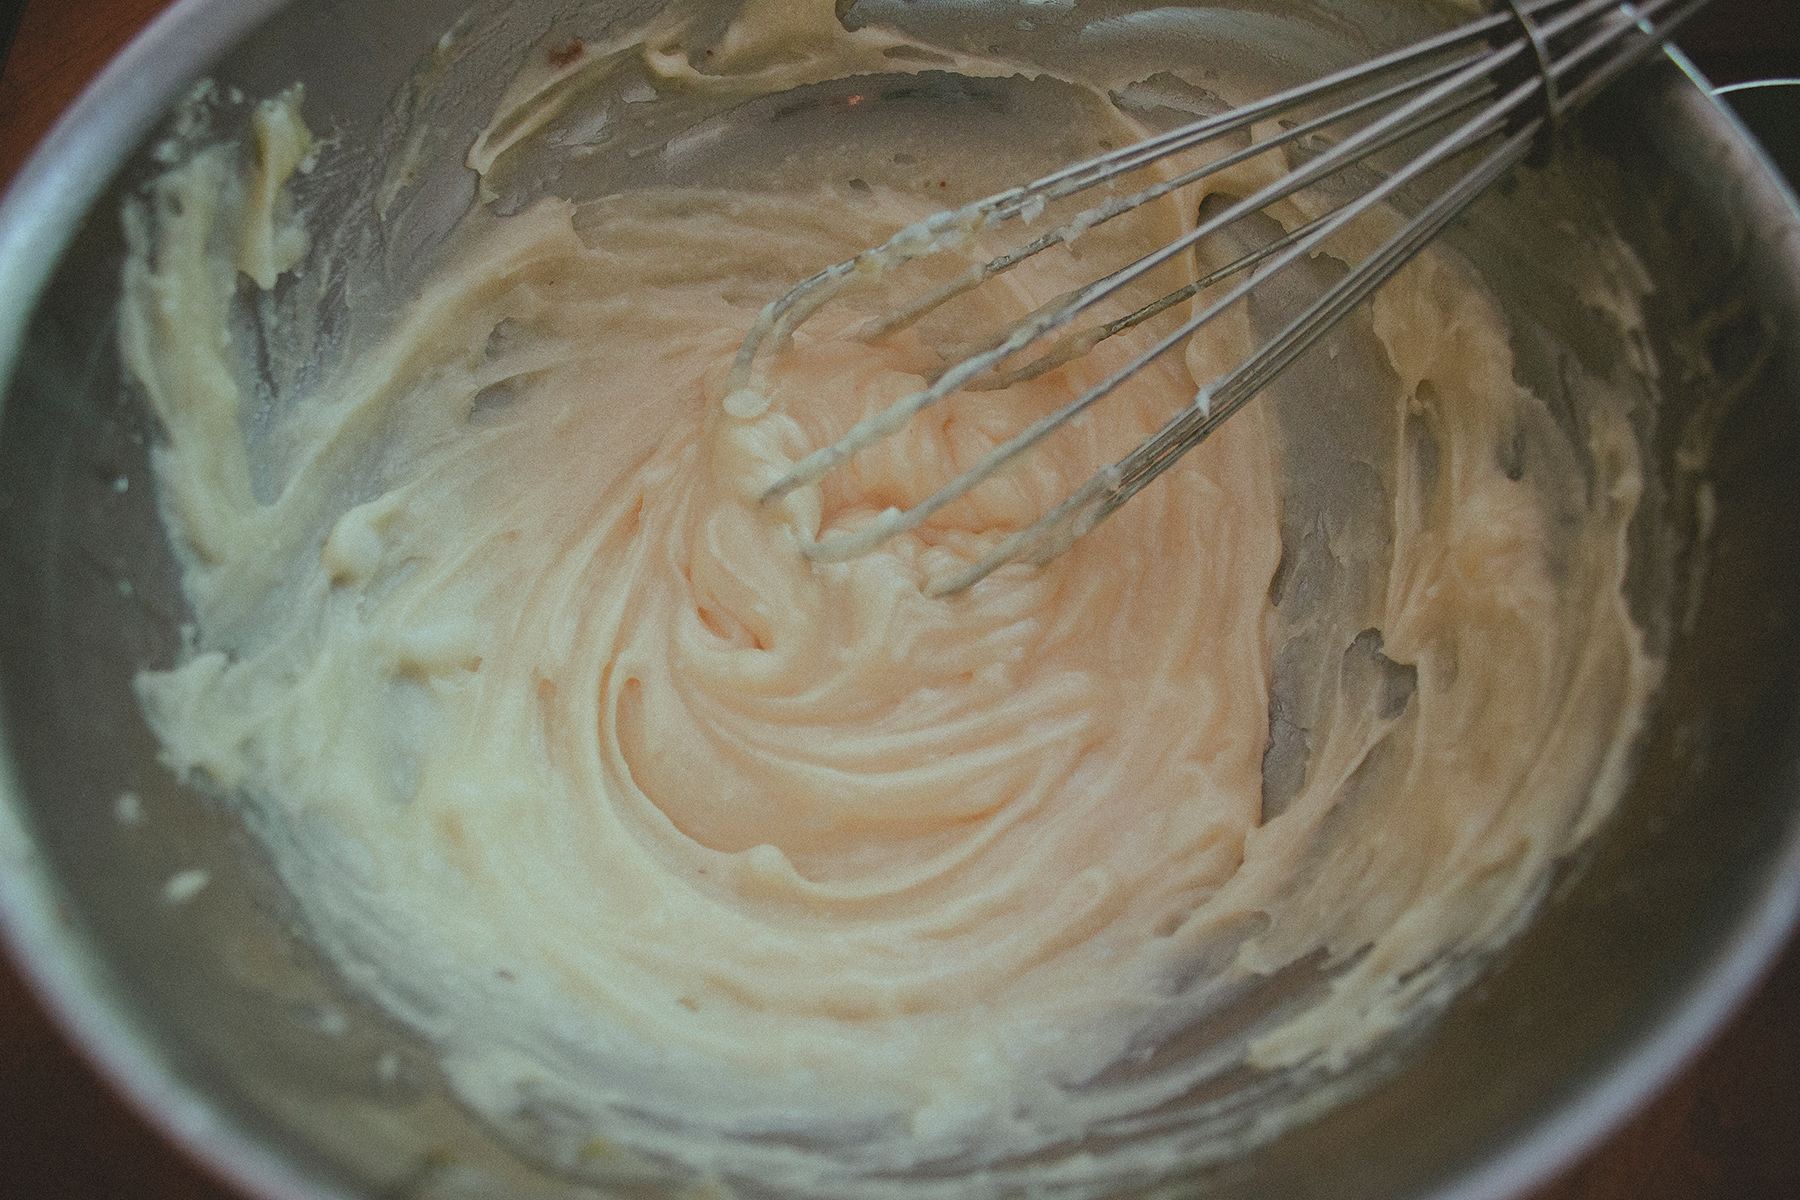
3. In a separate bowl, combine remaining ingredients with a mixer until smooth consistency.

4. Combine the two bowls and further mix with the hand-held mixer.

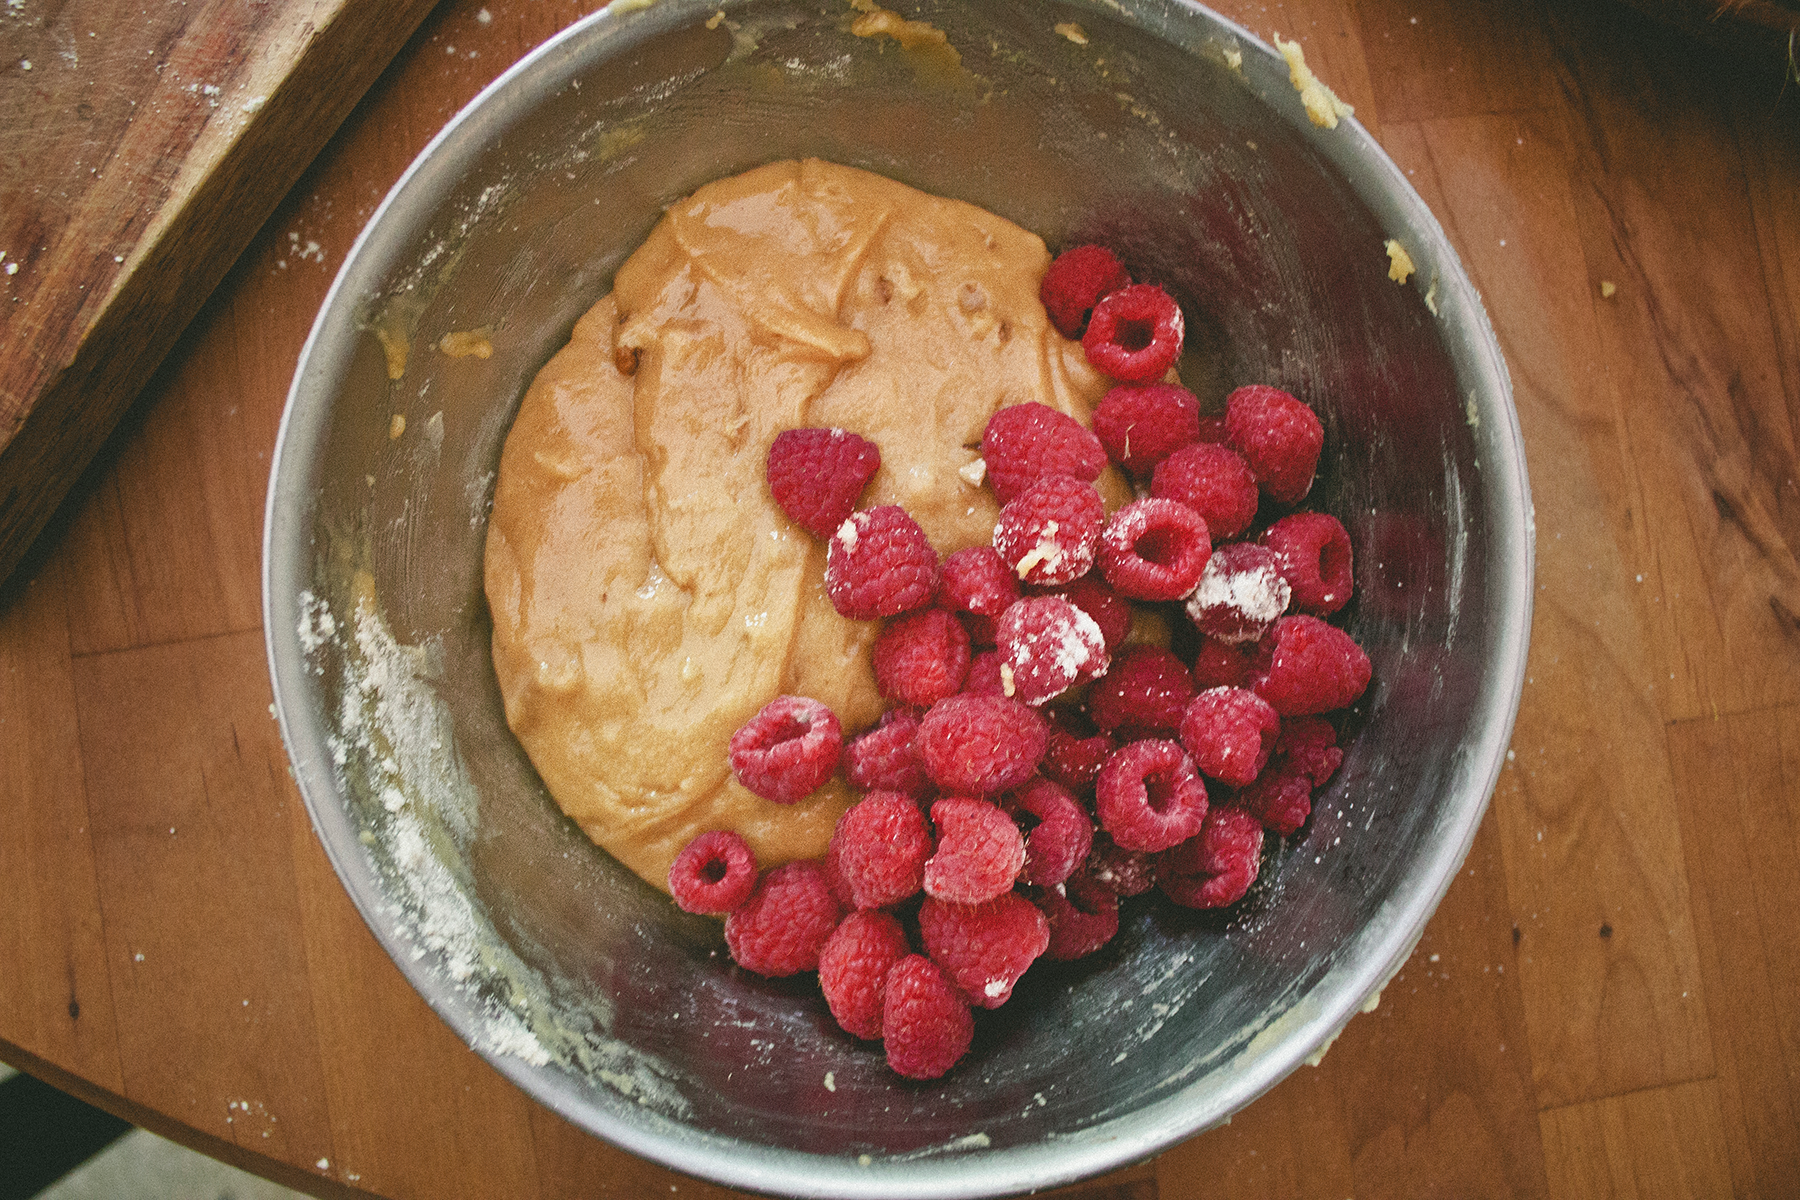
5. Gently fold in the blueberries.

6. Pour mixture in the lined bread pan. Pat down top so that the surface is even and then sprinkle with remaining ground chia seeds.

7. Bake for around 50 minutes (coconut flour typically takes a bit longer).

Tomato, Basil, Peach, Plum & Corn Salad

It's the beginning of summer, aka picnic season. Peaches and wild plums so juicy they are dripping down your chin, tomatoes so tangy and sweet no grocery store will ever compare, and blueberries so ripe you'd eat them by the pint. This is why summer is my favorite season. So many flavors, so little time, so why not throw them all together in this wild style savory fruit salad? Grab your friends and start making the memories of sunshine-drenched picnic days you will be dreaming about for the rest of the year. Wishing y'all a lifetime of perfect picnics.


Method:

1. Dice red onions, halve your tomatoes, cut ribbons of basil, shuck your corn, and cube your peaches, plums and melon.

2. Add all ingredients together. Drizzle with the oil and vinegar, sprinkle with salt and pepper. Tightly cover for transport to your nearest picnic. Don't forget utensils, napkins, a blanket and wine!

Ingredients:

2 ears yellow sweet corn
1/2 c red onion
Peaches
Blueberries
Plums
Honeydew or cantaloupe
Heirloom tomatoes
3 tbsp olive oil
2 tsp sherry vinegar
1 tbsp basil
1/4 tsp pepper
Sea salt

Full Moon Soup

In Ancient folklore and myth, the moon is given a different name for each month, some of them are still commonly referred to while others seem to have just been forgotten. Earth's one natural satellite is the moon, and from the Earth's perspective it is the second largest object seen in the sky.  Ancient ancestors would have been influenced over the moon almost as much as the sun as it is used for similar guidance. 

Februarys moon is referred to as the Full Snow Moon. For this moon, I’ve crafted a soup that blends together parsnips, leeks, carrots, celery and the humble rutabaga. All of the ingredients are sliced in little full moons, The homemade vegetable stock is essential to this soup, since you “charge” it energetically beneath the full moon and imbue it with its power. The final soup looks like a rising gold moon in the bowl.


Ingredients:

1 onion, chopped
2-3 large carrots, chopped
2-3 stalks of celery, chopped
2-4 cloves of garlic, peeled and smashed
1 bay leaf
3 green leek tips, chopped
5-6 large parsnips, peeled and cut into chunks
herbs on hand – thyme, rosemary, sage
2 tablespoons of coconut oil
1 cup cashew milk


Method:

1. Warm some coconut oil in a large stock pot on medium-high. Add the onions, carrots, garlic, parsnips, leeks and celery and let them saute until soft and golden while you gather your other ingredients. 

2. Pour about 8 cups of filtered water over the vegetables. Add your herbs. Cover and bring to a boil then let simmer for 30 minutes or more.

3. Puree the soup with a blender, careful of the heat! Add the cashew milk, for a screamer consistency and season with salt and pepper and maybe a pinch of herbs. 

4. Enjoy your soup beneath the full moon to absorb all of its potent energies. 

No Bake Puffed Amaranth Oat Bars

Amaranth has taken the number one spot on my list of favorite breakfast porridge grains/seeds this season, but then I discovered that it comes in this popped/puffed version which is perfect for breakfast on those days when you just want something on the go.  The popping part can get a little tricky but see below for a few tips. This is my new favorite portable food and a way healthier and tastier alternative to commercial granola bars that are loaded with sugar and other additives. 


Ingredients:

1 C Puffed Amaranth
1/4 C Quick Cooking Rolled Oats
1 C Dried prunes & apricots, or whatever dried fruit you have on hand
1/2 C Date Paste (dates + water)
1 Tbsp Flax Seeds
1/2 C Shredded Coconut
Handful of chopped nuts
1/4 C Almond Butter
1/4 C Honey
1/2 tsp Salt

Method:

1. Combine puffed amaranth with oats, salt. coconut, cinnamon, flax seeds, nuts and dried fruit in a bowl.

2. Prepare Date paste with just 5 pitted dates and 3 tbsp water in a blender. Add the paste, almond butter and honey to your dry ingredients and still until ingredients bound well together. 

3. Press mixture firmly into a parchment paper lined glass baking dish, using your hands or the back of a spoon.

4. Let rest for 30 in the fridge for a chewy bar or stick in the dehydrator for a crispy bar. Then let the picnic outings and energy packed noms commence. 

Tips for popped amaranth: 

  • Make sure your pan is hot enough. If the amaranth doesn’t start popping almost immediately, the pan needs to heat longer.
  • Allow for a few test batches. Much like popping popcorn for the first time, it will take a few times to get into your groove. I usually start with 1 tablespoon at a time.
  • Accept the fact that not all of the amaranth will pop. If you wait for the last few grains to pop, inevitably some of your amaranth will be burned. The little unpopped grains are fine and can be eaten as well, so just throw them in the mixing bowl along with the popped ones.

Pumpkin Banana Ice Cream aka Naner Creamy

We are no strangers when it comes to the banana " ice cream." If you missed out on our one-year Bloomiversary Naner Creamy Ice Cream Social here's your chance to catch up. This recipe is perfect for anyone who may want a healthier alternative to refined sugar loaded candies, sweet, and other treats around this time of year. Of course the seasonal obsession is pumpkin so we went with it but you can take the banana base and customize to make your favorite flavor. Instead of pumpkin throw in some strawberries, peanut butter, cocoa powder or even some salted caramel. Enuff' said, this creamy ain't gonna eat it self. Go get yo creamy on.

IMG_9259.JPG

Ingredients:

1/2 can pumpkin
3 frozen very ripe bananas
1 tsp pumpkin spice
maple syrup to taste

Method:

Blend the frozen bananas and pumpkin together in a high speed blender or food processor until creamy. You may need to add 2-3 tbsp of water to the mix.  Taste and add some sweetener, like maple syrup, if ya like! Garnish with grandmas granola!

Pear, Quinoa, and Cinnamon Spice Bread

This weekend Tallahassee had its first ever Food Swap, which unsurprisingly turned out to be a huge success. Hosted at the lovely Anhaica Shop, all sorts of good folks showed up with batches of homemade jams, spreads, preserves, pickles, foraged foods, fresh fruits and produce, baked goods, on and on! One of the goods I brought for trade was a homemade bread - quite heavy from the quinoa - but because of the added grain provides a punch of good nutrition in every bite.

Despite quinoa's Kardashian-esque like rise to celebrity status, bby girl grain is worth its oft referenced superfood praise. Host to extremely beneficial phytonutrients, quinoa provides both antioxidant and anti-inflammatory properties in distinctly concentrated amounts. Quinoa also offers a significantly higher content of healthy fats in comparison to its other grain contemporaries like wheat and rice. Composed of monounsaturated fats and small amounts of omega-3 fatty acids, quinoa's high fat content allows for its incredible nutritional value to sustain under greater amounts of oxidation that occurs when being cooked. Another especially nutritious trait of quinoa is its role as a complete source of protein. Unlike most grains, quinoa has the adequate amount of amino acids lysine and isoleucine qualifying its protein as both high in quality and content. Powers of protein and fiber combined, quinoa can be an excellent choice when regulating blood sugar and maintaining good levels of cholesterol.

So, back to the bread. The pear puree helped to provide added moistness to each dense slice, plus a little extra hint of sweet that paired so well with the cinnamon spice. I also added a bit of molasses for a more warmth, but took it easy on the sugar because of the pear's natural sweetness. The final product definitely is neutral enough to make this loaf appropriate for casual use, but with a few modifications here and there it would be real simple to have a more sweet and spiced dessert bread.

I don't eat bread often, much less bake it, but always find it to be one of the more rewarding products of cooking. Or maybe its just those first 10 minutes of successful yeast activation that gets me every time... Either way, here's to spending the rest of winter exploring the world of baking breads. Wish me luck! 


Ingredients

Recipe adapted from here

Makes one full regular bread pan loaf, or divide dough
evenly for two smaller loafs

1 cup cooked quinoa (1/4 c uncooked)
3/4 cup water
4 tbsp warm water
1 packet (3 tsp) active yeast
2 small pears chopped
1/2 cup whole wheat flour
2+ cups bread flour
2/3 tsp salt
1 tbsp raw brown sugar
1 tbsp cinnamon
1 tbsp grated ginger
1 tbsp molassas

Method

1. Cook quinoa until tender. While cooking chop your pears and grate your ginger. Once quinoa has cooled, add it to your food processor with the pears, ginger, cinnamon and other spice, molasses, and salt. Blend until a smooth puree.

2. In a larger bowl, add active yeast packet to 4 tbsp of warm water and 1 tbsp brown sugar. Mix well and then let sit for activation. This should take about 10 minutes or so to foam. Be careful your water isn't too warm or it will kill the poor yeasts.

3. In a large mixing bowl, add all of your flower and the pear/quinoa puree mix. Once the yeast is ready, add it in and mix well until your dough is formed. You may need to add more water or flower at this time. 

4. Knead the dough well for around five or more minutes, or until soft. Dough should be a bit sticky.

5. Place dough in a well greased or parchment lined container, cover, and let site in a warm spot for around an hour and a half to rise.

6. By now your dough has risen to at least double in size. Take out and re-shape for your bread loaf pan. Grease the pan well (I used coconut oil) and add dough with the crease line facing down. Sparingly add more water and oil to the top of the roll. Cover and let sit for another hour or so.

7. Bake at 365 degrees F for around 35 to 40 minutes, or until top is golden. Once done remove and let cool completely before slicing.

Autumnal sweet potato, chard & lentil soup

Soup season has just begun to linger around these parts of north florida - not that the cold weather is the only time to enjoy soup - but who doesn’t want a warm bowl of heartiness to cuddle up with on these cold and wet fall/winter days. This one is a keeper. Bright red lentils and Rainbow chard blended with vegetable power and digestive fire that delivers steam and energy throughout the day. So go find a quiet chilly kitchen, turn up the heat and the tunes, and get your soups on.


Ingredients:

Vegetable Stock:
8 cups of water
1 sweet potato, diced into 1 inch cubes
3 carrots, chopped
2 celery stalks, chopped
2 knuckles of ginger
1 yellow onion
2-3 bay leaves
3-4 sage leaves, chopped
Salt

Soup:
Lentils
Rainbow Chard, greens and stalks, chopped
 

Method:

1. Boil 8 cups of water in a large pot. Add all the vegetable stock ingredients, cover with lid and reduce heat to simmer for 40 minutes until the broth tastes flavorful.

2. Meanwhile cook the lentils. About 1 cup of lentils to three cups of water should do the trick.

3. When the vegetable stock is done, fish out the bay leaves and pour into a blender or use an immersion blender until smooth. Add more water if the soup is too thick for your liking. Then add the soup to your lentils along with your chopped chard. Let simmer on medium-low for a few minutes until your greens are cooked. Garnish with sage and enjoy with a chunk of bread and drizzle of thick green olive oil.

Spiced Persimmon, Apple, & Pear Butter

If you haven’t tried persimmons, the ideal fruit for this season, you should think about putting it on your next grocery list. Persimmons are subtly sweet with a texture similar to tomatoes, making them crazy versatile to cook with. Part of the berry family, persimmons are loaded in Vitamin C, Vitamin A, help maintain good vision, healthy skin, strong teeth and bones. Plus, this fruit has shown to improve heart health and can be beneficial for boosting the immune system. Not only an easy remedy for winter wellness, but also pairs perfectly with all your favorite holiday dishes. Toss them in salads, soups, try them roasted, make a syrup, or try our fruit butter recipe below! The possibilities are endless! 


Ingredients:

1/4 cup of lemon juice
1/4 cup of maple syrup or honey
3 teaspoon cinnamon
1 teaspoon vanilla extract
8 cups of chopped and peeled apples and pears and persimmons

Method:

1. Chop the persimmons, apples and pears  into 1/2” chunks. Place in a pot with just a little bit of water to cover the bottom. Heat on low and keep stirring until the fruit is soft. 

2. Mash larger pieces with a potato masher and add lemon juice, honey, cinnamon, vanilla extract and allow contents to summer until thickened for about one hour. 

2. Remove from heat and transfer to a blender (optional) for a smooth consistency. After blended ladle the hot butter into clean, sterilized mason jars and store. Makes a great food swapping trade or holiday gift. 

Yields abou 2 pints. 

Pickled Okra with Chive Flower Infused Vinegar

If you know us, we love all things pickled and infused. Currently the mansion garden is exploding with red crimson okra plants so we have our own steady supply. I've never been able to find decent looking okra in the grocery store, but let me tell you that this is the most beautiful plant I've ever grown in the edible garden. And it grows so amazingly well here in North FL summers. Some people aren't fans of okra because of the slime issue. If you are one of these people you've got to try pickled okra at least once. I'm telling you.. it's crunchy and it makes the one of the best pickles ever. The chive flower infused vinegar was just something I pulled off my panty shelf that I thought would pair well. We highly suggest getting experimental with flavoring your vinegars. Creating new flavor combos with vinegar will take any recipe to the next level. 


Ingredients:

1 pound fresh okra pods, 3-1/2 to 4 inches long
3/4 teaspoons black mustard seed
1 tablespoon dill weed
6 garlic cloves, peeled
1/2 - 1 teaspoon hot red pepper flakes
1 cup garlic chive infused vinegar (reg vinegar/ACV will do fine)
2 cups filtered water
3 teaspoons sea salt

Method:

1. Optional*** Remove the stem tops of the okra, cutting them off with a sharp knife. We did this to try to fit as much in the jar as we could. 

2. Pack the jars with okra and your hot pepper flakes, mustard seed, garlic, sea salt and dill weed. 

3. Chop the garlic cloves in half lengthwise, crush them a bit, and add 3 of these halves to each pint jar.

4. Pour vinegar on top of mixture and then fill the rest of the jar with filtered water.

5. Screw the lids on tightly and place them in a cool place away from drafts and direct sunlight for 2 to 3 weeks or until they are ready. Burp the jars often. 

6. Once your okra pickles are done, store them in a cellar or some other cool, dark place until you are ready to eat them. Store opened jars in the refrigerator.

If you are canning for shelf storage you’ll want to take the extra precautions of sterilizing the jars up front, and sterilizing the lids. But you can skip that if you just want to store them in the fridge and eat them up quickly.

Naner Creamy Breakfast Bowl

Naner aka Banana Creamies have become a staple of bloom diets. You know those bananas sitting on your counter, the ones with all those brown spots that you think are passed their prime. Well those bananas make the best dairy-free, vegan, gluten-free, fat-free, frozen ice cream treat. No cream, or sugar added. Just pop em in the freezer, mix and match your favorite ingredients. Eating a bowl of ice-cream for breakfast has never felt this healthy. Naner Creamies definitely deserve a more elaborate post but we'll save it for our definitive guide coming in the future. 


Ingredients:

For the Creamies:
Frozen Naners
Nut Mlik (optional)

For the bowl:
Buckwheat (see muesli recipe for soaking/sprouting and health benefits)
Nuts & Fruit

Method:

1. Peel bananas and slice into 2 inch discs. Freeze overnight for firm, frozen naners.

2. Place the banana slices in a food processor or powerful blender. Puree banana slices, scraping down the bowl as needed. If you have a hard time creating a creamy consistency, you can add 1-2 tablespoons of milk to help puree the banana slices. Puree until the mixture is creamy and smooth. Serve immediately for soft-serve ice cream consistency. If you prefer harder ice cream, place in the freezer for a few hours and then serve with fruit, nuts, grains, nut butter, or our delish muesli cereal.

For the fellow smitten Muesli lovers...

What better way to end your post party bangover weekend than cuddling up with a big bowl of raw muesli.  Muesli essentially is a raw version of granola, using nutrient dense nuts, seeds, dried fruits, and variations of grains. 

This muesli contains my favorite seeds of all including chia seeds, flax seeds, pumpkin seeds, and buckwheat. Buckwheat is the base of our muesli and despite it's name it does not contain any wheat therefore, you've got the GF stamp of approval. Buckwheat stabilizes blood sugar, strengthens the kidneys, is rich in vitamin E and B vitamins, and is super filling.  Buckwheat that has been roasted is known as kasha and will have a deep amber color. Since this buckwheat will be sprouted, make sure you use raw buckwheat and not kasha. After soaking the buckwheat overnight, drain the water and rinse it thoroughly.  Buckwheat gets slimy as it sits so rinse it until it is no longer slimy. Let it drain well and then let it sit out at room temperature to sprout for 2 days, rinsing it every 4 – 8 hours or so.  At the end of two days, your buckwheat will have little tails and will be ready for the dehydrator. Along with your buckwheat, it would be a good idea to soak and dehydrate your nuts and seeds. This process will remove a lot of the phytic acid found in most nuts and seeds and activate the enzymes which assist with the digestion of nuts. Okay so this sounds more like a weekend project with all this soaking, sprouting and dehydrating, but trust us it's worth it. 

(Note: I have a 9-tray Excalibur dehydrator thats about 6 years old. It's one of my favorite kitchen appliances and it’s the perfect size for making large batches of cereal at once.)

Once your respected nuts, seeds and buckwheat have been soaked/sprouted you can start adding the rest of your ingredients in a large mixing bowl. Muesli is the most versatile, you can make it your own and vary it as you like—mixing your favorite grains and throwing in plenty of fruit and nuts.  A worthy mention why this muesli is the best: it’s contains zero added sugar except for the natural sugar of dried fruit.


Ingredients:

2 cups raw Buckwheat
Water for soaking and rinsing
Pumpkin Seeds
Chia Seeds
Sliced Almonds
Sprinkle of Flax seeds
Half a cup of dried Coconut
Half a cup of dried fruit (goji berries, raisins, unsweetened cherries, blueberries, cranberries, etc)
 

Method:

  1. Soak the buckwheat overnight, drain the water and rinse it thoroughly. Let it drain well and then let it sit out at room temperature to sprout for 2 days, rinsing it (and draining well) every 4 - 8 hours or so. At the end of two days, your buckwheat will have little tails and will be ready for the dehydrator.
  2. Lay buckwheat flat in a single layer on a dehydrator tray. Dehydrate at 115 degrees F for about 6 - 8 hours, until light and crispy.
  3. Once dried, mix buckwheat with your other ingredients like nuts, seeds, and dried fruit. Store at room temperature in a mason jar or airtight container. Serve with a nut milk, yogurt and heat up this cereal on the stovetop if you'd like it warm.

Quinoa, Sweet Potato & Kraut Sushi with Miso Tahini Dressing

Quinoa sushi is a great alternative to traditional white rice sushi. White rice has a high glycemic index, which can spike your blood sugar and has very little nutritional value. Quinoa works well for sushi rolls - it holds together nicely and has a great texture and delicious nutty flavor. Using quinoa instead of rice is a great way to add some protein and fiber to your favorite veggie rolls! This sushi roll is mostly vegetables - sweet potatoes, homemade purple kraut - with some creamy miso tahini dressing for a little kick.

Ingredients:

1 ½ cups quinoa, rinsed and drained
3 cups water
1 medium sweet potato, peeled
Purple kraut or other vegetable
Nori sheets
Hemp Seeds

Dressing:
1 tbsp miso paste
1/4 cup tahini
2 tbsp water
Finely chopped ginger


Method:

Preheat oven to 400°F. Cut sweet potato into long, ½” thick strips. Toss with EVOO and spread on a baking sheet. Roast for about 15 minutes or until crisp-tender. Remove from oven, cool.

Combine quinoa and water in a medium pot with a lid. Bring to a boil, lower heat, and cook for 12-15 minutes or until water is absorbed. Transfer to a large bowl to partially cool. 

Prepare dressing: all ingredients in a high speed blender or food processor.

When ready to roll sushi, have all prepared vegetables, a small dish of water, and the quinoa near your work area.

Place a sushi mat on your counter. Top with a sheet of nori, shiny side down, almost to the edge of the mat closest to you. Dip one hand in water and scoop some of the quinoa from the bowl. Spread it evenly in a thin layer on the nori, leaving a small border on the edge farthest edge.

Place 2-4  sweet potato strips in the center of the quinoa, parallel to the bottom edge. Arrange a few slices of the other vegetables if you wish along side the sweet potato. We used a homemade kraut.

Hold edge of mat with thumbs, lift it along with the filling and roll away from you. Hold the roll and filling firmly, continue to roll with the sushi mat now on top of the roll. Firmly press the roll to tighten it and seal the edge with water. Slide the roll off the mat and cut into individual pieces with a sharp knife.

Serve with miso tahini dressing, pickled ginger and avocado.

Berry Crumble

This year E entered her tomatoes in the annual Tomato Feastival put on by Tally's finest Turkey Hill Farm. What better better way to sway the judges than with tomatoes in one hand and a berry crisp in the other? Her lil' sungold tomatoes didn't make the cut but participants in the cake walk sure were drooling at this crispy crumble. 

The beauty of a crumble is that is can be served in a bowl—no need to worry about a pie crust breaking before it reaches the plate. Can we just stop and take a second to think about all the amazing flavors that come along with summer.. Mmmmm ALL THE BERRIES.. I digress heres the recipe:


Ingredients:

Filling:
Blueberries
Blackberries
Strawberries
Rasberries
1 tbsp arrowroot powder
Juice and/or zest from 1 lemon
 

Crust:
1/2 cup earth balance softened
1 cup loosely packed brown sugar
1 cup gluten free oats
1/2 cup gf flour blend
1/4 cup hazelnut meal
1/2 teaspoon cinnamon
1 tsp salt
1 tsp cinnamon


Method:

1. Preheat the oven to 350°F. Spray a regular baking or pie dish with cooking oil.

2. In a large bowl, mix together the fruit and arrowroot powder and lemon juice, by hand and toss to coat the fruit. Set the fruit mixture evenly in the baking dish and set aside. 

3. In a large bowl, mix room temp butter with brown sugar then combine, oats, flour, hazelnut, cinnamon, and salt. Break up any lumps of flour or brown sugar.

4. Sprinkle the oat mixture on top of the fruit. Use spatula or spoon to lightly pack the crisp topping.

5. Bake at 350°F for 30 to 35 minutes, until the fruit is bubbling around the edges.

Strawberry Rhubarb Pie with Coconut Streusel Top

When visiting my grandparents in North Carolina a while back, I was lucky enough to take home a few bags of rhubarb freshly cut from their backyard. While I'm sure the world of rhubarb exudes farther than being drenched in sugar, we have yet to cross that path. So naturally, I decided to stick to my guns and make a nice warm pie filled with its sweeter friend, the strawberry, along with a few other nontraditional mixings.

The closing vibes of this pie should definitely be warmer and heavier rather than tart and light. With the dark sugar, cinnamon, and (surprisingly) orange zest, hidden under the crumbly streusel top, this pairs perfectly with a big spoonful or two of cold coconut ice-cream. Really, the coconut (flakes and flour) can be optional, but I love the flavor so much that I thought it might balance out the tang of the strawberry and rhubarb.

I'm a bit late to posting this, as rhubarb isn't really in season any more. But if you can get your hands on some, frozen or otherwise, it makes for a reliably delicious dessert!


Ingredients:

Crust:
2.5 cups pastry flour or coconut flour
1 cup cold applesauce (or you could use butter, but I had my grandma's homemade apple sauce so sup)
1 tbsp sugar
6 or more tbsp ice cold water
A pinch of salt

Strawberry Rhubarb Filling:
2 cups sliced rhubarb
2 cups sliced strawberries
1/2 cup brown sugar
2 tsp. cinnamon
About 2 blood oranges worth of zest

Streusel Top:
1/2 cup coconut flour
1/2 cup brown sugar
2 tsp. cinnamon
1/4 cup coconut shreds
6 tbsp butter alternative
*optional - 1/3 cup rolled oats

Method:

1.  First make the dough - Combine the dry ingredients well, then add in the applesauce or cold butter cubes. Pulse in a food processor until well combined, with a chunky-meal consistency. 

2. Add the ice cold water to your dough mixture slowly, folding it in as you go. Once you have used all the water, take out a continue to kneed until a smooth texture (you may need to use extra flour). You will want to wrap this in saran wrap and refrigerate for about 30 minutes to an hour.

3. Preheat the oven to 350 degrees.

4. Next start to prepare your pie filling. Cut up the rhubarb and strawberries in preferential chunks and add to your mixing bowl. Add in the rest of the ingredients and mix well. Let this sit out in room temperature for about 20 minutes, so that the fruit juices have time to meet and mingle.

5. Next combine your streusel by mixing in all ingredients until you have a crumbly texture.

4. When done with previous preparations, take out your dough and spread flat for your pie pan. Cover your pie pan with nonstick cooking spray or coconut oil, and then spread your crust.

5. Add in filling evenly, and then atop lay crumbly streusel so that it fully covers the filling.

6. Bake for about 50 to 60 minutes. If using coconut flour, it make take a bit longer depending on your oven.

No Bake Strawberry n' Almond Cream Tart

This recipe is simple - spread a layer of sweetened cream cheese in a date and walnut pie crust and pour over it a layer of strawberries - the classic summer tart with a fresh fruit boost and through the magic of raw pie crust and tofutti cream cheese it is easily made gluten free and vegan. Check, check!

Ingredients:

Crust
1 cup Walnuts
1/2 Almonds
3/4 cup Dates
1 tbsp Maple Syrup

Filling
1 package Silken Tofu or 3 ripened bananas
1 container of Vegan Cream Cheese
1 tsp Almond Extract
3/4 cup of sugar
5-6 Strawberries

About 12 Strawberries for decorating the top.
 

Method:

1. Blend the walnuts and almonds in a food processor until you have  a coarse ground. Then add the dates and maple syrup and blend until you get a sticky clumpy mixture. 

2. Press the mixture into a 9” dish circular tart dish. This no-oil, no-bake crust can be a little difficult to get out of the pan, so consider lightly oiling the pie pan first. Dusting the pan with a sprinkling of crushed nuts may also help keep the pie from sticking.

3. For the filing blend all ingredients in a food processor until you get a thick creamy mixture.

4. Pour mixture into crust and arrange sliced strawberries on top of the pie in a circular pattern until the surface is covered. Chill in the freezer for 2 hours before serving.

Easy as pie! I mean tart..

Quick Raw Beet & Carrot Salad

I know what you are thinking.. beets again?!  Yes folks, beets always. Because they are good to our taste buds and good for our bodies. Still in season, beets and carrots have been in abundance this past month or so, ruling our root veggie pallet with hella flavor combinations.  

Sometimes raw beets don't get enough love. But stained hands aside, it's one of the healthiest ways to enjoy this delish vegetable. You see, beets are an incredible source of the phytonutrients, betalains. Betalains provide a wealth of anti-oxidants, specifically that promote eye health and nerve tissue health; aid in detoxification, and present anti-inflammatory benefits. This phytonutrient is also the pigment which gives beets those rich, stained hues. 

All to say - the v important betalains are not  heat stable. The longer you cook your beets, the less nutrients you'll receive. So! Bypass the whole problem and keep these babies raw. Fear not, because this simple and yum recipe makes that pretty easy to do.


Ingredients:

2 carrots, grated
1 medium beet, grated
3 tbsp chopped scallion
1 tbsp chopped fresh mint
juice from 1/4 lemon
juice from 1/4 orange
1 teaspoon sea salt
¾ teaspoon ground cumin
olive oil drizzle
1 tbsp hemp seed hearts

Method:

1. After carrots and beets are shredded in a food processor or grated by hand, transfer the veggies to a serving bowl.

2. Add chopped scallions and mint to the mix.

3. In a medium bowl or in a screw-top jar, combine lemon juice, orange juice, sea salt, cumin and olive oil.

4. Pour enough dressing on top of carrot and beet mixture to coat lightly and toss until combined.  Add more if desired.

5. Add hemp seeds and avocado on top of salad and taste for seasoning.

Raspberry Star Anise Walnut Bars

This perfect crumbly sweet creation is so rich in good flavors you would never think it had so few ingredients. And even better, gluten free, and vegan. These bars are best know for their flavor shock value in the best way. We used anise honey from our honey infusion post, but if you don't want to go the extra mile, maple syrup will do the trick. This loaf can be easily made with gluten as well with any whole grain flour and same goes for the nut situation. We love walnuts because of their anti-oxidant and anti-inflammatory benefits. They are a great source of fatty acids, they help lower bad cholesterol and increase good cholesterol, Vit E and B complex groups, manganese, copper, iron, potassium.


Ingredients:

1 1/2 cup AP Gluten Free Baking Flour or a 1:1 ratio of two types of GF flour
1/2 cup coconut oil
1/2 cup star anise infused honey (or maple syrup)
1 tsp baking soda
1/2 cup finely chopped walnuts

Method:

Preheat oven to 375F. Line a 9" baking tin with parchment paper.

In a large bowl, mix together the coconut oil and honey or maple syrup until smooth. Add the flour and baking soda and combine. Finally stir in the chopped walnuts and raspberries with yr fav lickable spoon. 

Scoop the batter into the baking tin and pat down until evenly distributed.Bake for approx 30mins.

Remove and allow to cool completely before cutting into squares. The bars will be crumbly if not cooled. 

Strawberry Rose Chia Jam

Home-made jam might sound threatening, but its really more the result of a diligent process than difficult to make. I want to spread home-made jam message, so to speak, that its easy enough to make but bountifully more impressive of a result!

Like this jam - strawberry and rose with chia seeds. Easy to make with just a handful of ingredients. Assuming that you may not actually have the time to go and dry your own rose petals... you can often buy them in bulk from the local health food store.  Rose adds an elegant and subtle flavoring to the strawberries. Plus can be used in an abundance of other recipes, so is nice to have on hand. 

Depending on your use for the jam, or what state of emergency your snack attack is in, it's easy to either prep your cans for a longer shelf life or be ready to eat out of within the hour. Canned jam can be stored for months, if not years!  This is a nice read that goes more in depth on shelf life rules and tips. But I couldn't resist, and had to try my jam right away on my Raspberry Maple Walnut bars.

I also like to give these little jars of goodness as gifts to friends and family. I simply cut out paper labels, write the jam name, and tied them to the jar with a bow. Perf idea for all the lovely mamas we'll be celebratin (eryday, but commercially) in a few weeks for Mother's day!


Ingredients:

1 pint fresh strawberries, hulled and quartered
1/2 cup cane sugar
1 tbsp rose water
2 tbsp rose petals

*makes one pint size jar 

Method:

1. Remove yr cat from the counter top.

2. In a large saucepan, heat the strawberries, sugar, rose petals and rose water on medium heat. The strawberries will begin to soften and gently bubble. 

3. Add your chia seeds.

4. Allow the strawberries to simmer for roughly 15 minutes, stirring occasionally, until the sugar has dissolved and the strawberries have cooked down to a gooey, thick consistency.

5. Turn off the heat, and pour the hot jam into a sterilized jam jar, filling up to the top. This is a quick jam that I will probably go through in one week so no need for canning. 

6. Screw on the jar lids tightly and set aside the jars to cool (you might need to hold them with a dish towel as they might still be hot to touch). As the jam cools, you will hear the lids pop inward indicating that the jam has been officially sterilized! The canning process is complete!