
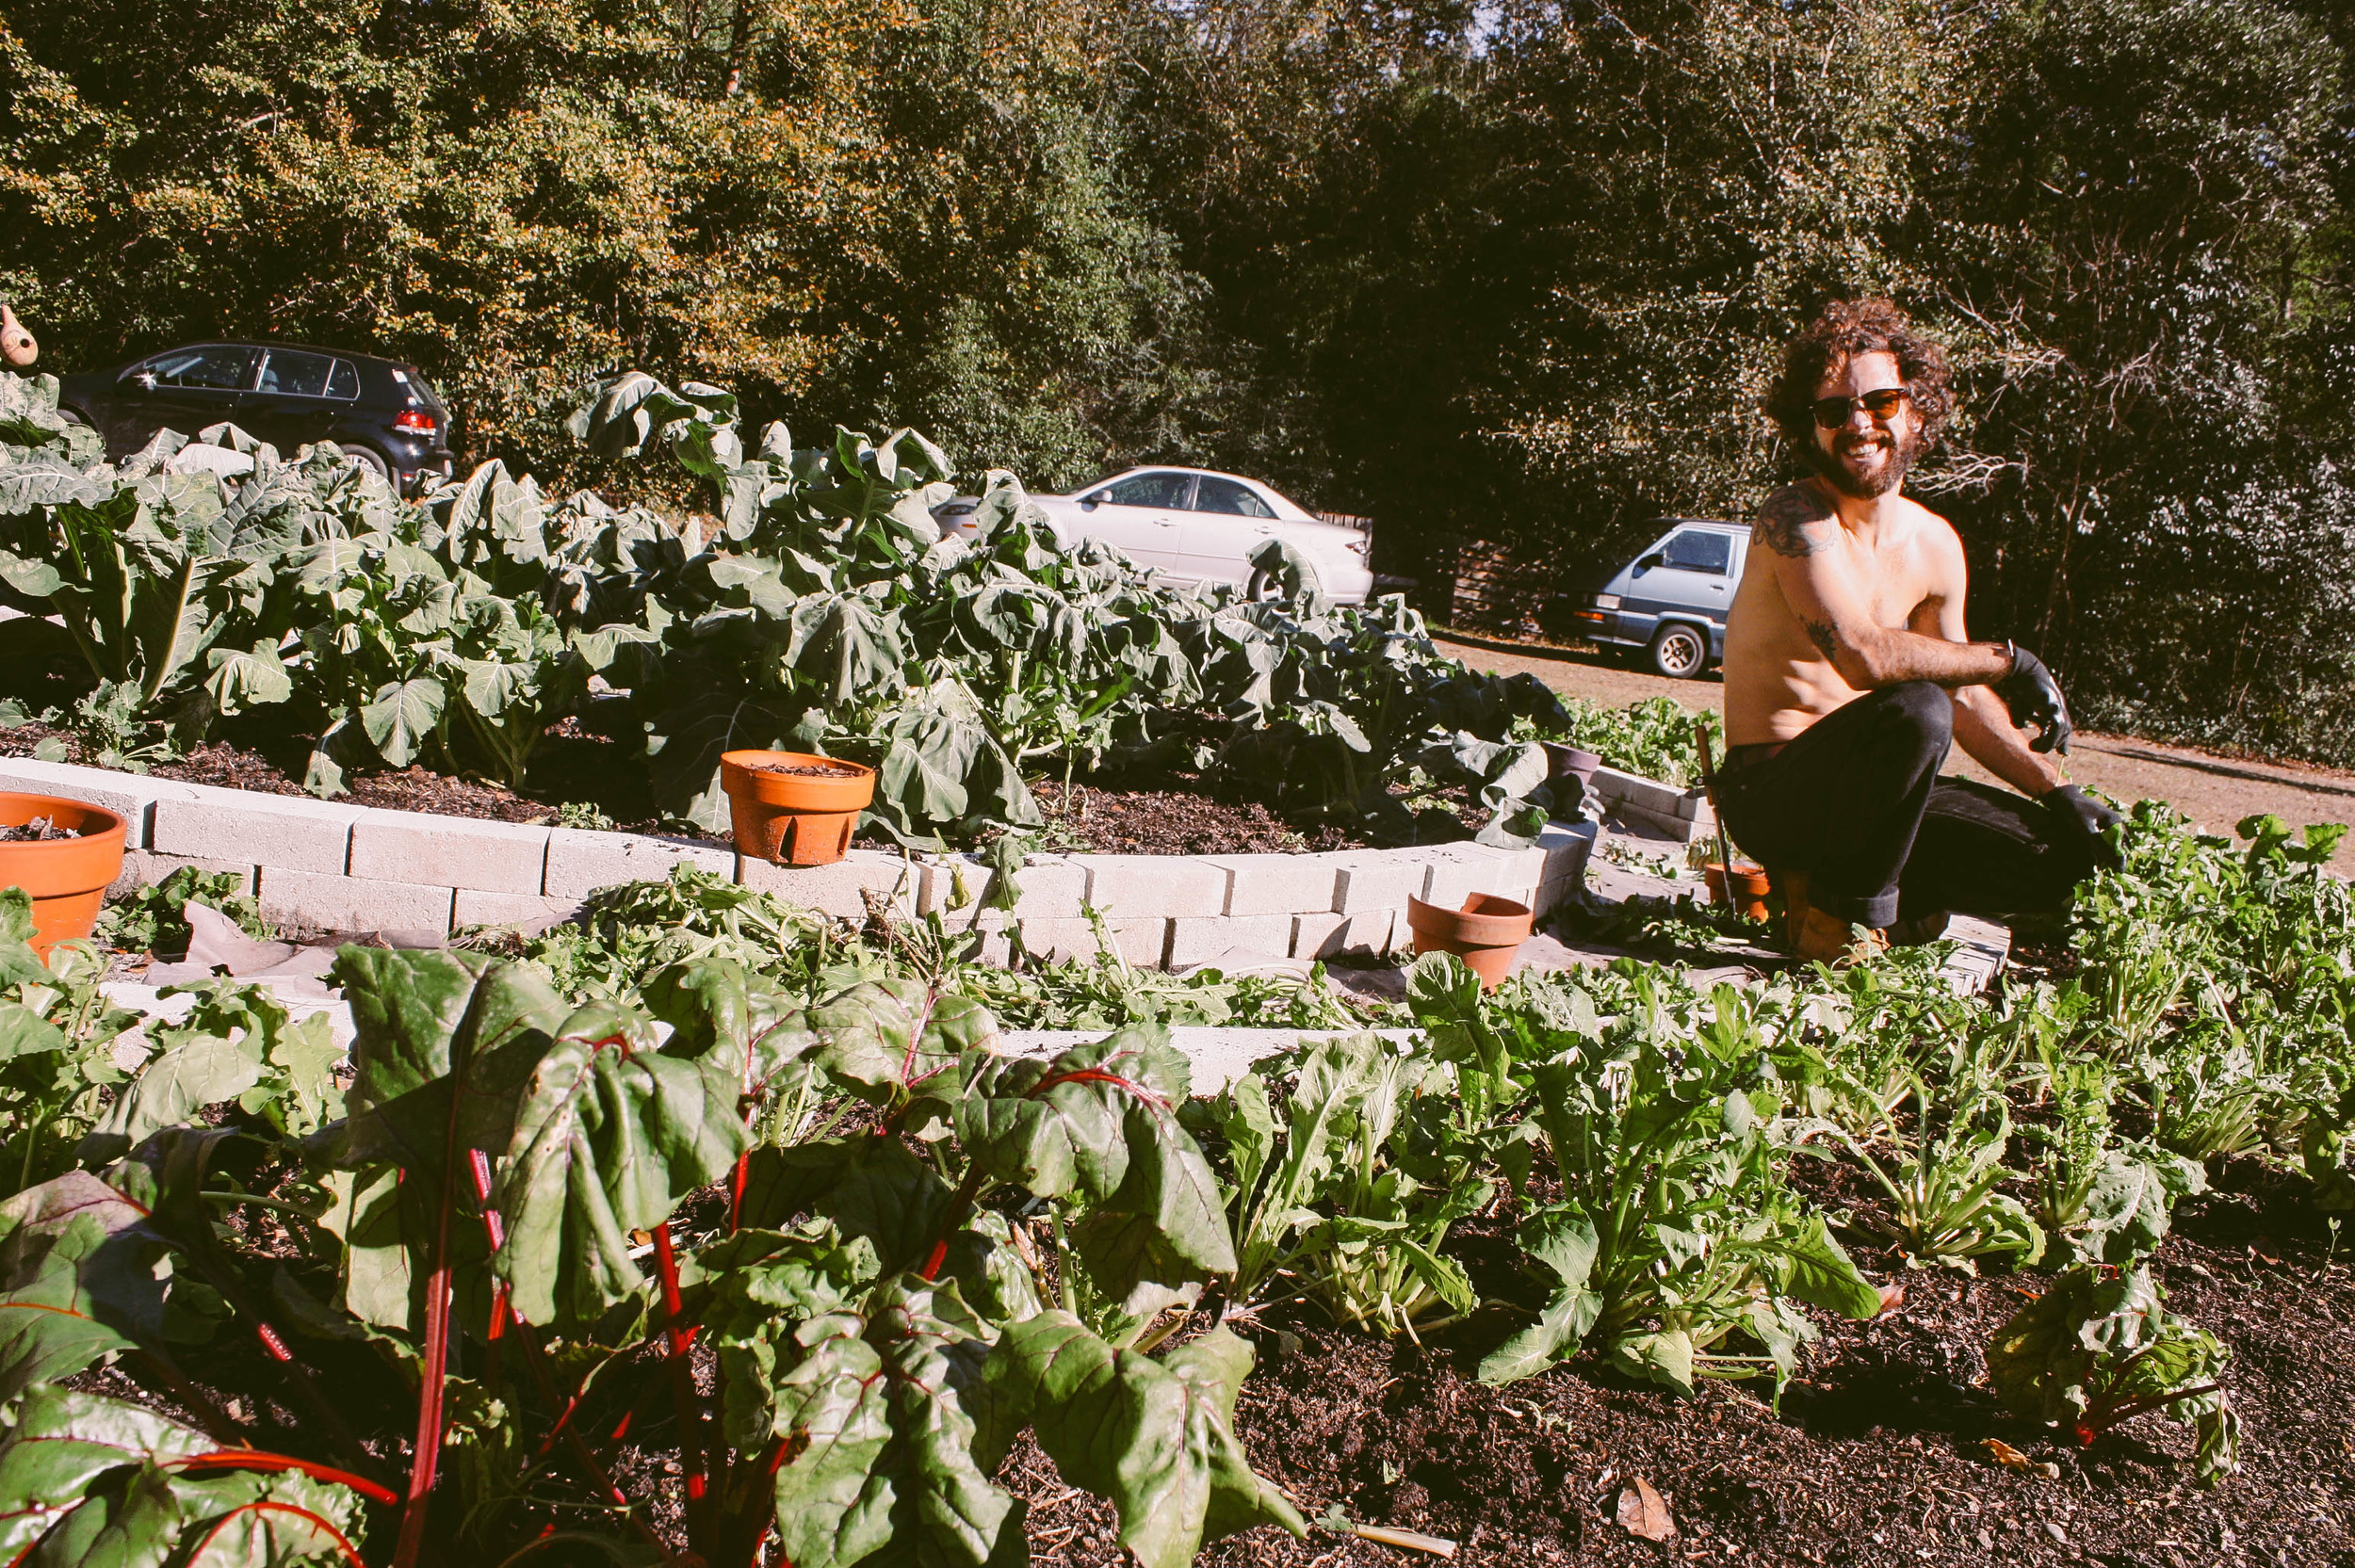
One way to start becoming more self-sufficient, stick it to the man, and reduce your monthly grocery bill is to simply grow your own food. Ryler, my housemate and I created our little dreamscape garden the end of summer 13'. We aren't garden geniuses and these tips and tricks are just basic things you may have heard already, but we just enjoy growing plants and vegetables for our roommates and encourage you to give it a shot. It’s a lot easier than most people think and extremely satisfying. There is nothing better than cooking with your own homegrown harvest, sharing it with friends and making table memories with roommates. Choosing to grow your own produce assures that the food is cleaner and healthier than anything you could buy in the local produce aisle. There’s this amazing sense of gratification that comes from the knowledge that you made it all happen, from garden to table. It is all a learning process and you will learn something new every season. Not everything we have planted turned out perfect, but gardening is a learn by trial and error thing and you will just get better every year. If that’s not enough of a pep talk, rest assured that growing what you eat offers an intense and thrilling connection with earth and all of its wonderfully miraculous ways.
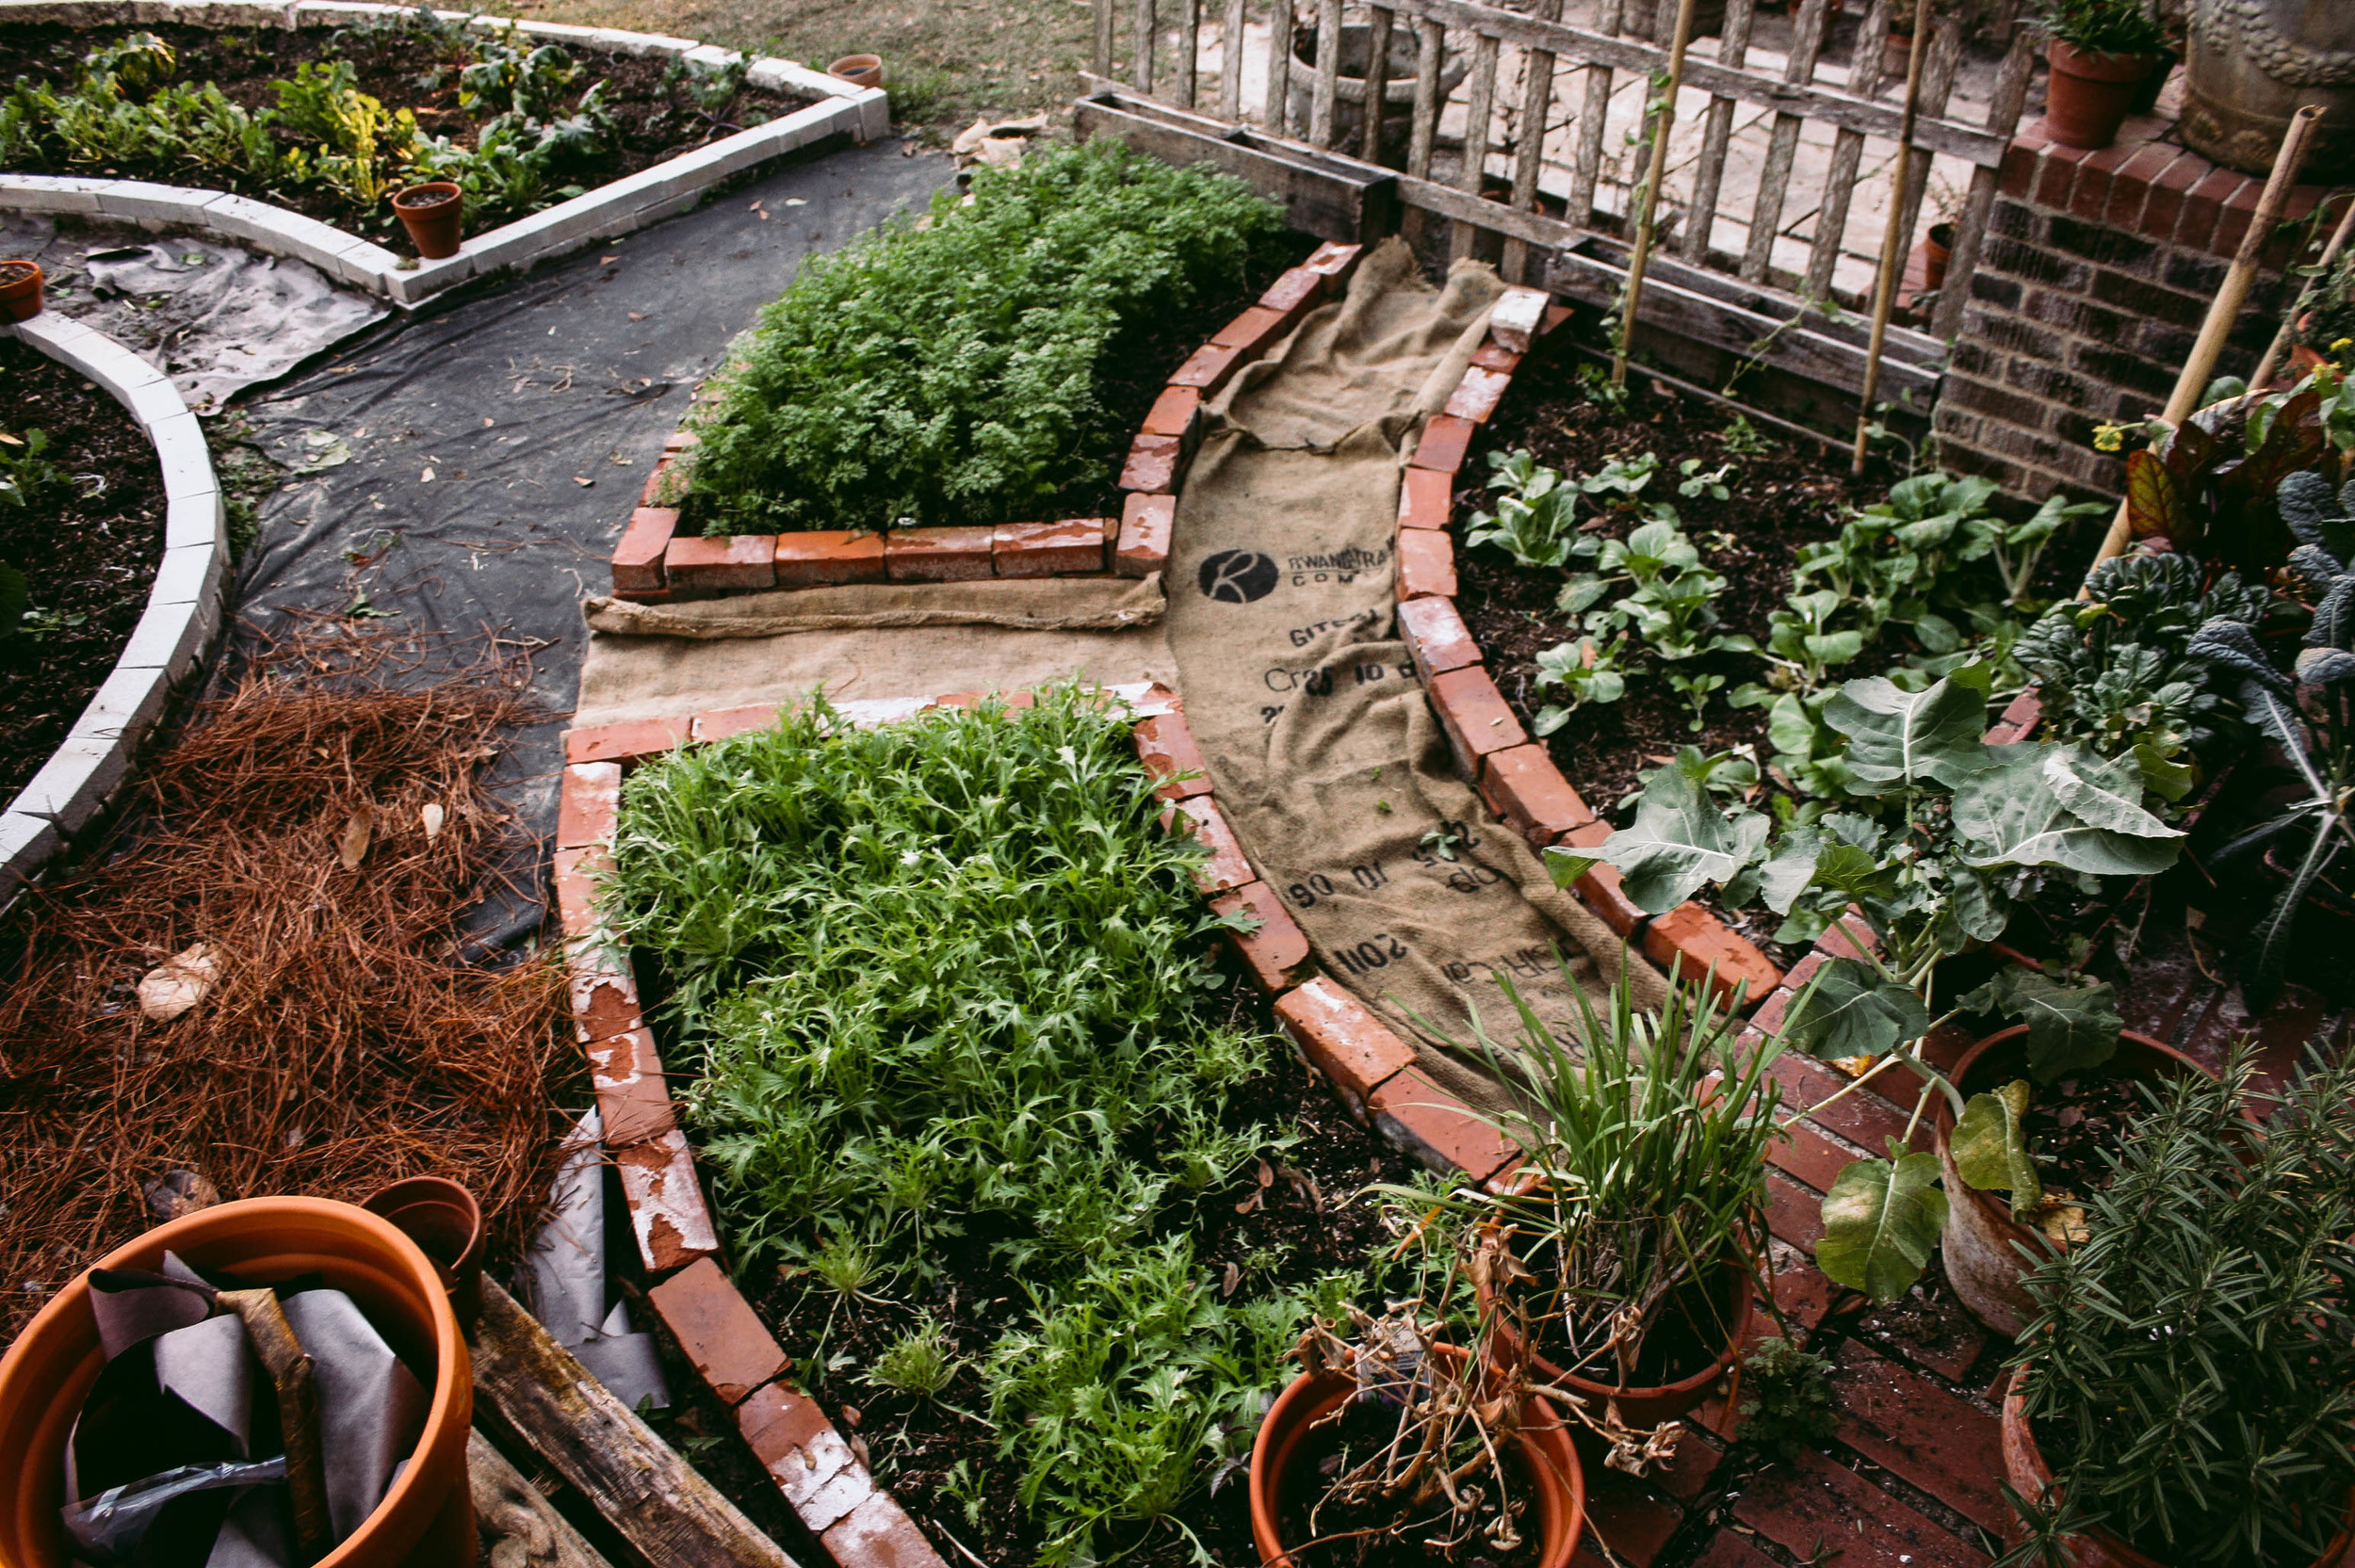
Keyhole bed design concept
"Butterfly Blue" Pincushion Flower, Scabiosa columbaria
Calendula officinalis bloom
Our Garden Basics
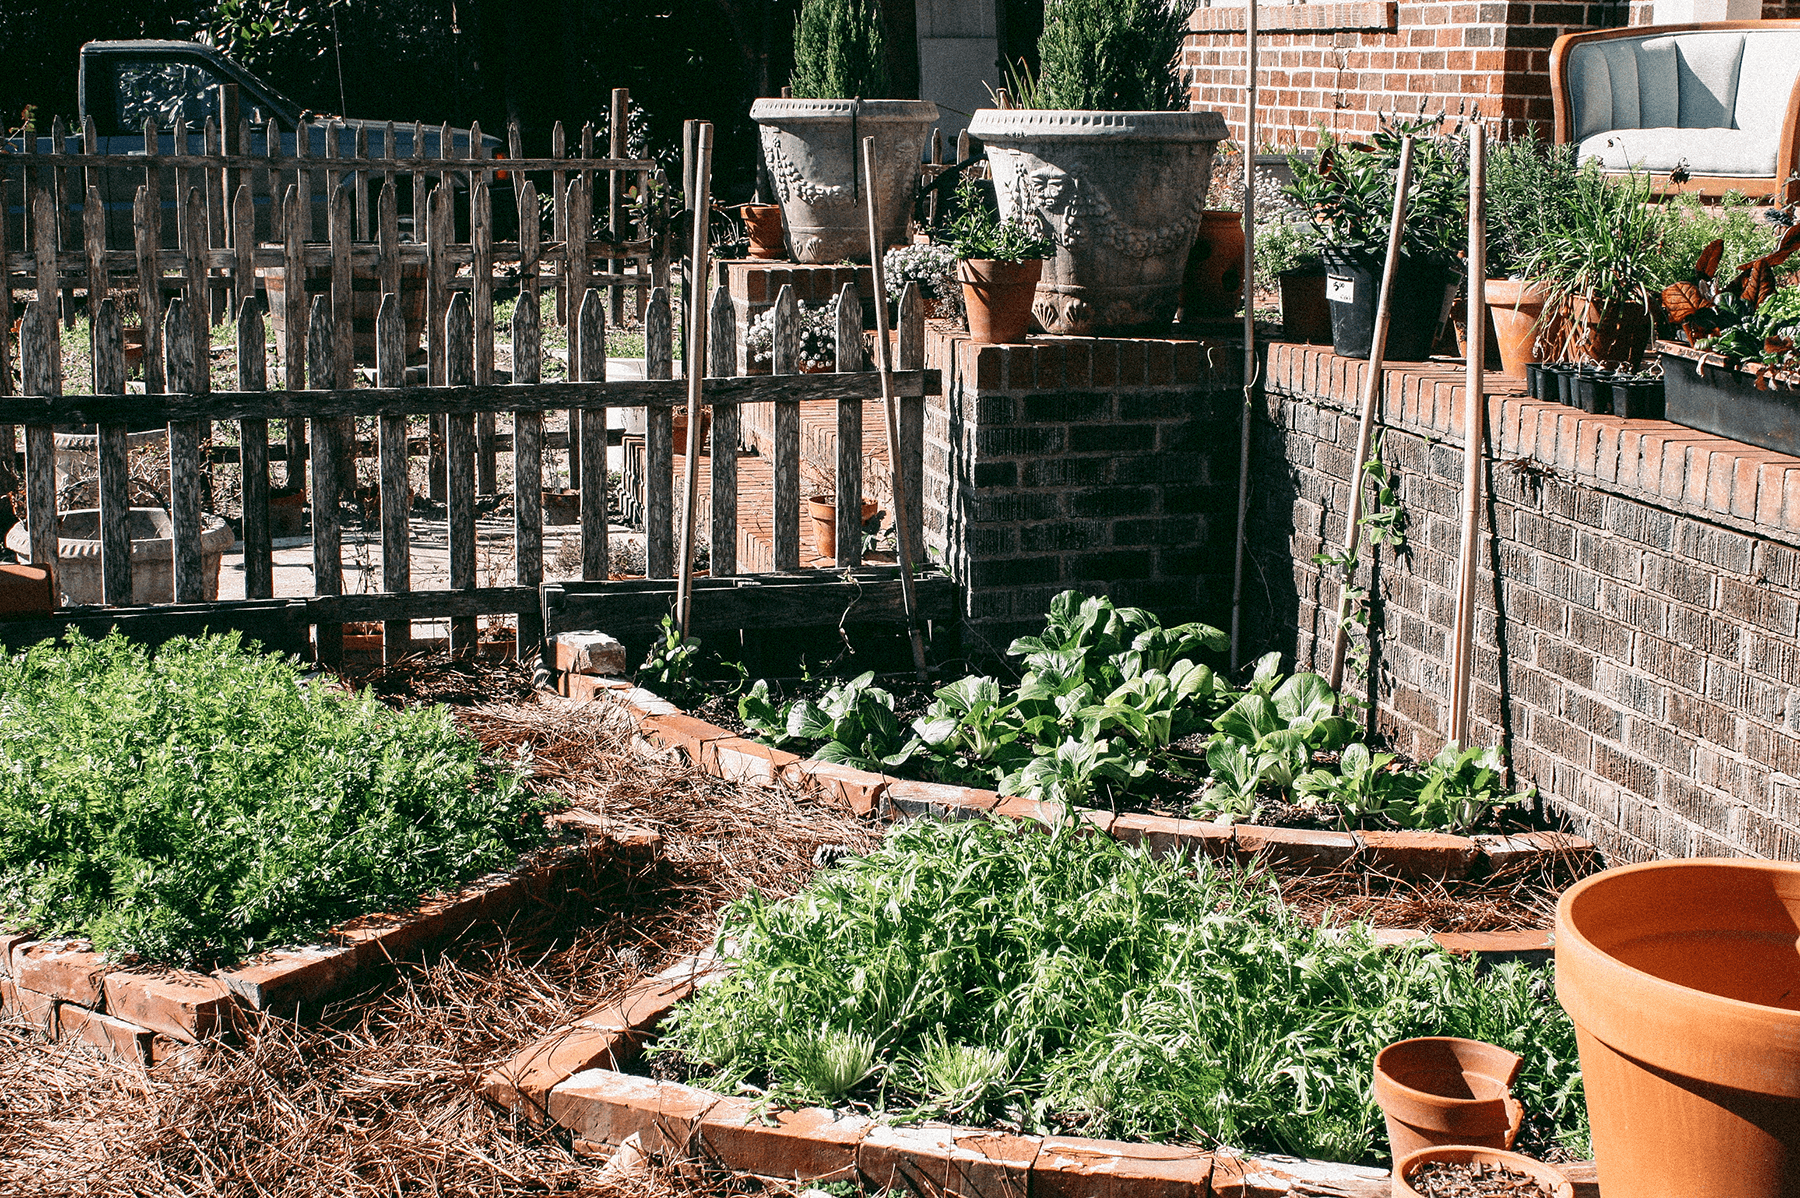
Site Preparation
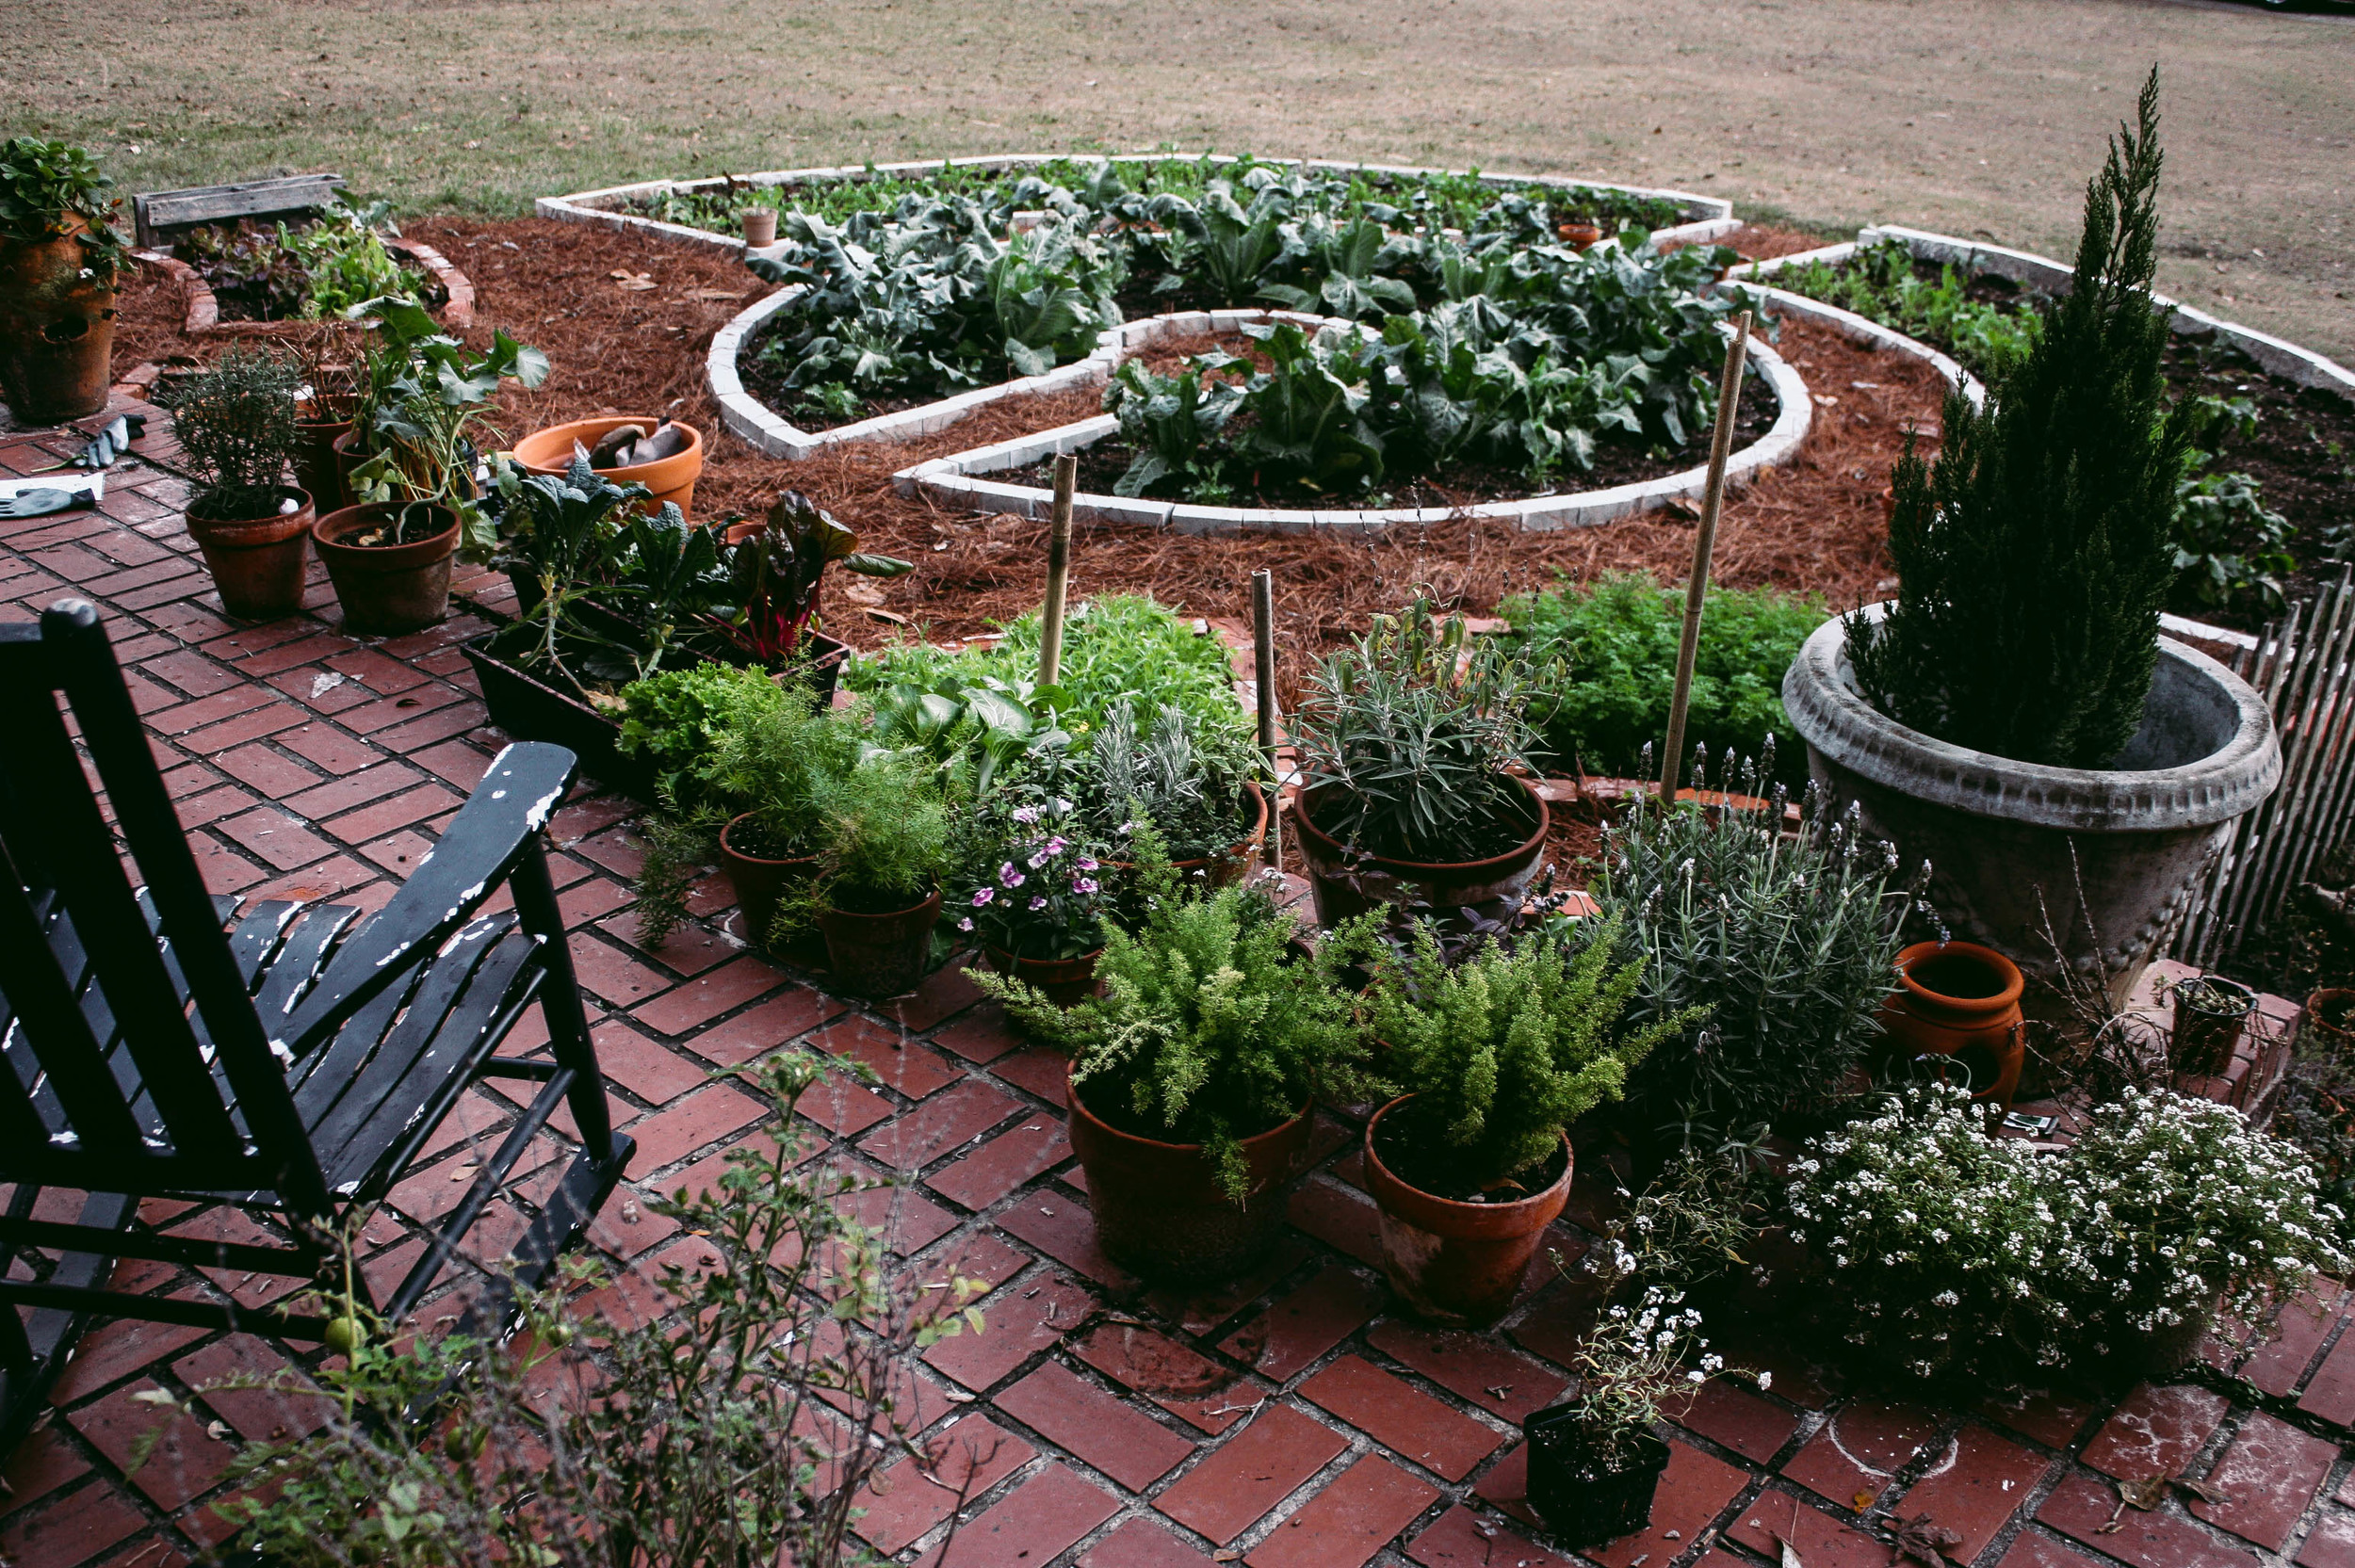
We chose a spot with maximum sunlight, as most vegetables require about six plus hours. A south or west facing site is ideal. You'll need a blank slate of weed free soil. If you don't have this you should remove any existing & vegetation from your growing site, but remove as little topsoil as possible. If that seems too backbreaking you should look into the sheet mulching method. Sheet mulching is an excellent way to weed control *without the use of chemical herbicides* while introducing lots of organic matter, something that the tough clay soils of the Tallahassee area need greatly. You'll need to soak the ground where you want to remove the weeds, lay out your cardboard and soak that as well, and then cover with compost and mulch. Then let the power of the sun go to work, which will solarize the plants and kill the remaining seed bank. The cardboard will break down and decompose over time, as will the mulch, and you will be left with a new garden bed all ready for you to add your favorite wildlife habitat plants or vegetable garden. The keyhole bed design we've placed in the center of our garden is a permaculture principle design that allows maximum garden space and minimum pathway for increased veggie production capacity.
Choosing Your Edibles
Make a wish list of your desired edibles, and then consider what will fit best in your space. For beginners, uncomplicated growers include carrots, peas, lettuce, potatoes and strawberries.. nothing beats a just-picked, homegrown strawberry, warm from the sun *runs outside to check if strawberries are ripe yet. nope. damn*. Don't be afraid to try anything, just be sure you can provide it with the space and growing needs it may require. Be aware of your planting design so that taller crops don't shade out the shorter, sun- loving crops. With spring just around the corner, now is the time in North Florida to start preparing heat loving varieties like tomatoes and peppers. But don't forget to leave room for varieties you want to plant later, or plan what early crop you will harvest to make room for later crops.
Soil Preparation
Soil for vegetable gardens should be well-drained and rich in organic matter. You will need to loosen the compacted soils with either a digging fork or spade. Then amend your soil with organic matter -- we used mushroom compost, worm castings, kitchen/garden waste, cow manure, and chicken manure throughout the whole bed -about six to eight inches deep. You can choose to plant your veggies in rows, leaving pathways to access the growing area (no wider than you can reach to weed is a good width), or you can make square foot gardens, ideally 4x4 spaces with each 1x1 corner planted with a single crop.
Care
Specific care requirements will depend on the type of crop you choose to grow. A little research and basic vegetable book will help you. Generally, most you grow will benefit from regular fertilizing and watering. Using a soaker hose for irrigation instead of overhead watering will greatly lessen your chance of disease. If you must water overhead, try to do so in the morning. Water thoroughly on a regular basis as most crops have shallow roots and need regular water. In sunny weather, especially if you have raised beds, you may have to water more often.
Starting from Seed
The first thing that most people should do when starting a garden is sprouting seeds. Sprouting your own seeds is cheaper than buying plants, and you can make more precise decisions about the varieties you'll grow. Most of the conventional seeds you see at the stores are not very good. I've had good luck with seeds from Seedsavers Exchange, Renee's Garden, Bakers Creek Heirloom Seed Co, and Seeds of Change. If you want to get real ambitious, save your own seed! There's nothing more rewarding IMO than seeing delicate little saved seedlings poking their sprouts out of a moist bed of rich soil. I also love to save my own seed, and buy plants from Native Nurseries who gets a lot of there organic vegetable plants from Holly Hill Farm in Monticello and O'Tooles Herb Farm in Madison, FL.
Harvest
So all you have to really do is harvest. If you don't harvest, the plants will grow too densely, go “leggy” with tall, thin stalks and small leaves. This means that they will loose productivity and run to seed early. So you have to make sure that you always pick enough to give other plants a chance to come through. The space left by a harvested plant will be quickly taken up by its neighbors. This way, there is never any empty space or bare soil.
After everything has been picked you can prepare the bed for the next season with a different crop or plant mixture. Alternatively, you can sow a crop of green manure (cover crop) to improve the soil, or leave the area fallow with a big pile of mulch until you are ready again next season.


Encourage Wildlife in your garden!
Seed by seed. Plant by plant. Working from the front door outward. Then the birds, bees, and butterflies eventually show up and join in. Over time an organic garden develops a balance of wildlife which helps to control pests. You can make wildlife welcome by providing food, native plants and shelter. As if vegetable gardening wasn't already gratifying enough, having birds, lizards, butterflies, dragonflies, ladybugs, bees, butterflies, moths and even occasional foxes visit assures you've got a healthy garden full of life.
Bees pollinate many of the plants we eat, yet some species are in serious decline for reasons that have yet to be discovered. We need to create favorable environments for them, especially in our own garden. Bees feed on the nectar of plants, so iif you want to invite them you should provide them with plenty of food.
Butterflies and Moths need all the help they can get with food supply due to the intensive farm practices they are threatened by. Planting a year round succession of flowers and shrubs that provide the nectar needed by these creatures will help to ensue their continued survival. Choose open-pollinated plants rather than hybrids, and single rather than double flowers as these contain more nectar. More flowers mean more food for insects and at the end of the flowering season the seeds will provide valuable food for birds so it makes sense to leave the dead heads on the plants. Wildflowers are also encouraged in nicks and crannies of your garden and a few weeds here and there will add to the range of food plants.
Birds add manure to the garden and eat a variety of pests including leatherjackets, greenfly and snails. Leave seed heads in the winter for birds to feed on and sugar water for hummingbirds.
Frogs and toads eat slugs and snails. They like cool damp places. Any shady place can be a home for frogs and toads. A small pond will encourage them to stay and breed.

