

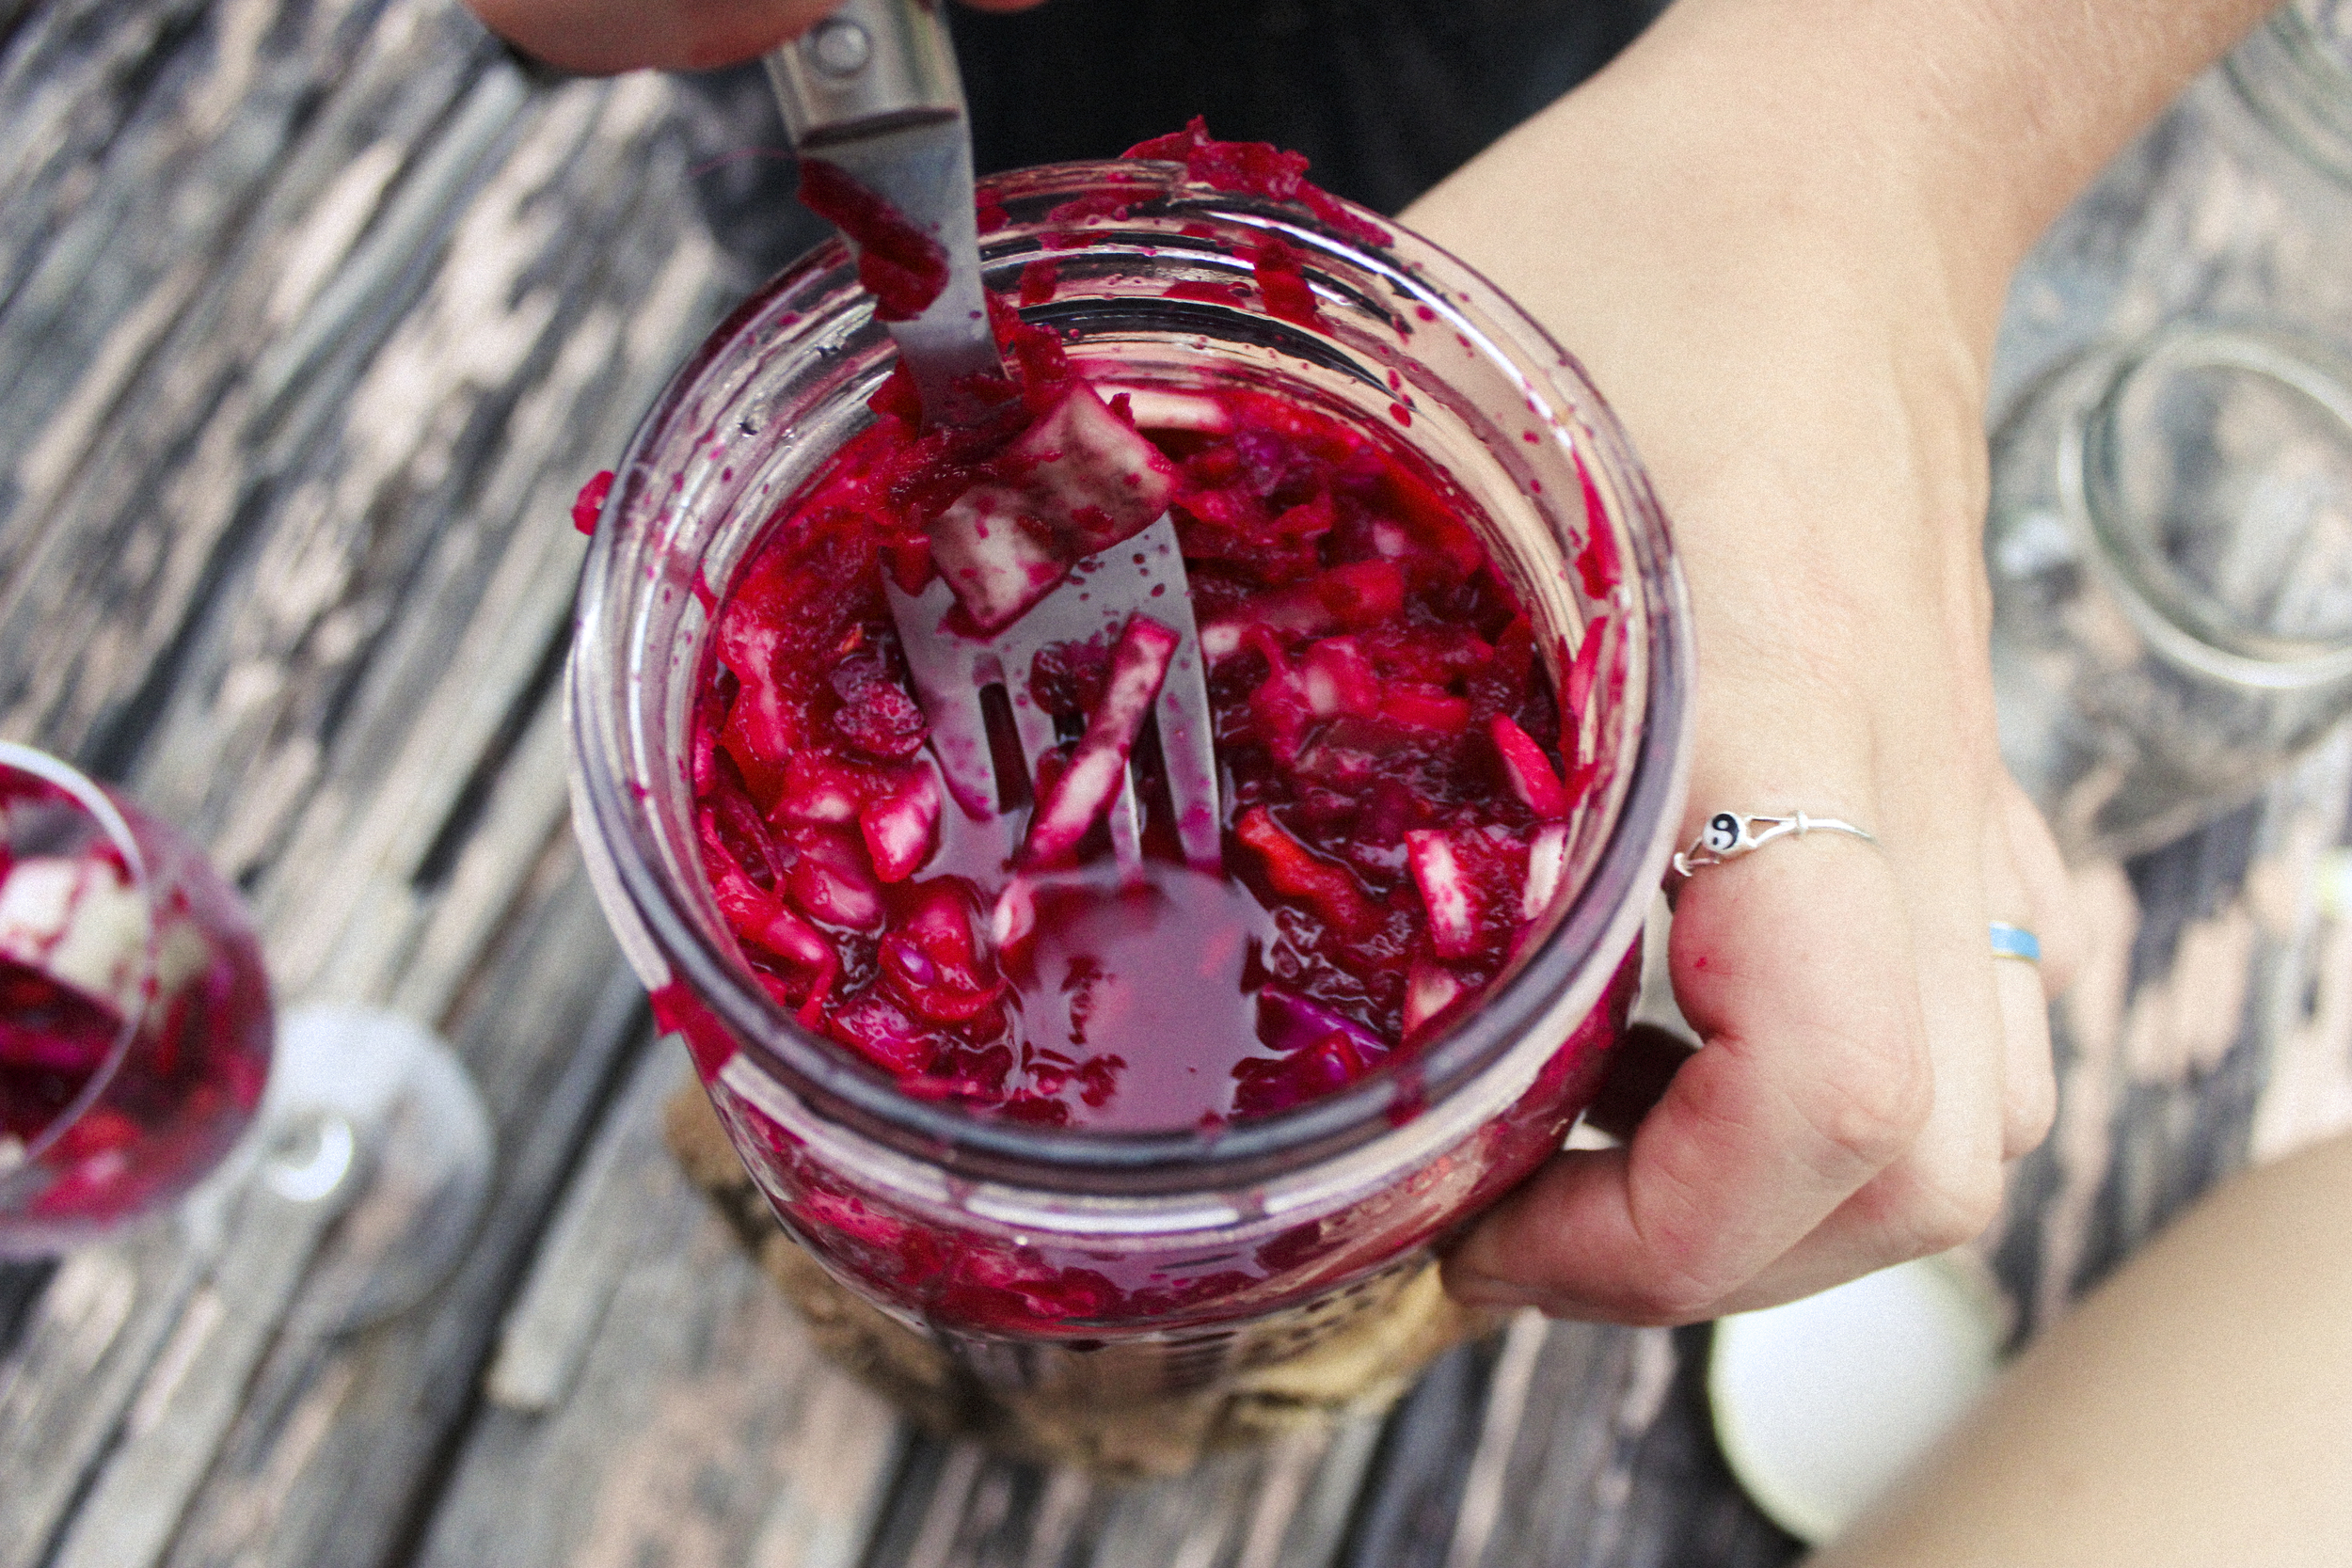
There are a few methods to making kimchi: pressed, brine, and paste. I have experimented with all methods, but I find the one I am presenting you with today is easiest for beginners. We aren’t kimchi experts, but we do know that this stuff is easy to make and damn tasty. We chose to go with the pressed method, which is a more simplified method that doesn’t require soaking the cabbage in salt water overnight. The pressed method involves squeezing the ingredients until they release a lot of liquid. We put the batch into a clean mason jar and then tightly pressed down on the mixture with a fork until the ingredients were completely submerged in their own juices. The sea salt also helps draw the liquid out of the food and preserve it until lactic acid formulates.
By eating fermented foods that contain natural, good bacteria, we boost the number and variety of bacteria living in our guts, almost like taking probiotic supplements, except much less expensive and much more delicious.
Lactic acid is a natural preservative/probiotic that is the end product of starch and sugars from fruits and vegetables, converted by healthy bacteria (aka lactobacilli). It is responsible for promoting regular bowel movements, improving digestion, enhancing immune function, producing antioxidants, normalizing skin conditions, reducing cholesterol, maintaining bone health, and managing blood sugar levels.

Kim chi generally requires little preparation or work. Its very simple and you don’t need to wait a long time to enjoy the results. Even if you have never made a single ferment in your life, kimchi is a great first-timer’s because it tastes delicious no matter what you do to it! We waited 5 days to observe and ponder the magical actions of invisible allies developing in our kimchi, but feel free to wait a few extra days longer. Many live-culture foods get better the longer you leave them.
Heat destroys all the delicate bacteria, so the foods must be raw to be beneficial.
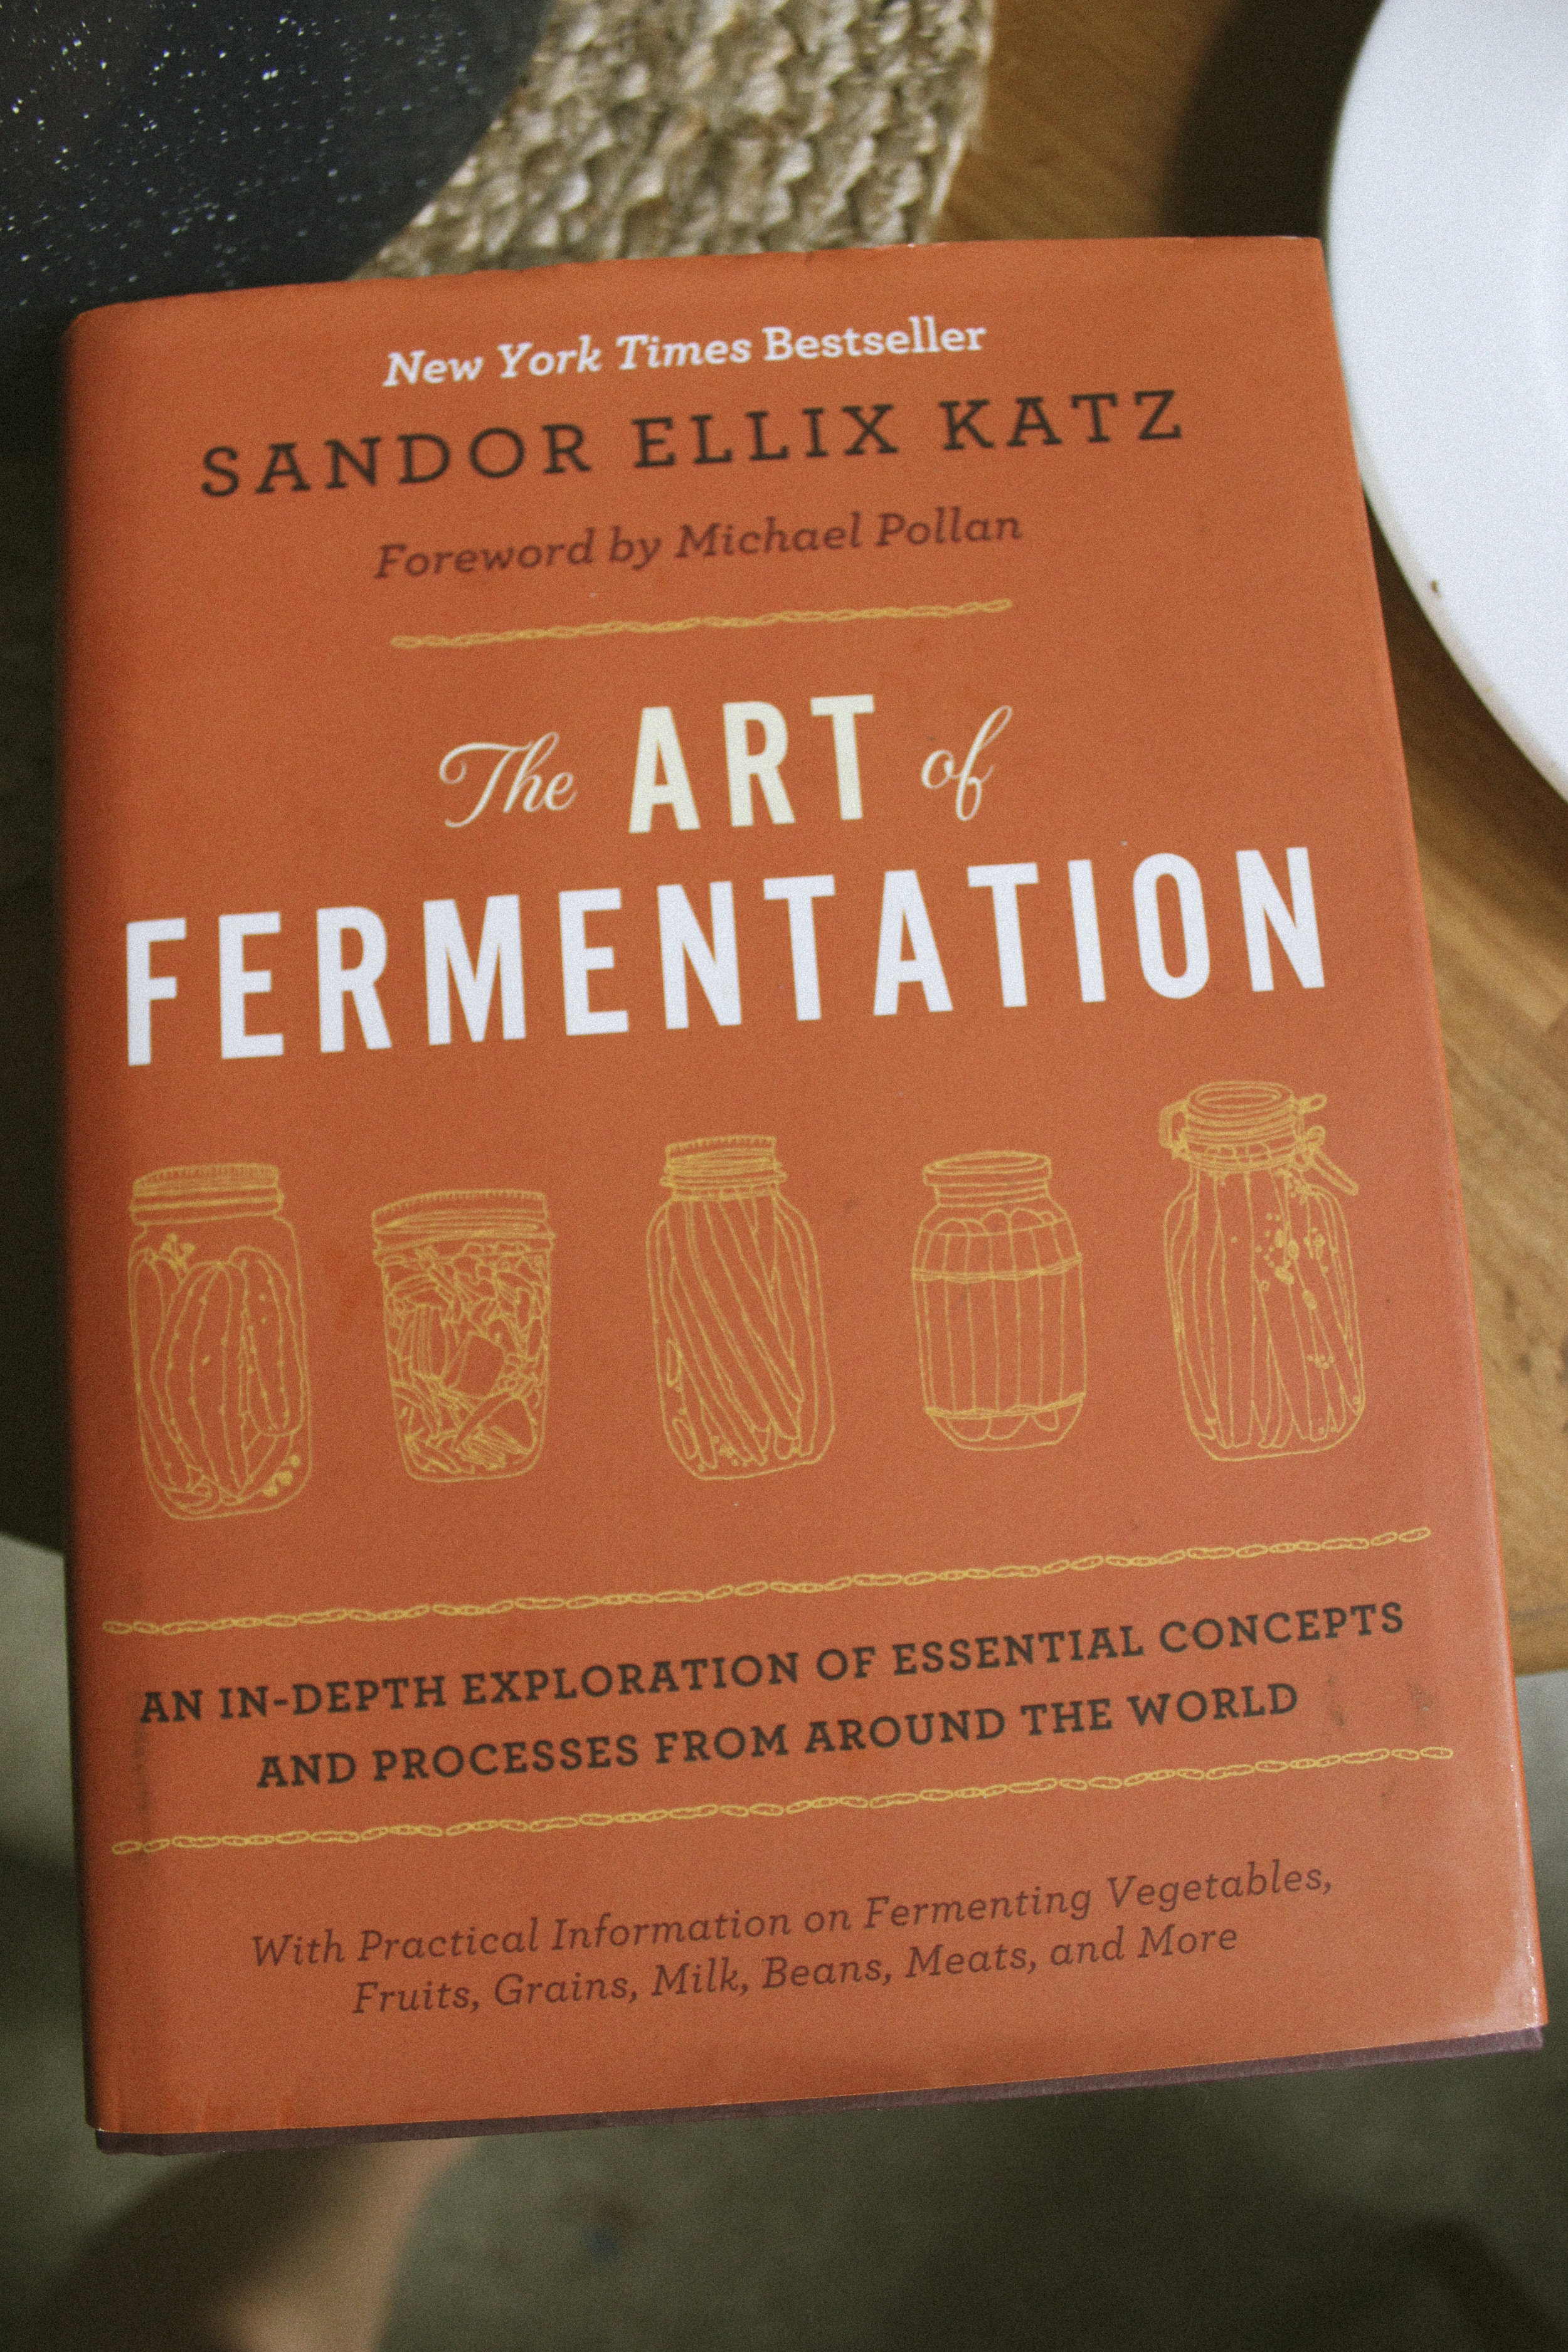
The bottom line is fermented foods are amazing for your overall health. The larger the variety of fermented foods you can take in the better, as this helps populate your digestive system with a variety of microorganisms. Some examples of other fermented foods that are widely available are plain yogurt, miso, tempeh, pickles, sauerkraut, kefir, and kombucha. When purchasing these items make sure that they do not contain sugar, preservatives, food dyes, and most importantly that they have not been pasteurized. Heat destroys all the delicate bacteria, so the foods must be raw to be beneficial. I say – go find some gorgeous veggies and try a good old-fashioned DIY recipe, it’s way easier than you could have ever imagined. If you’re interested in diving more into the vast world of fermented foods check out fermentation guru, Sandor Katz.
Here's to kimchi magic, happy bellies, and tangy summers! Stay tuned for more xoxo yr gut experimentation with fermentation recipes!
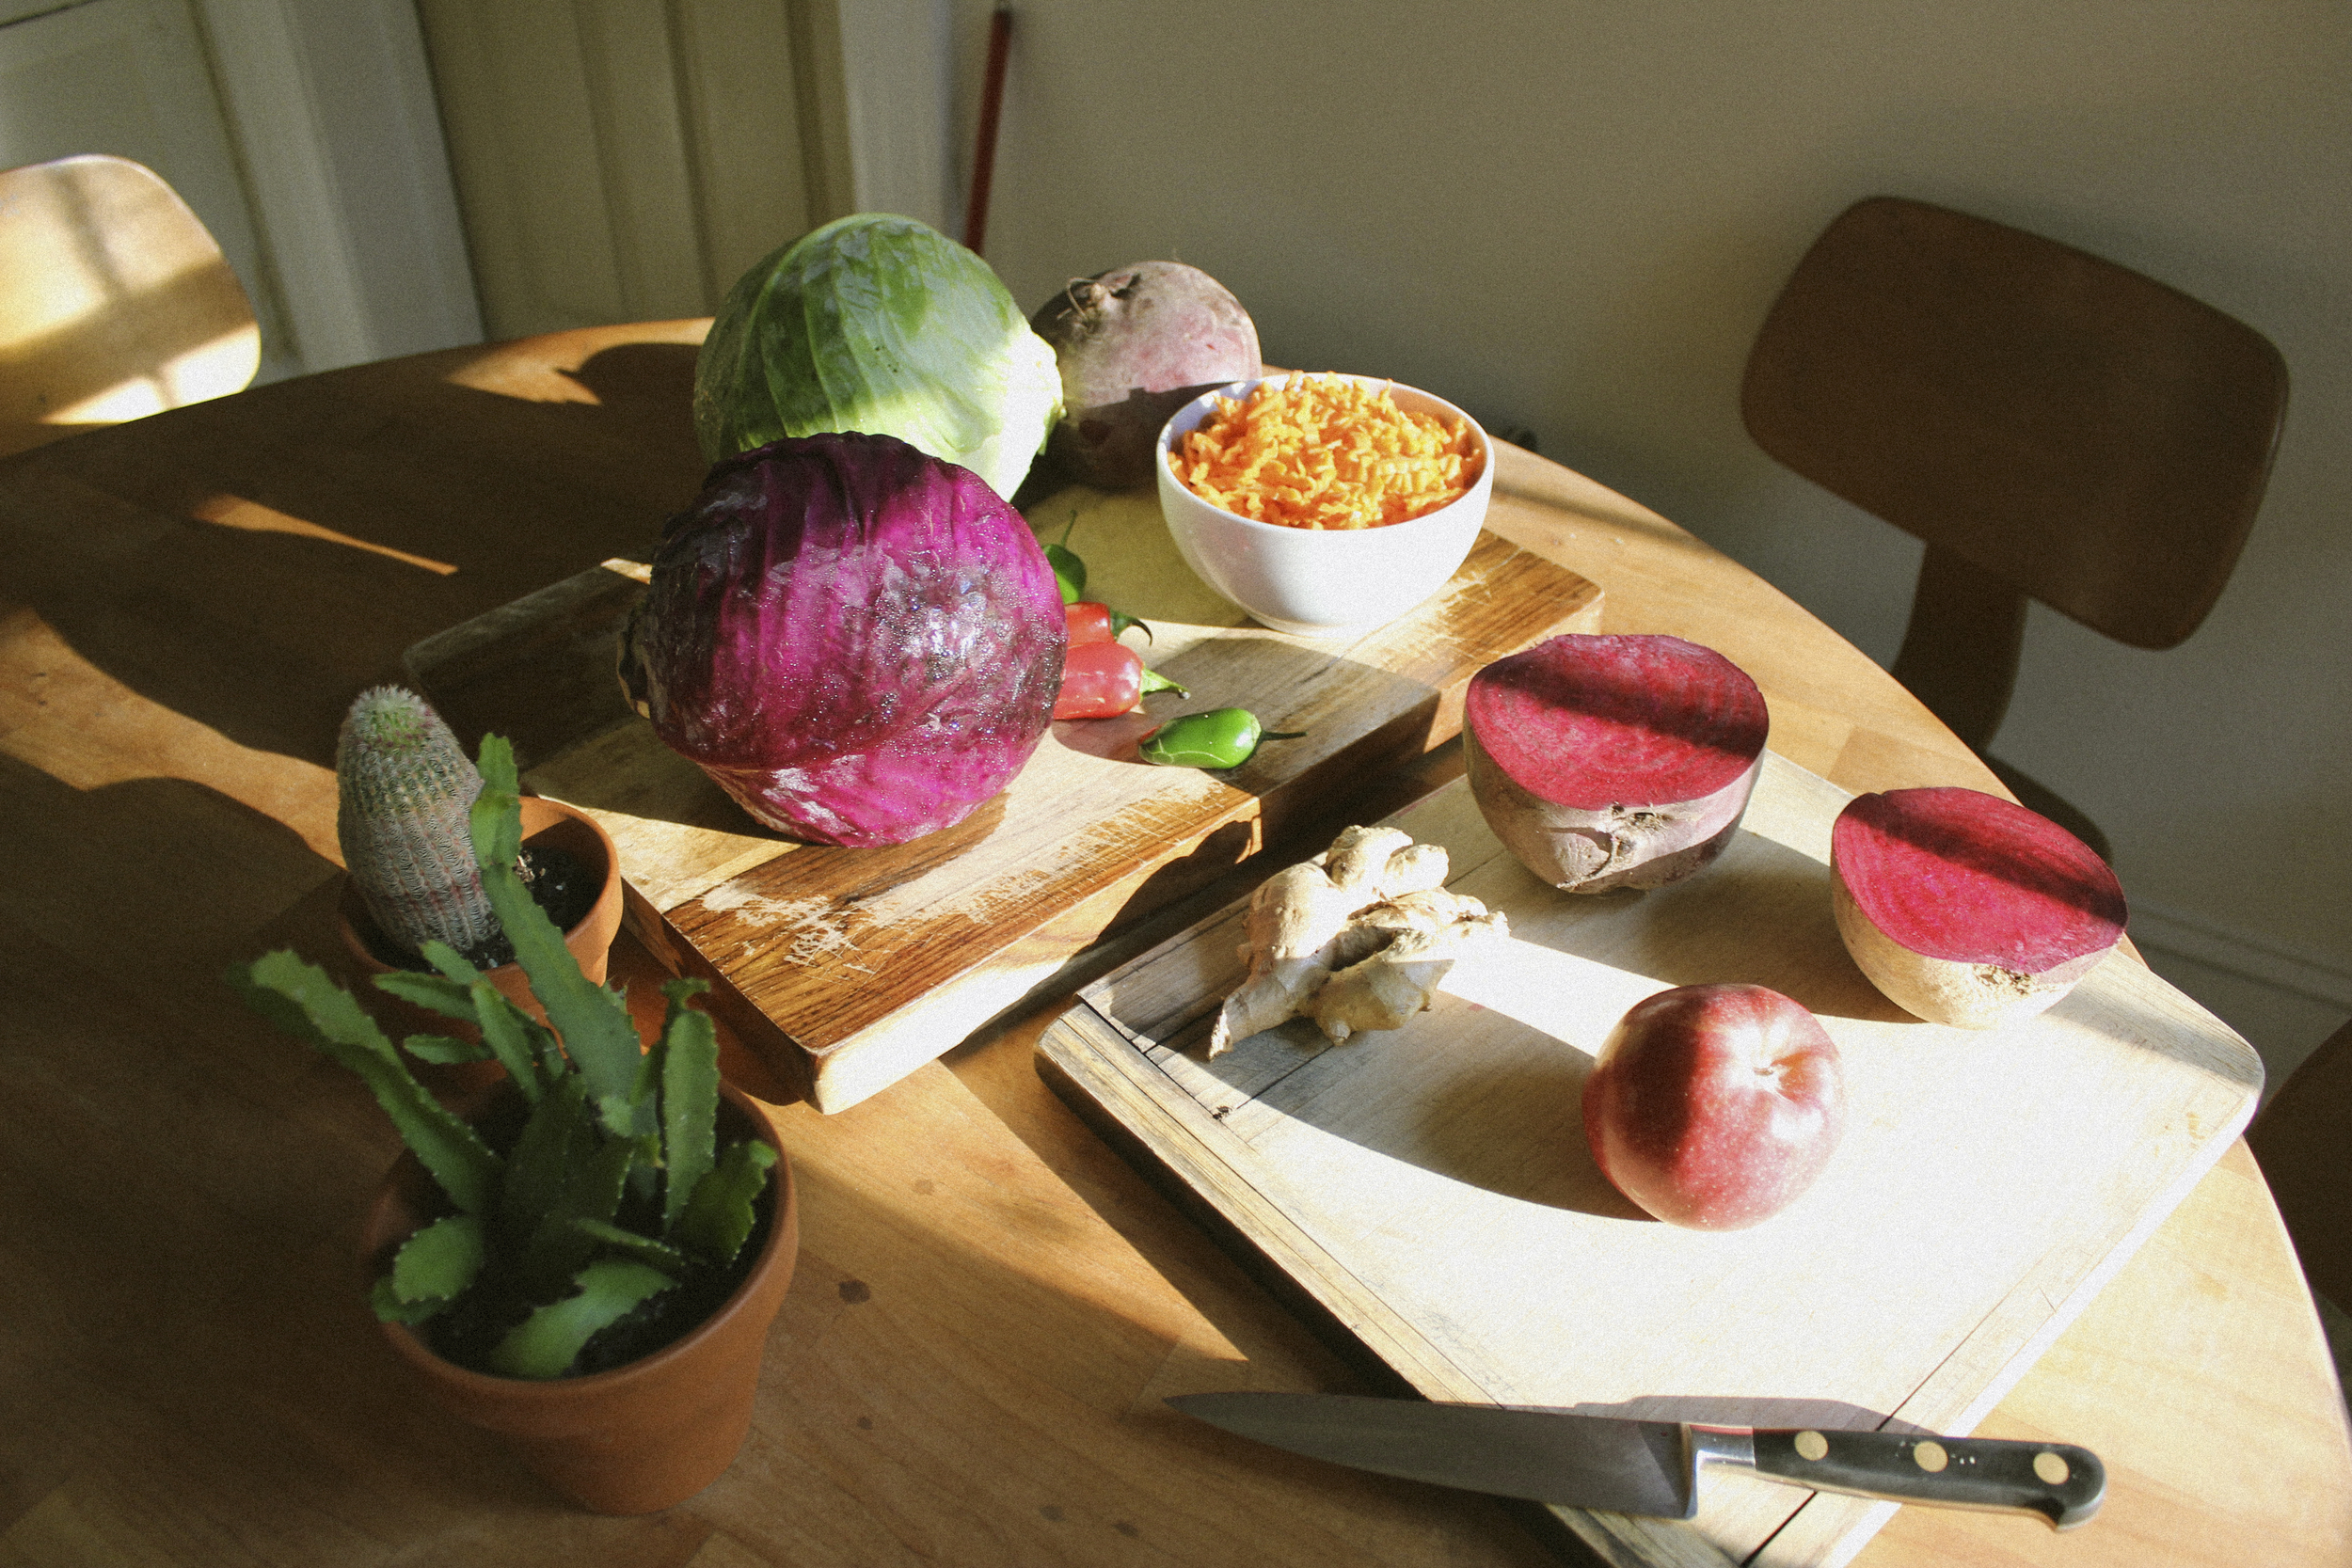
Ingredients:
1 red cabbage
1 green cabbage
6 cloves of garlic
1 apple
1 beet
5 large carrots
4 jalepeno peppers
fresh ginger
1/4 cup sea salt
chili flakes
Instruments:
large bowl
grater
food processor
mortar and pestle (optional)
fermentation vessel (i.e. mason jar, crock pot, sealed container).
Method:
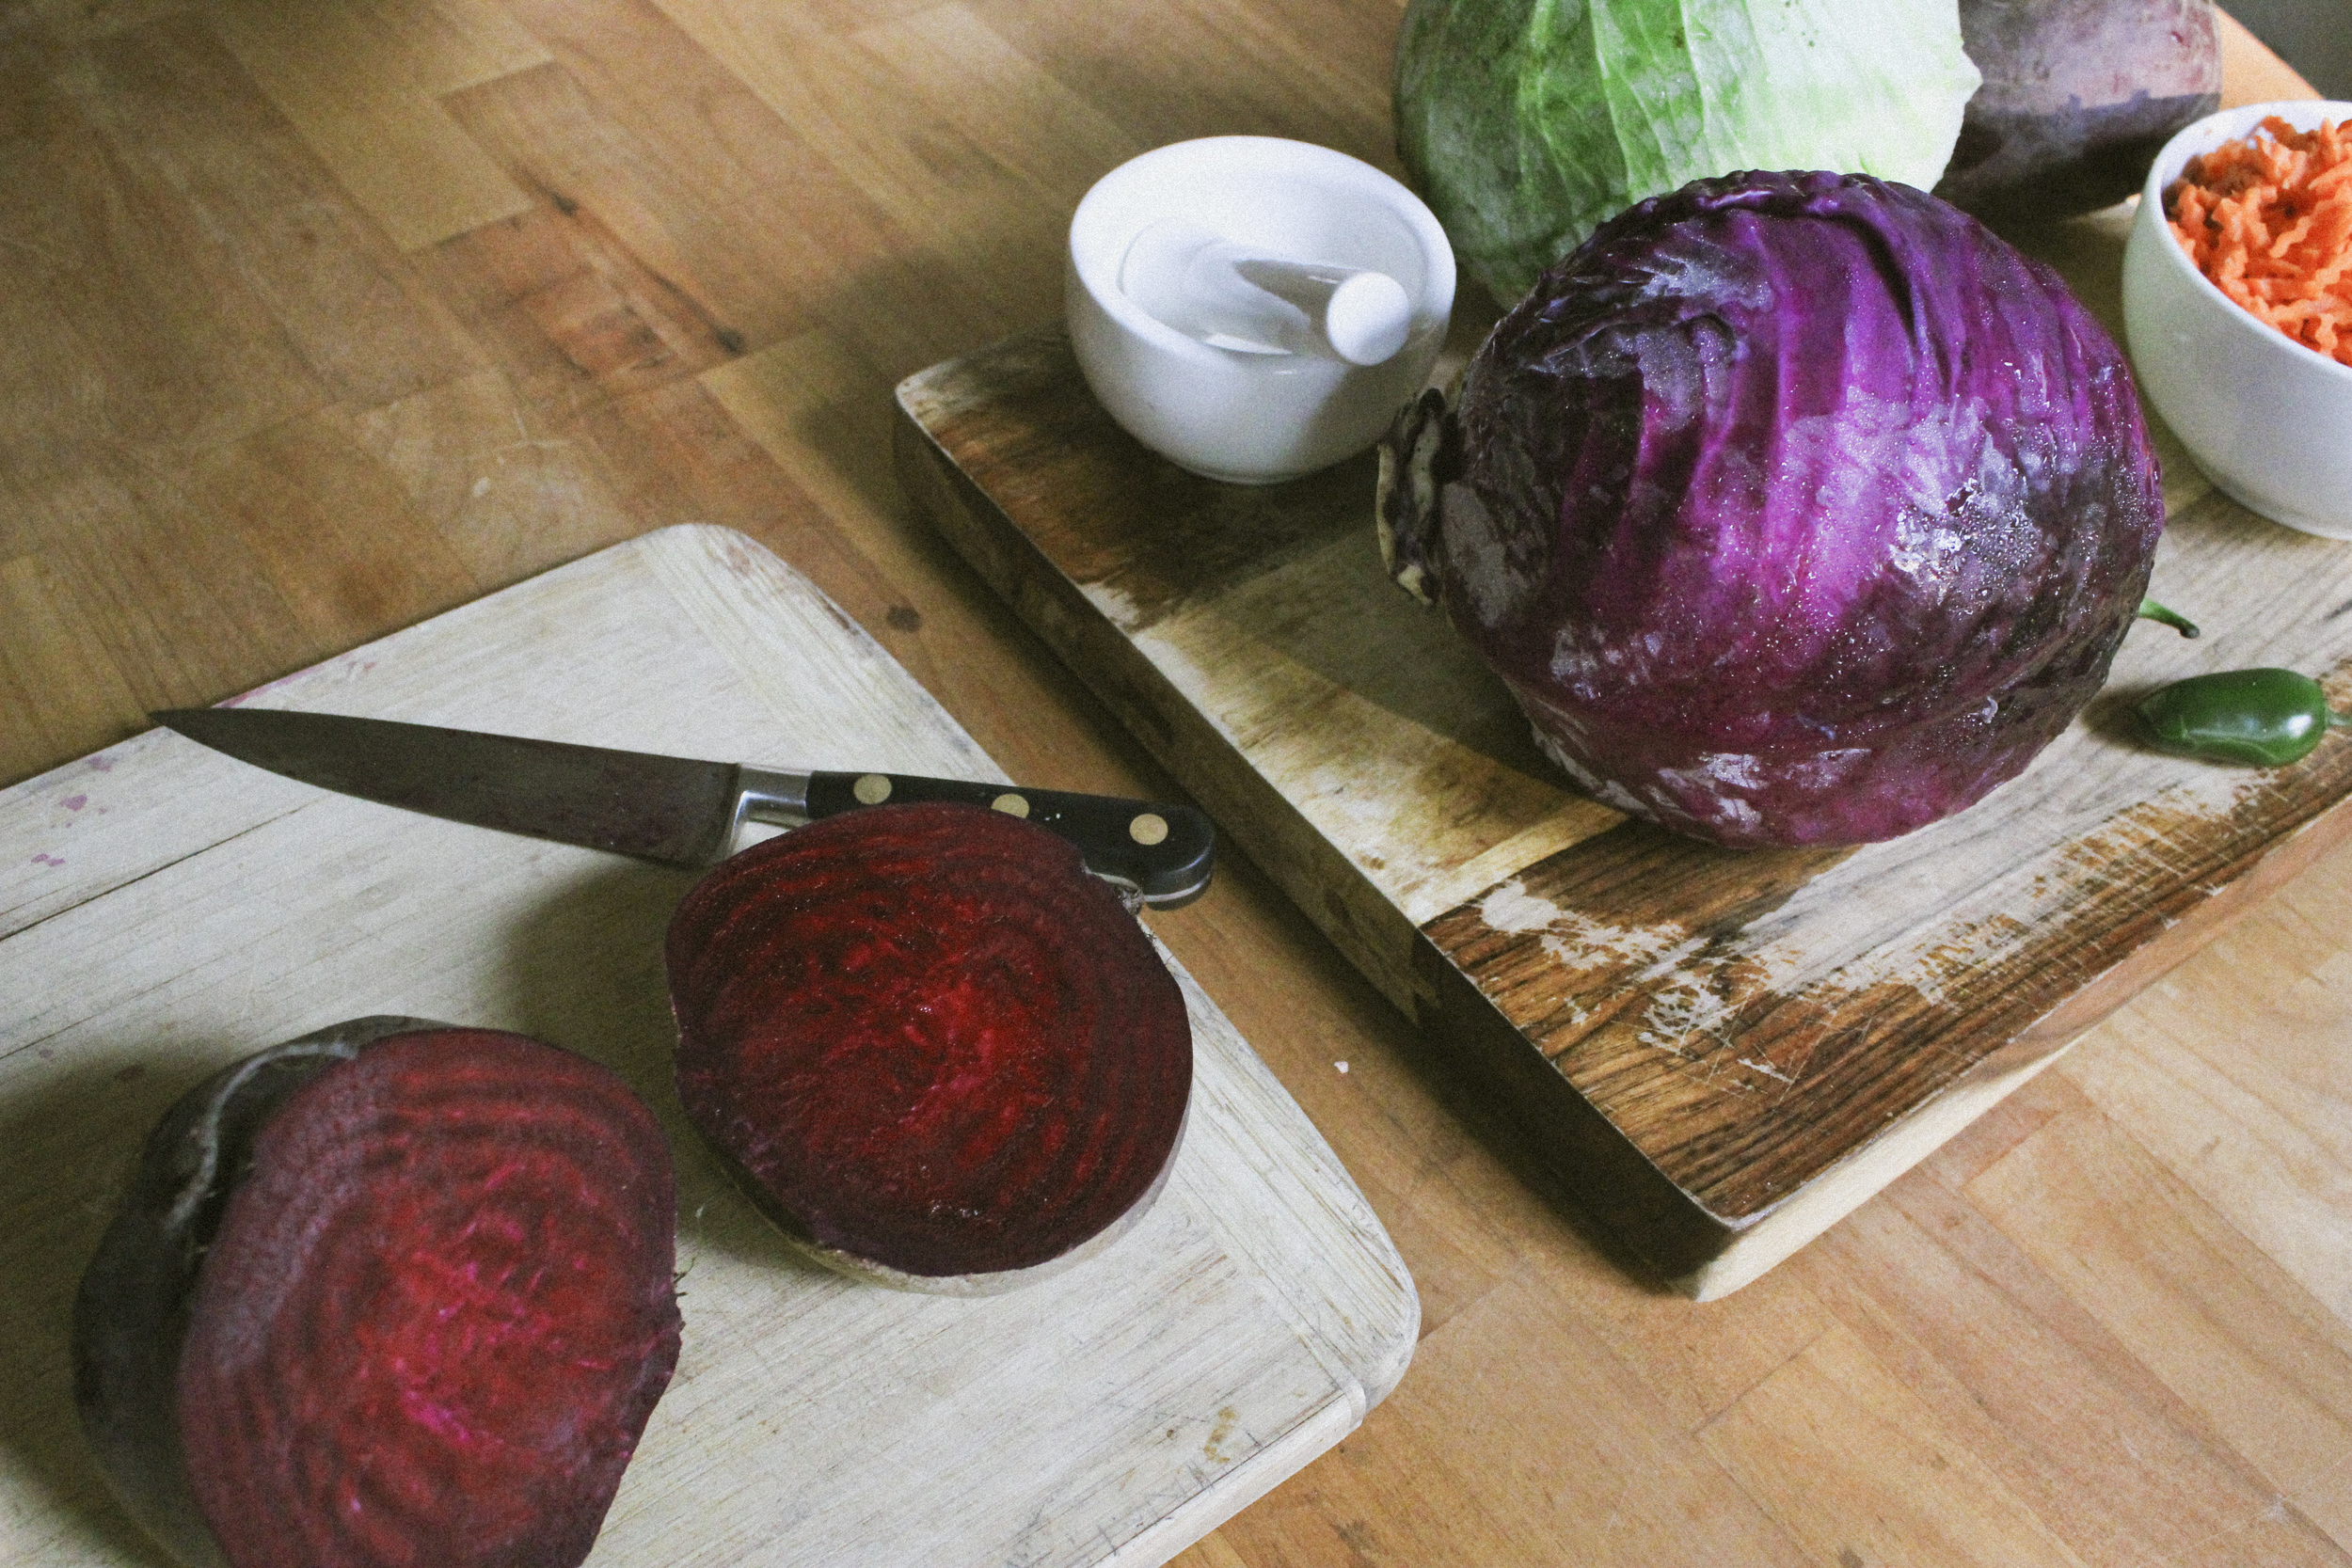
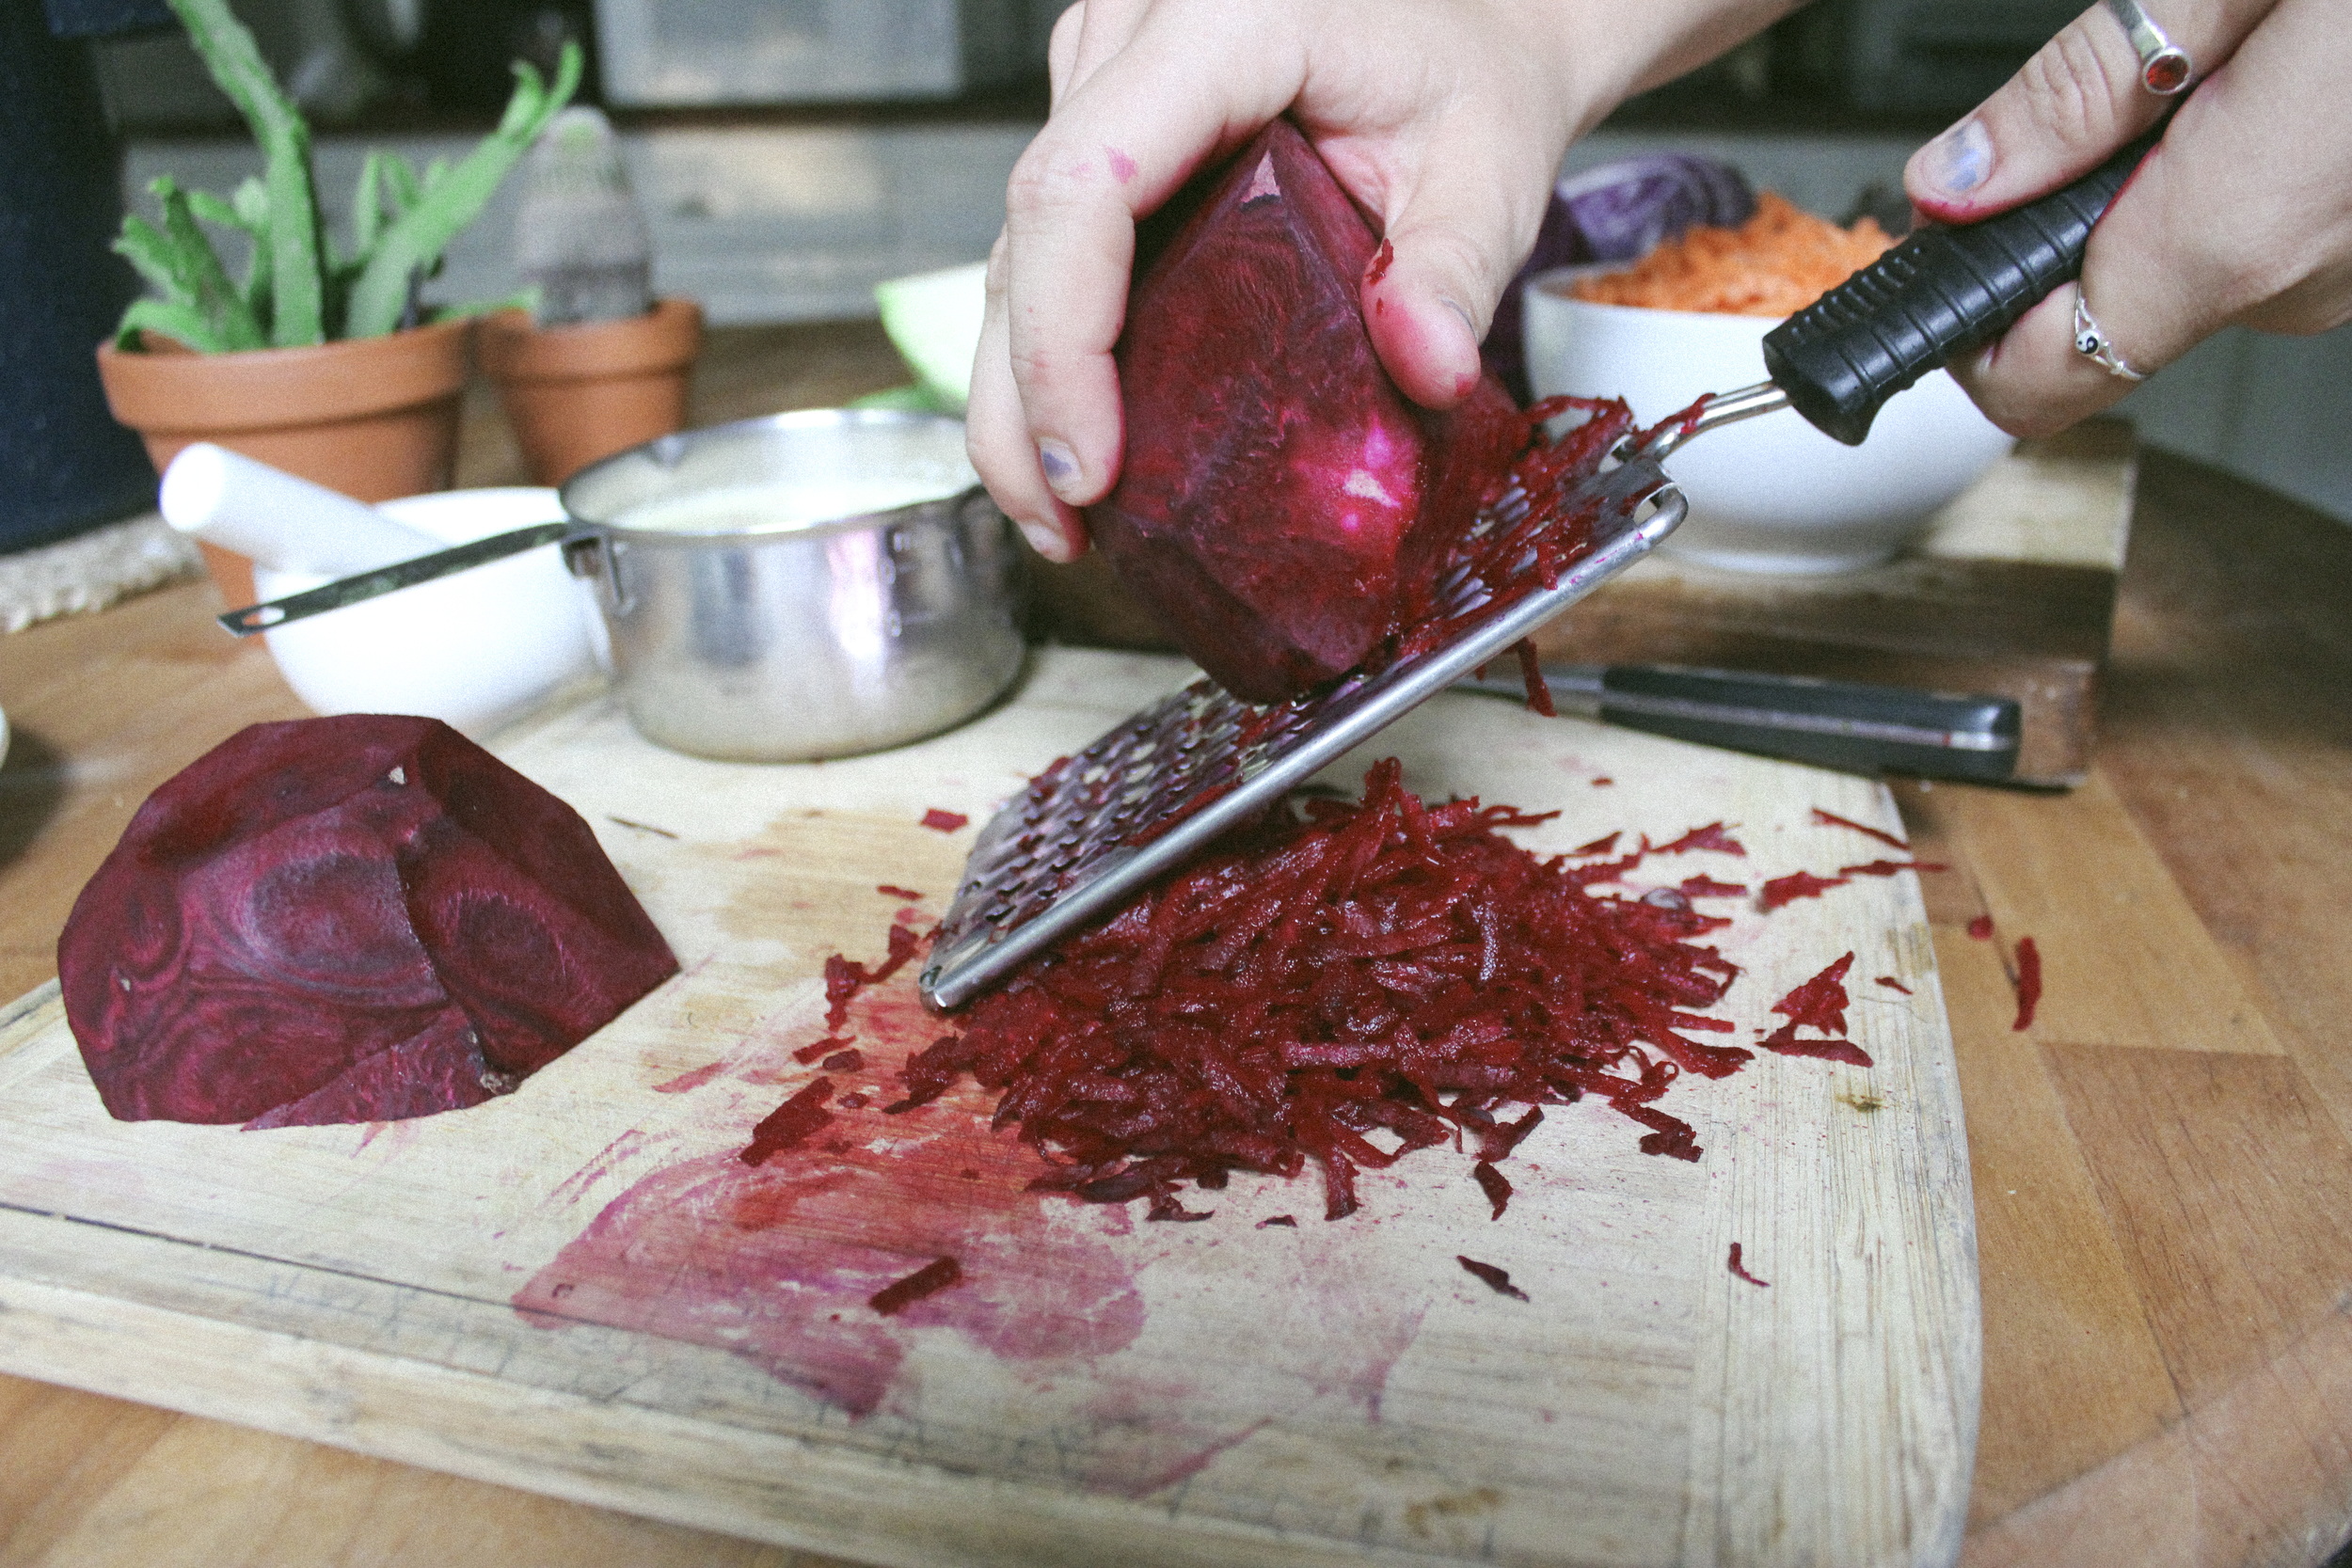
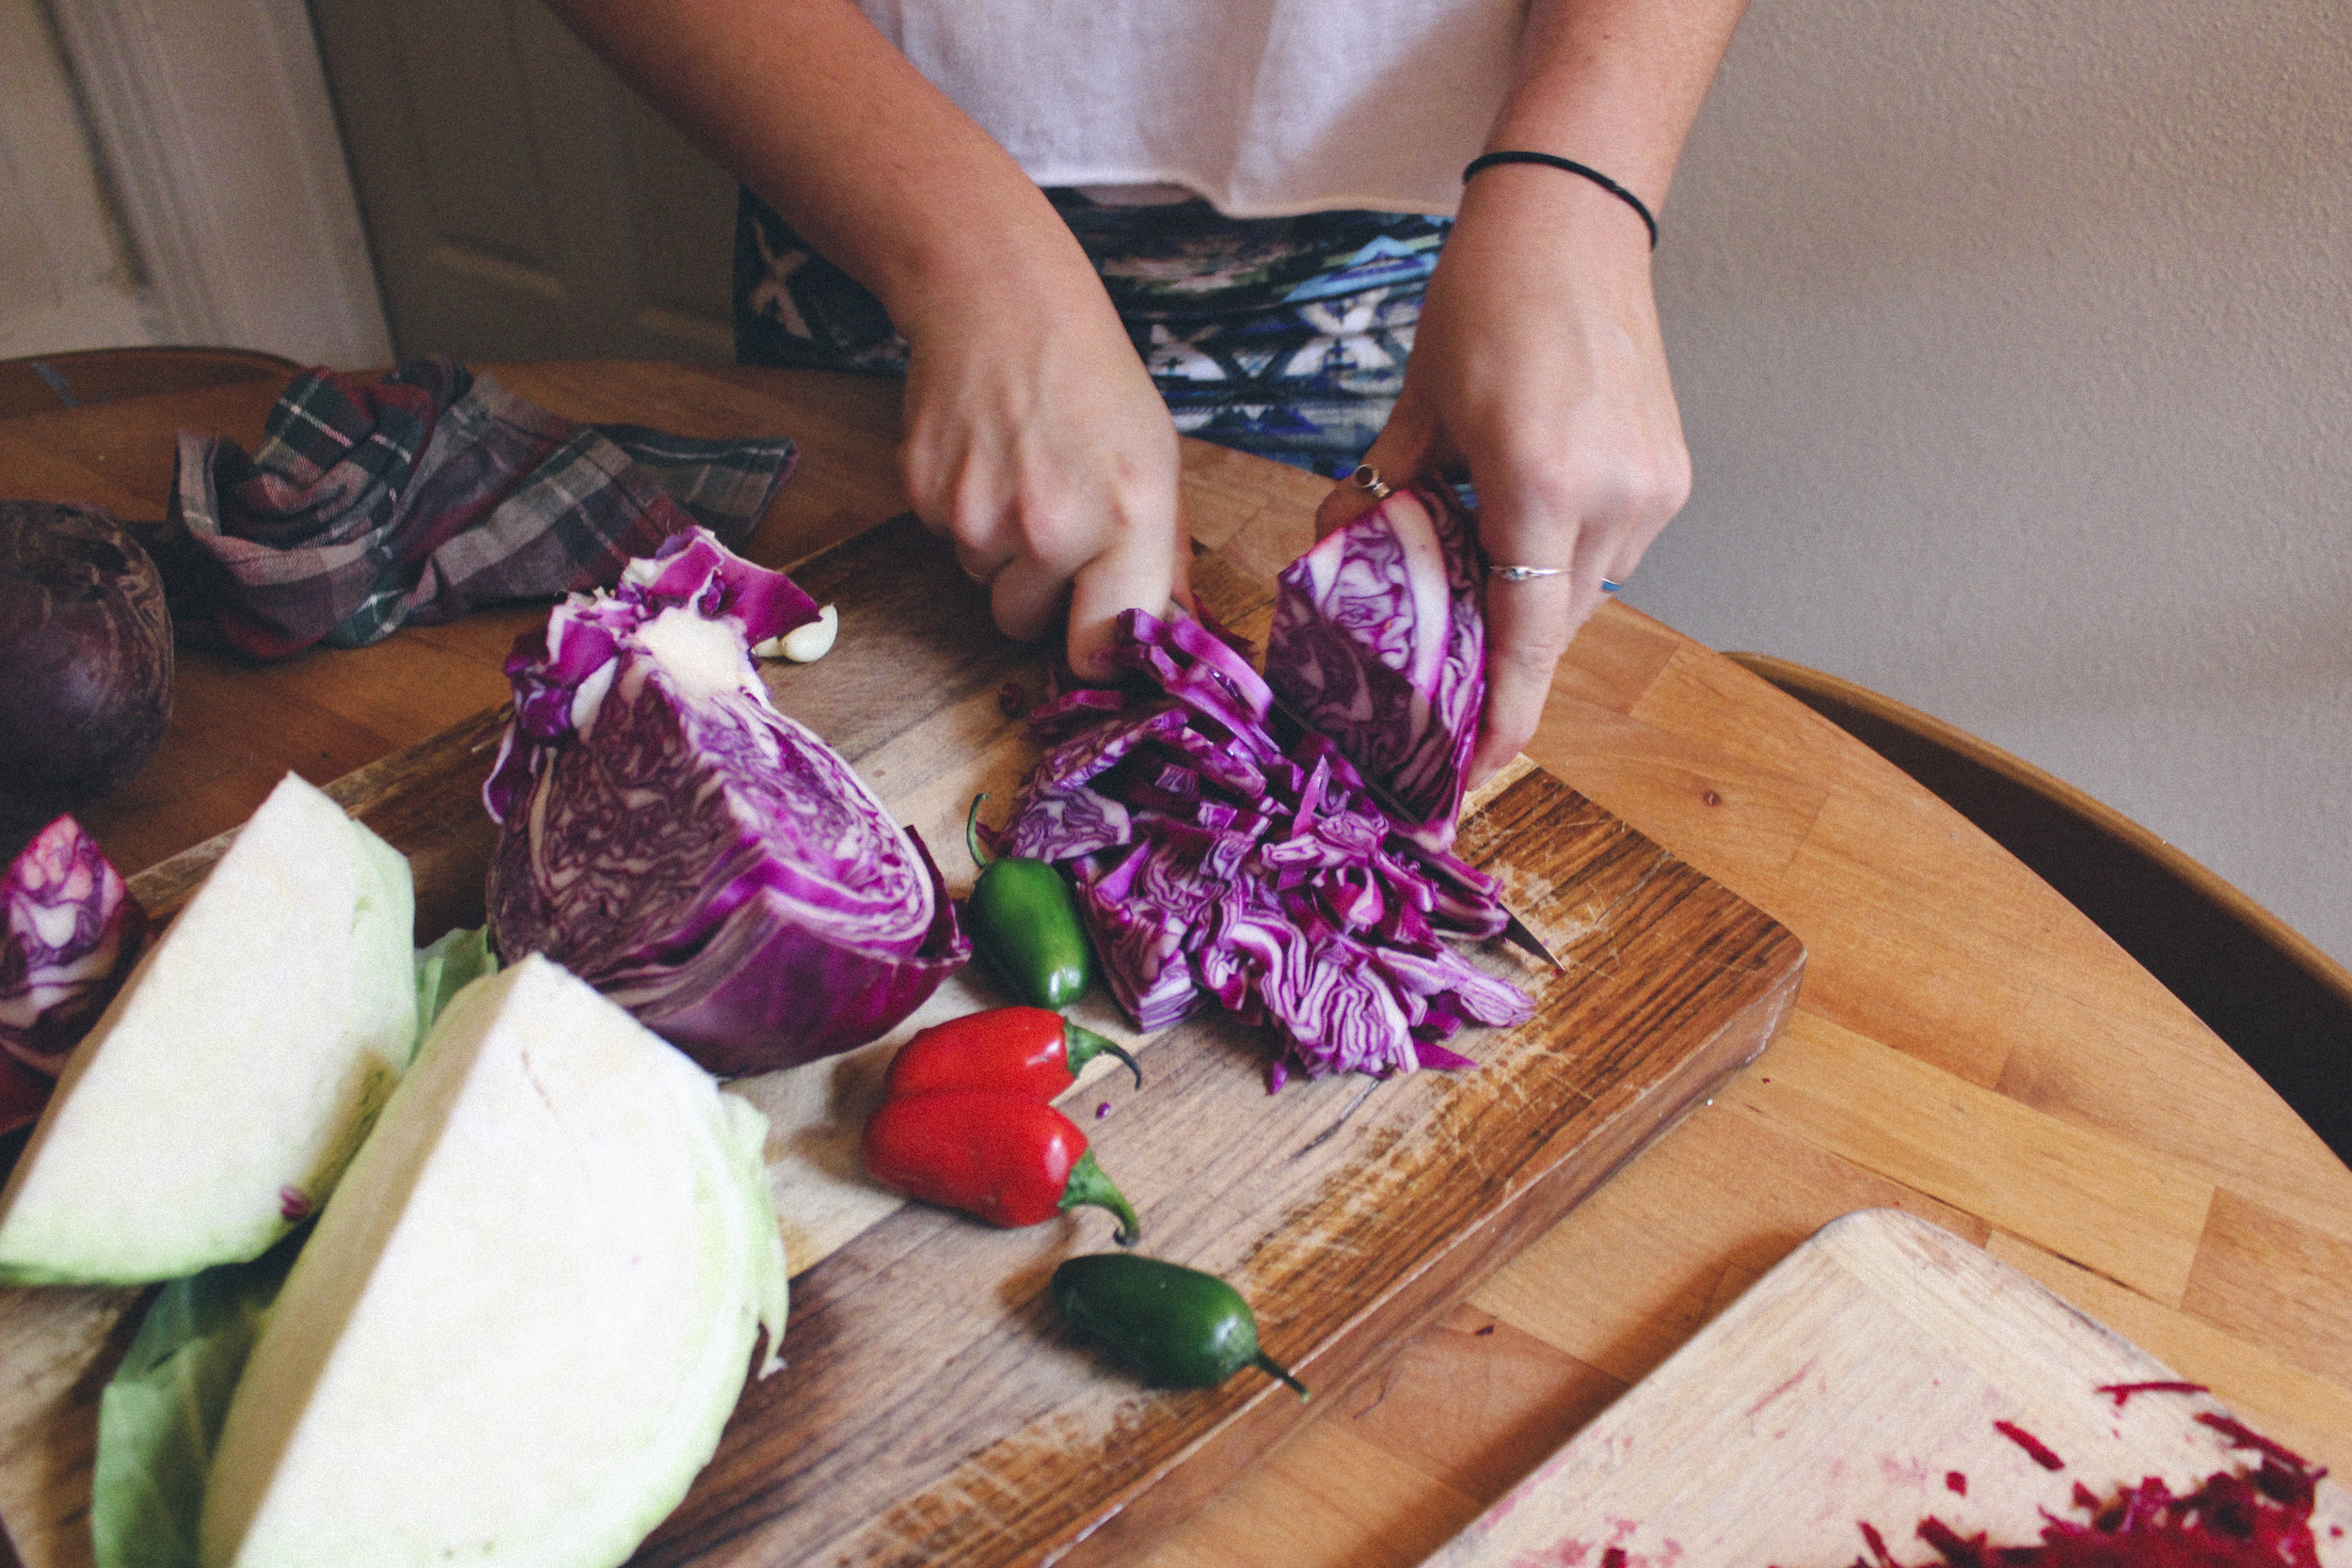
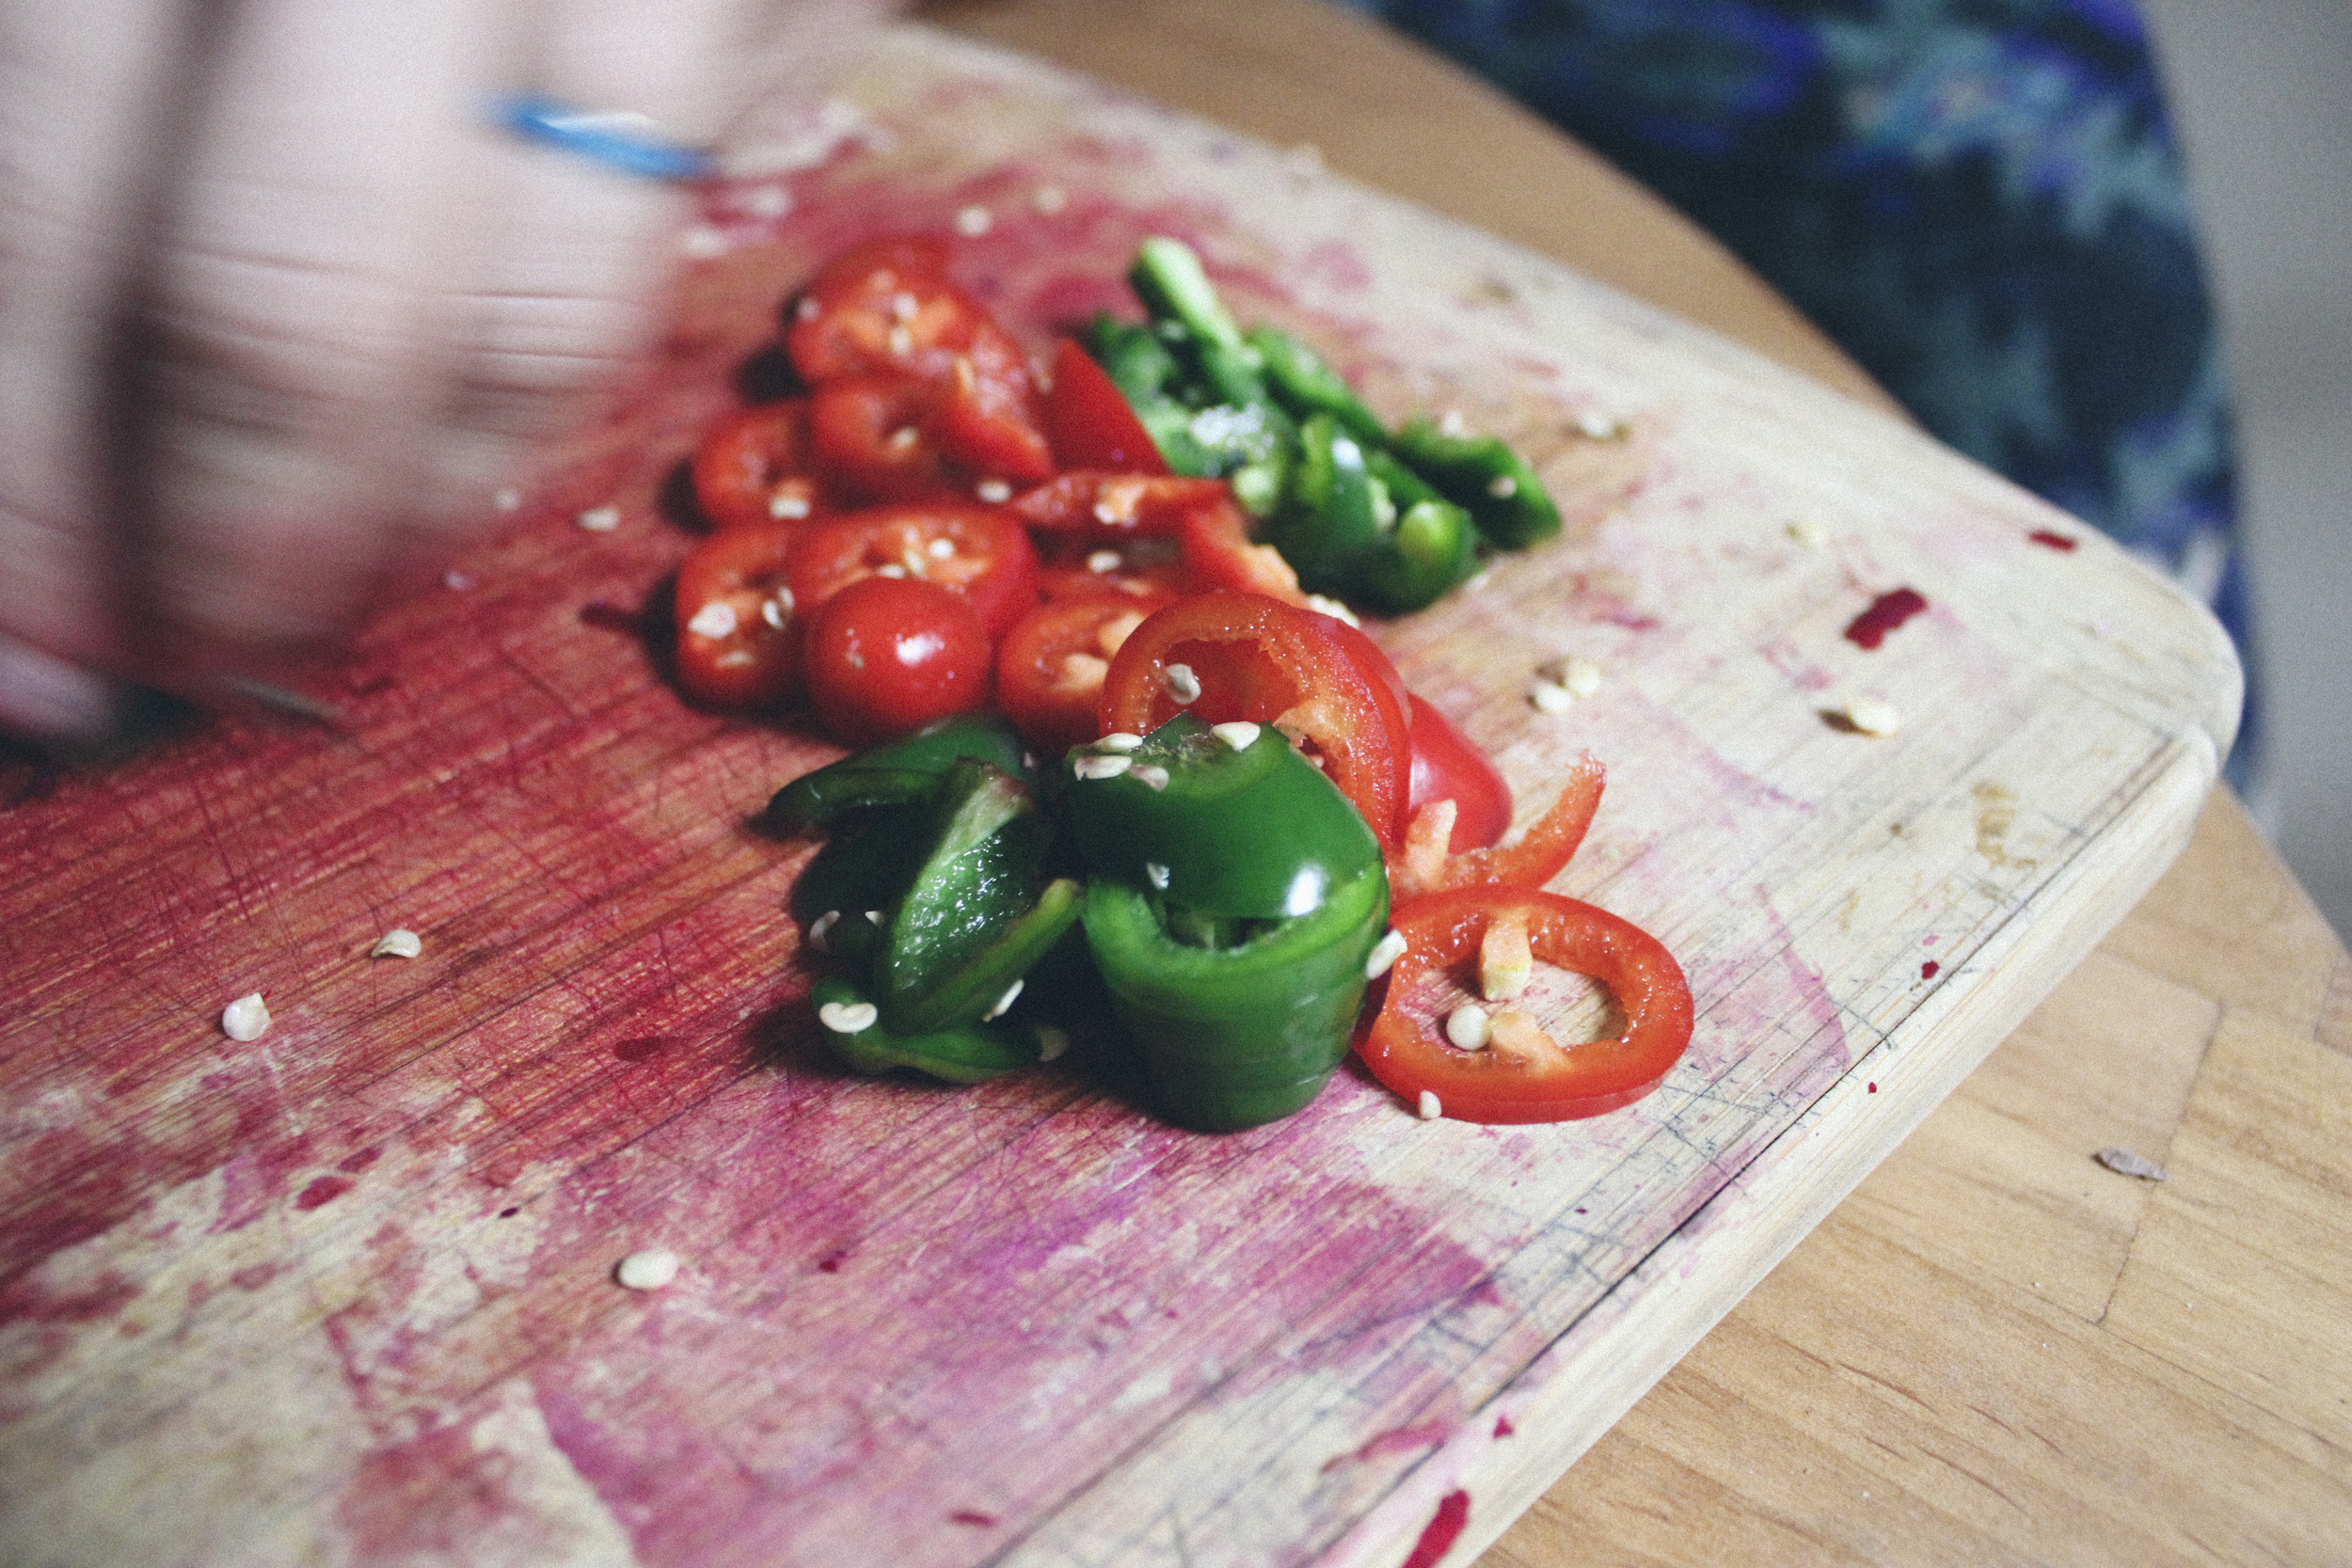
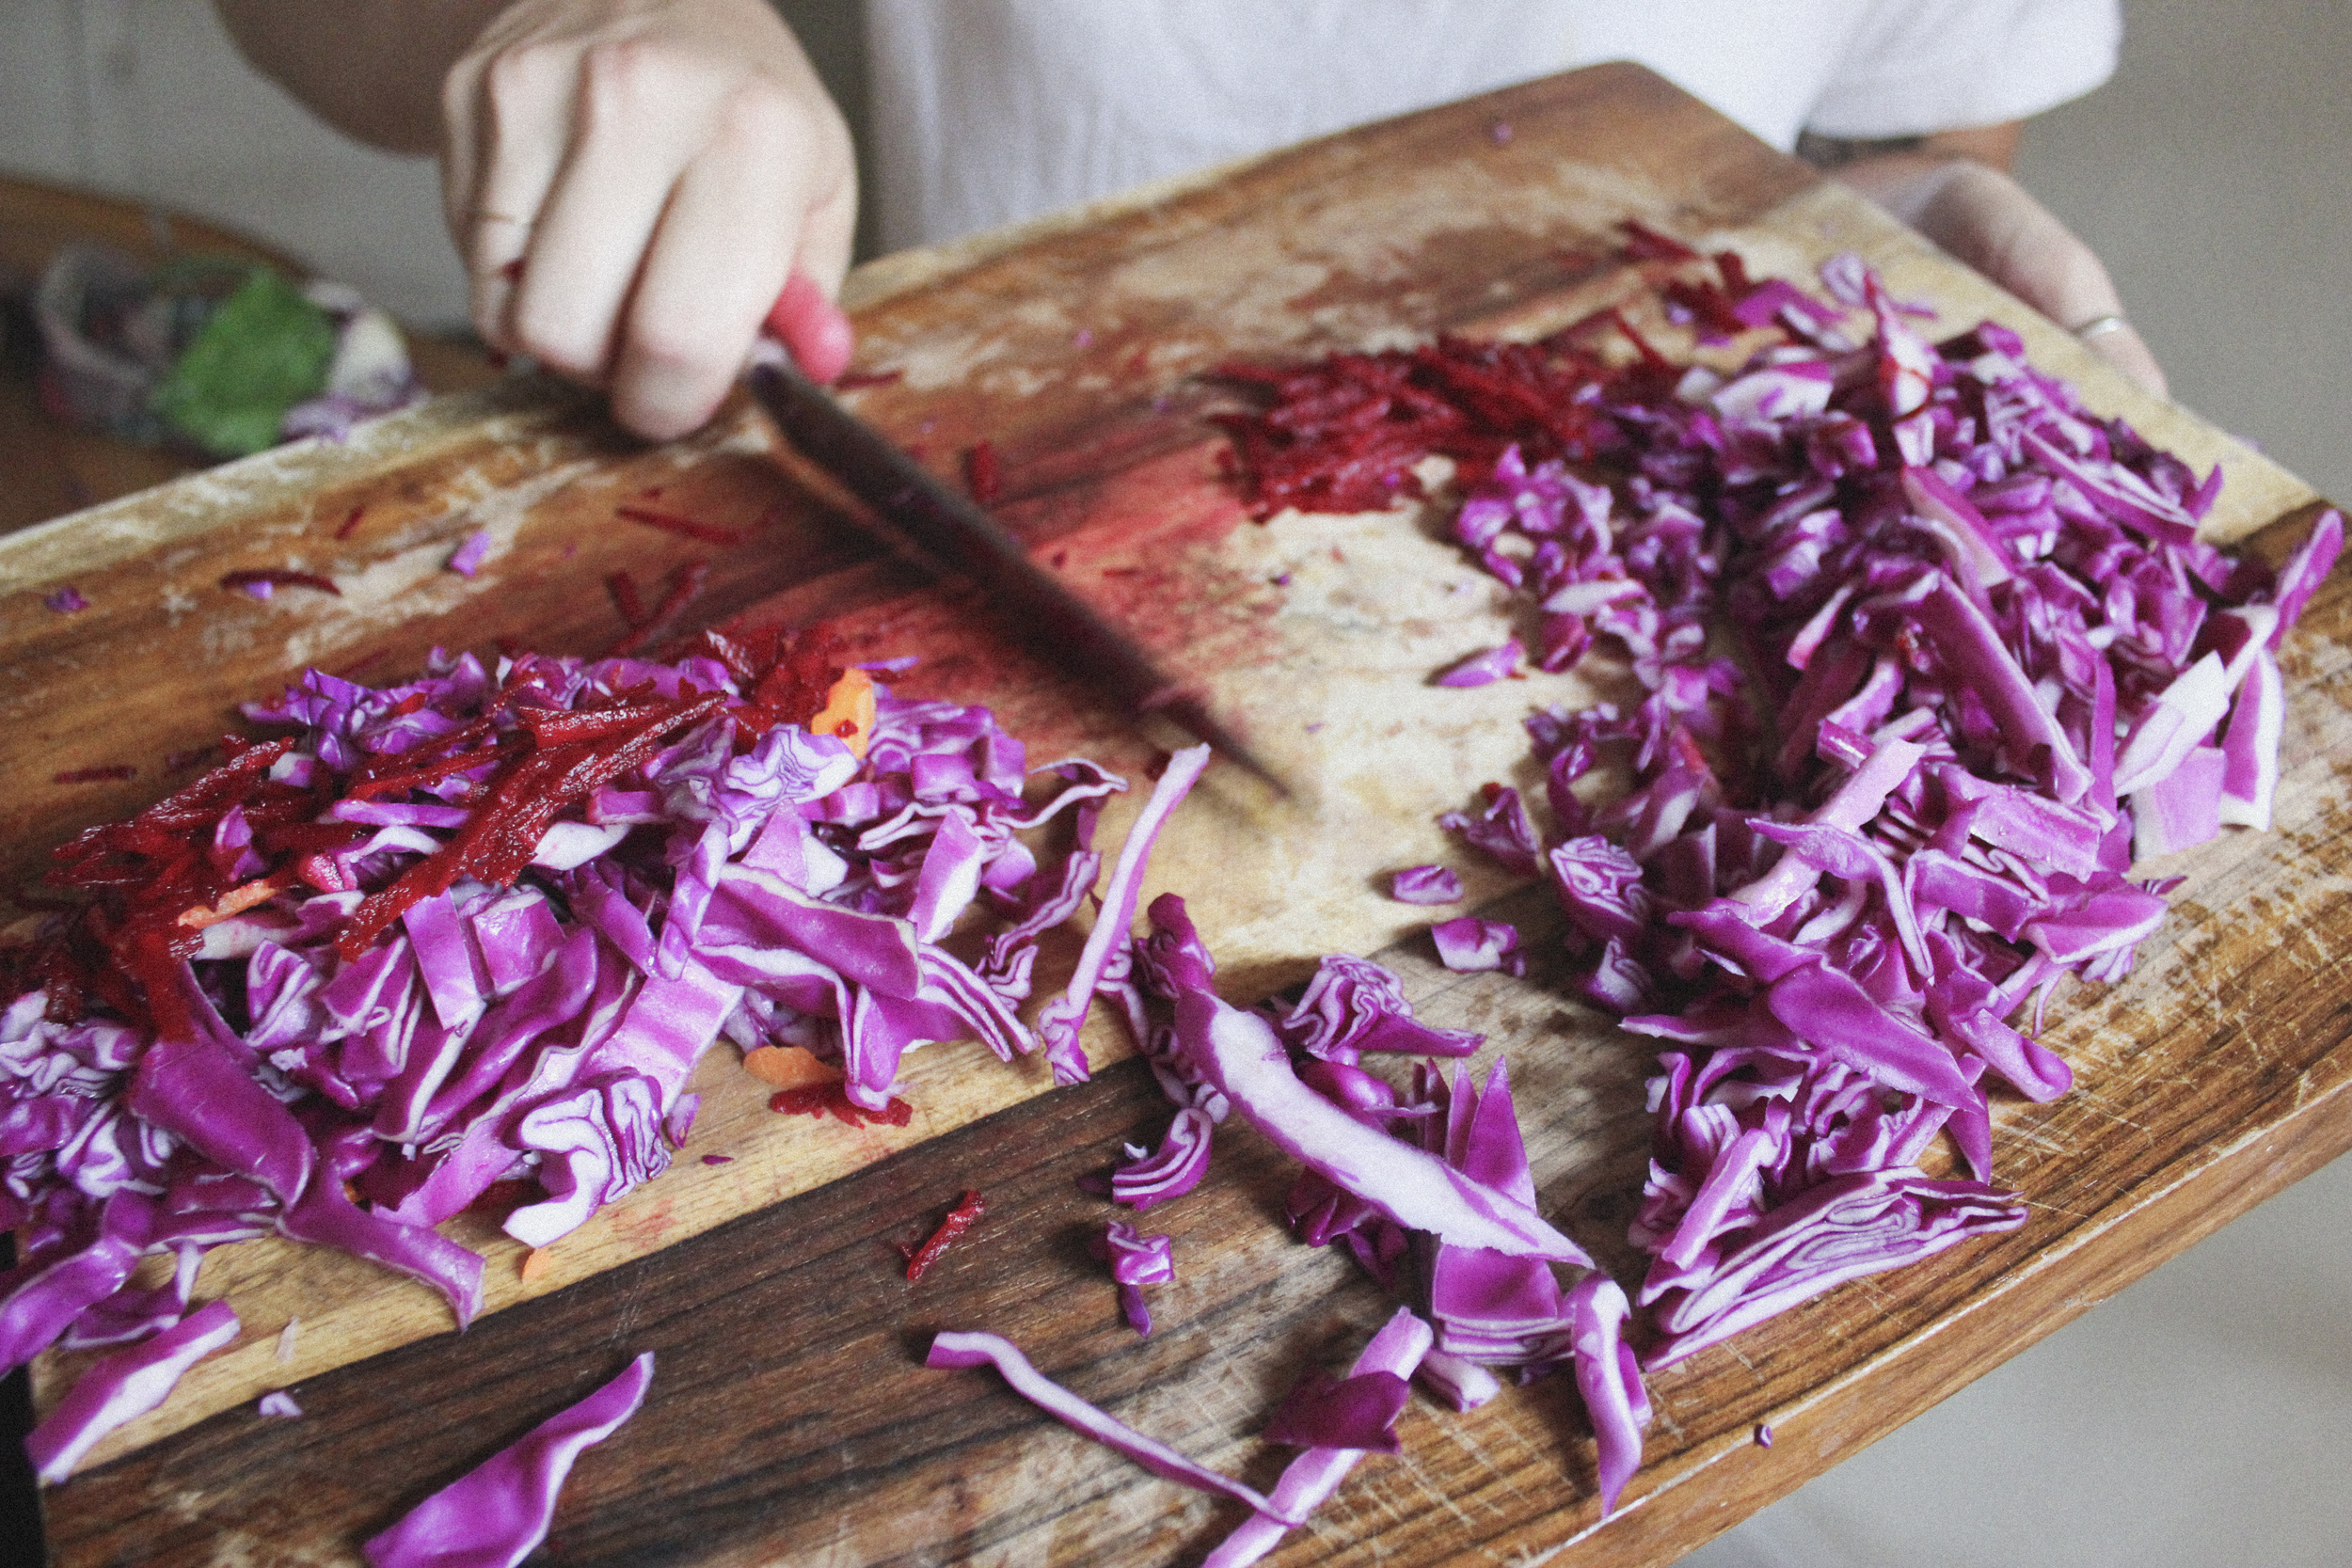
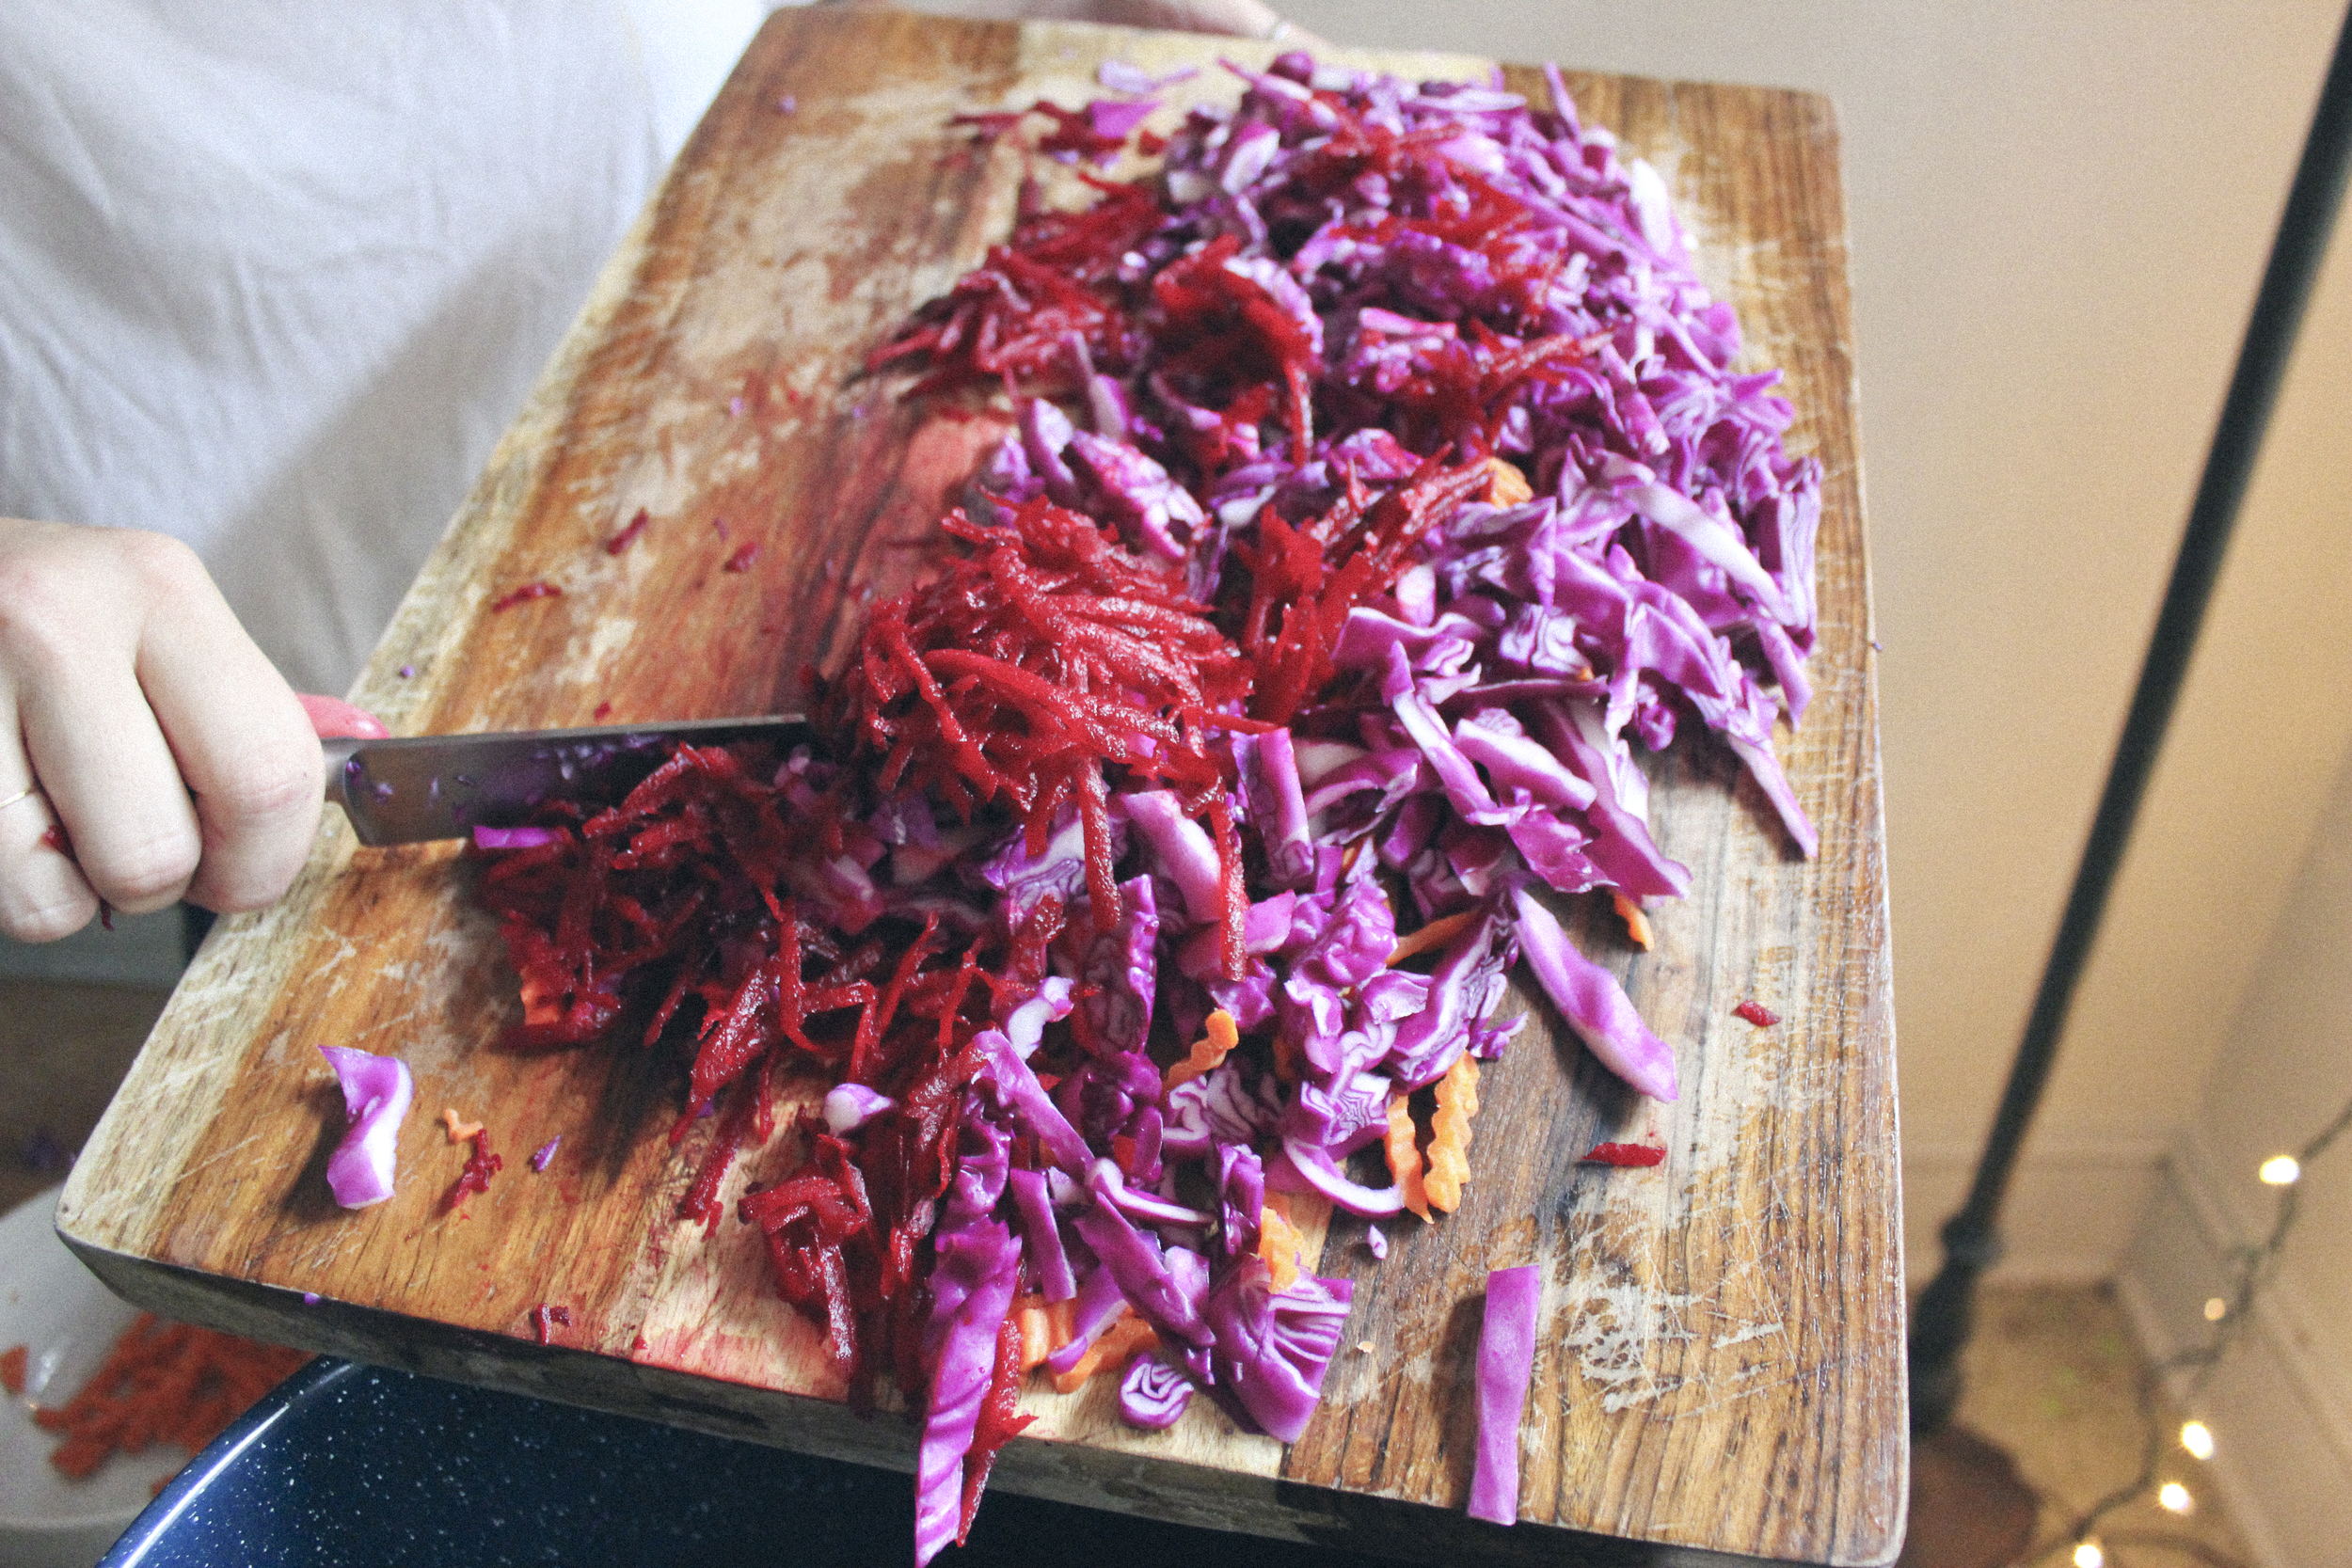
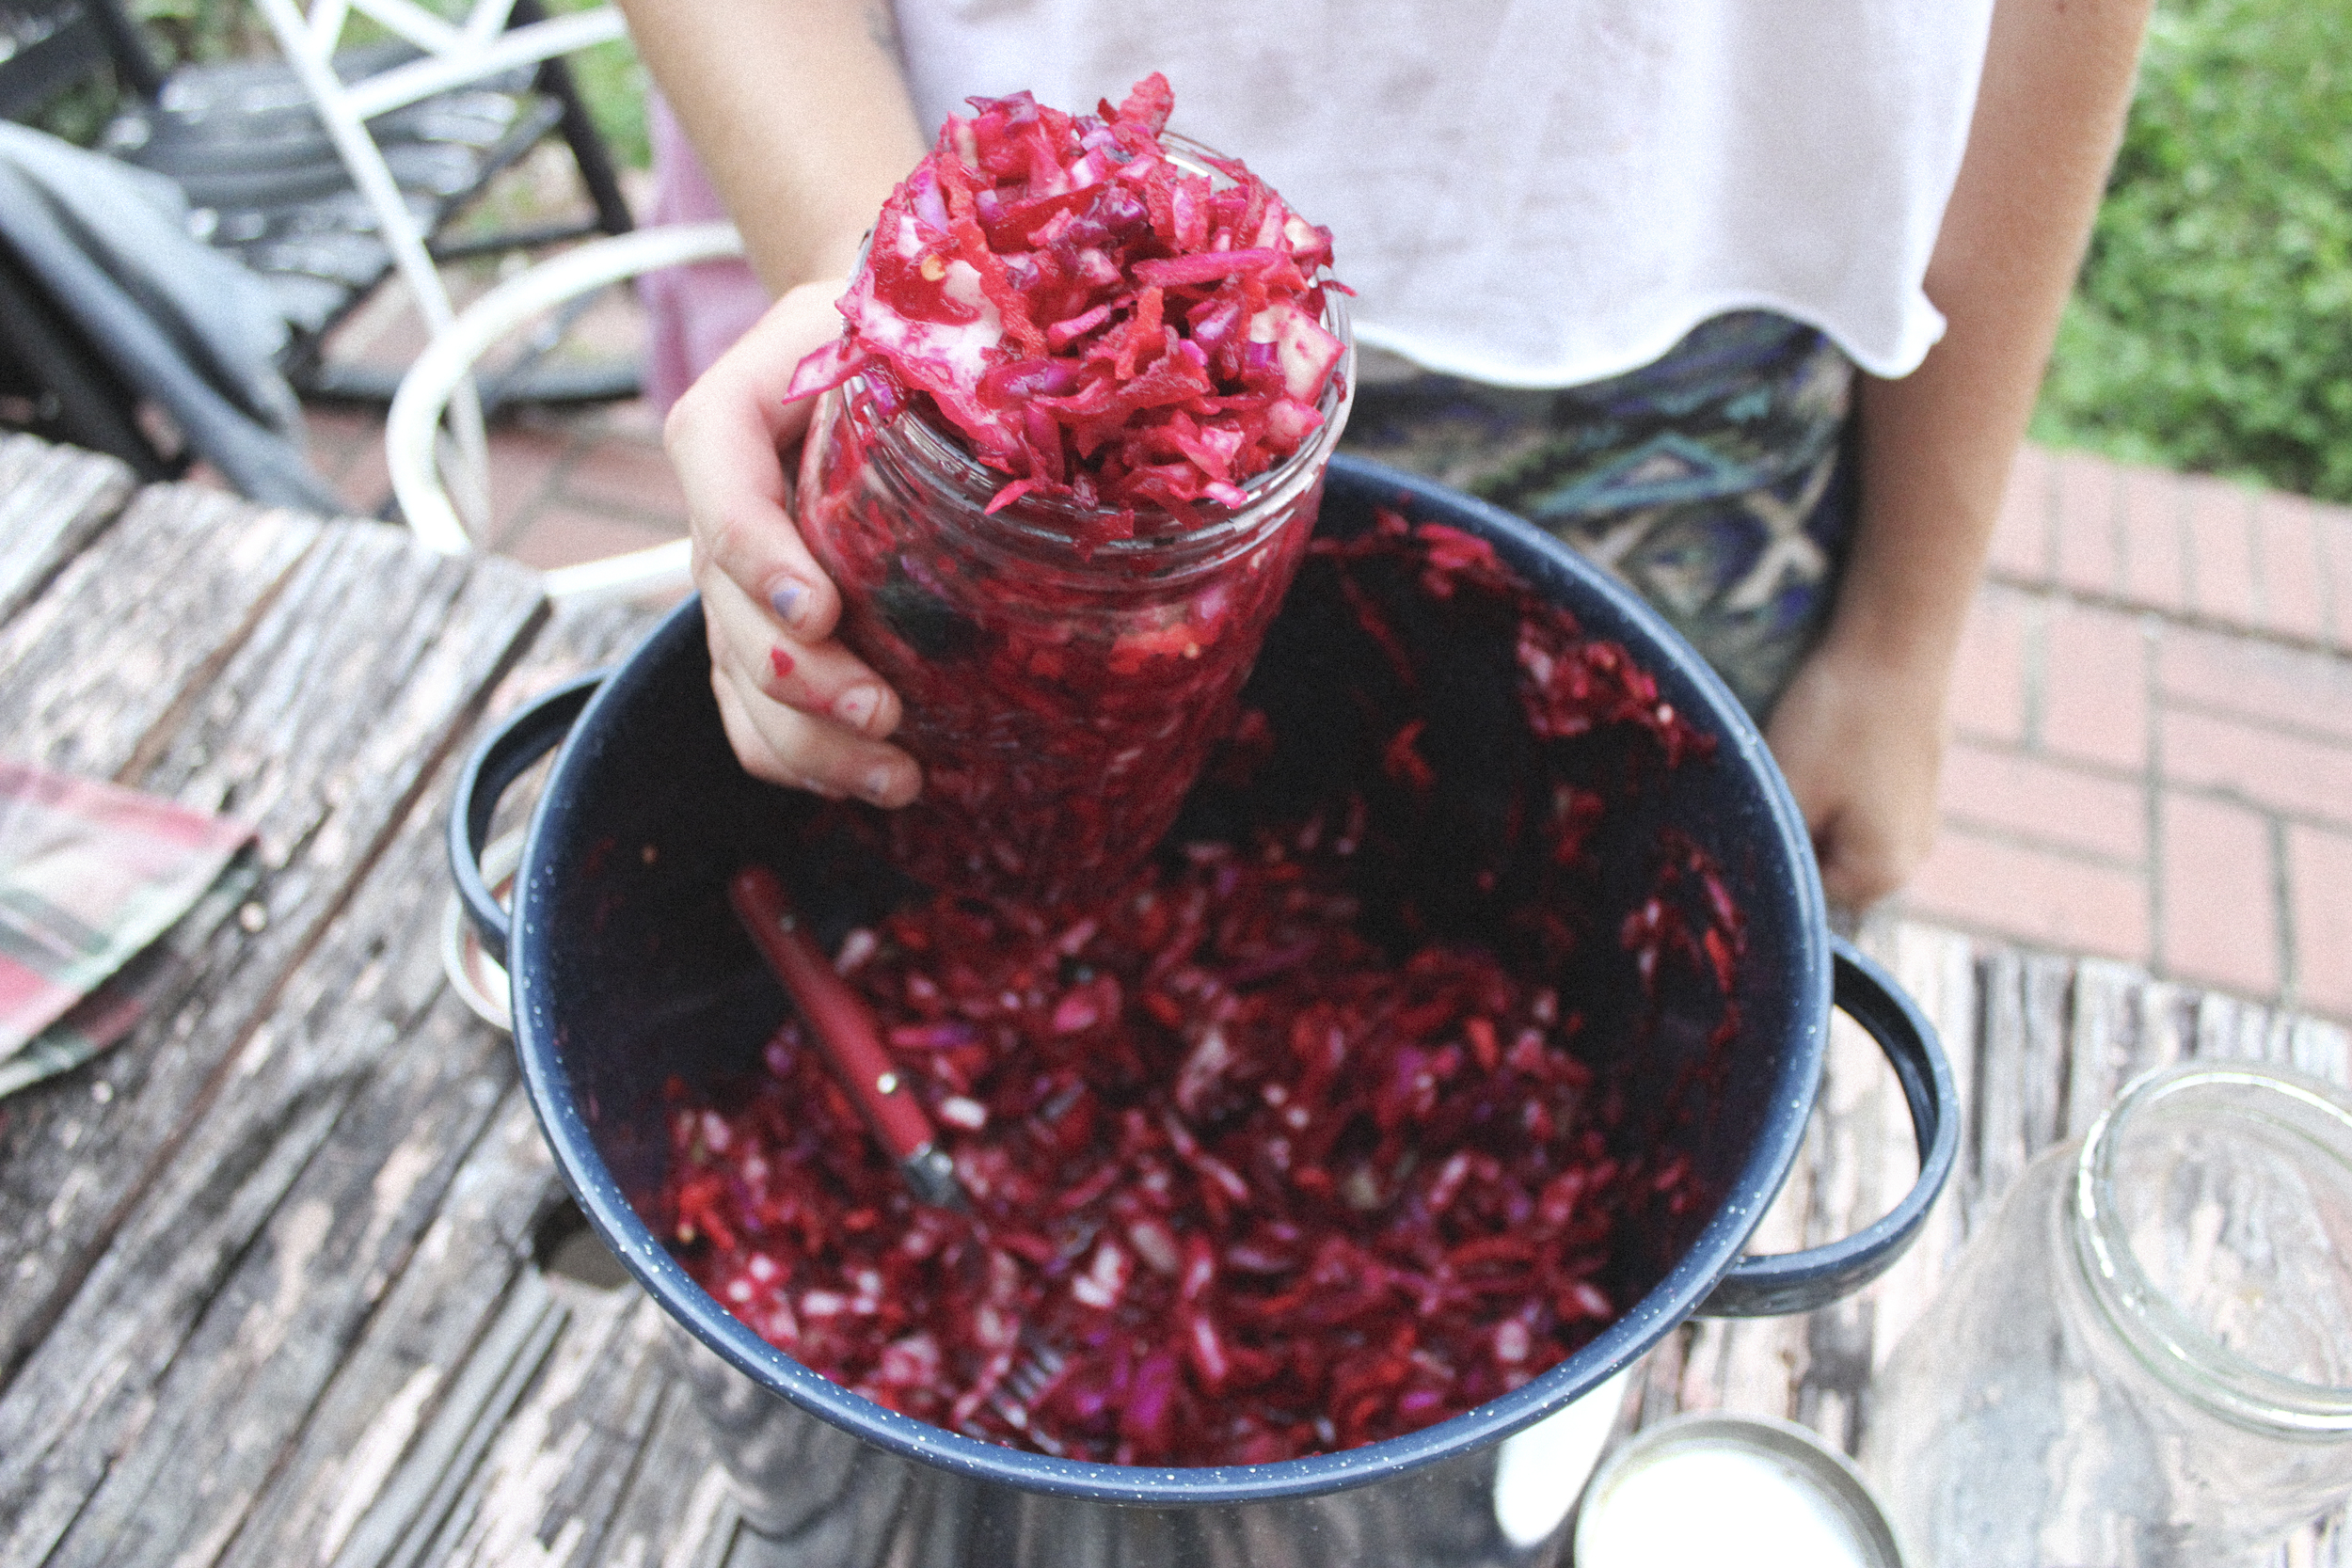
Wash all veggies. Chop cabbage into bite-sized chunks/shreds and grate the carrots, beets and jalepeno peppers. Combine all veggies in a large bowl.
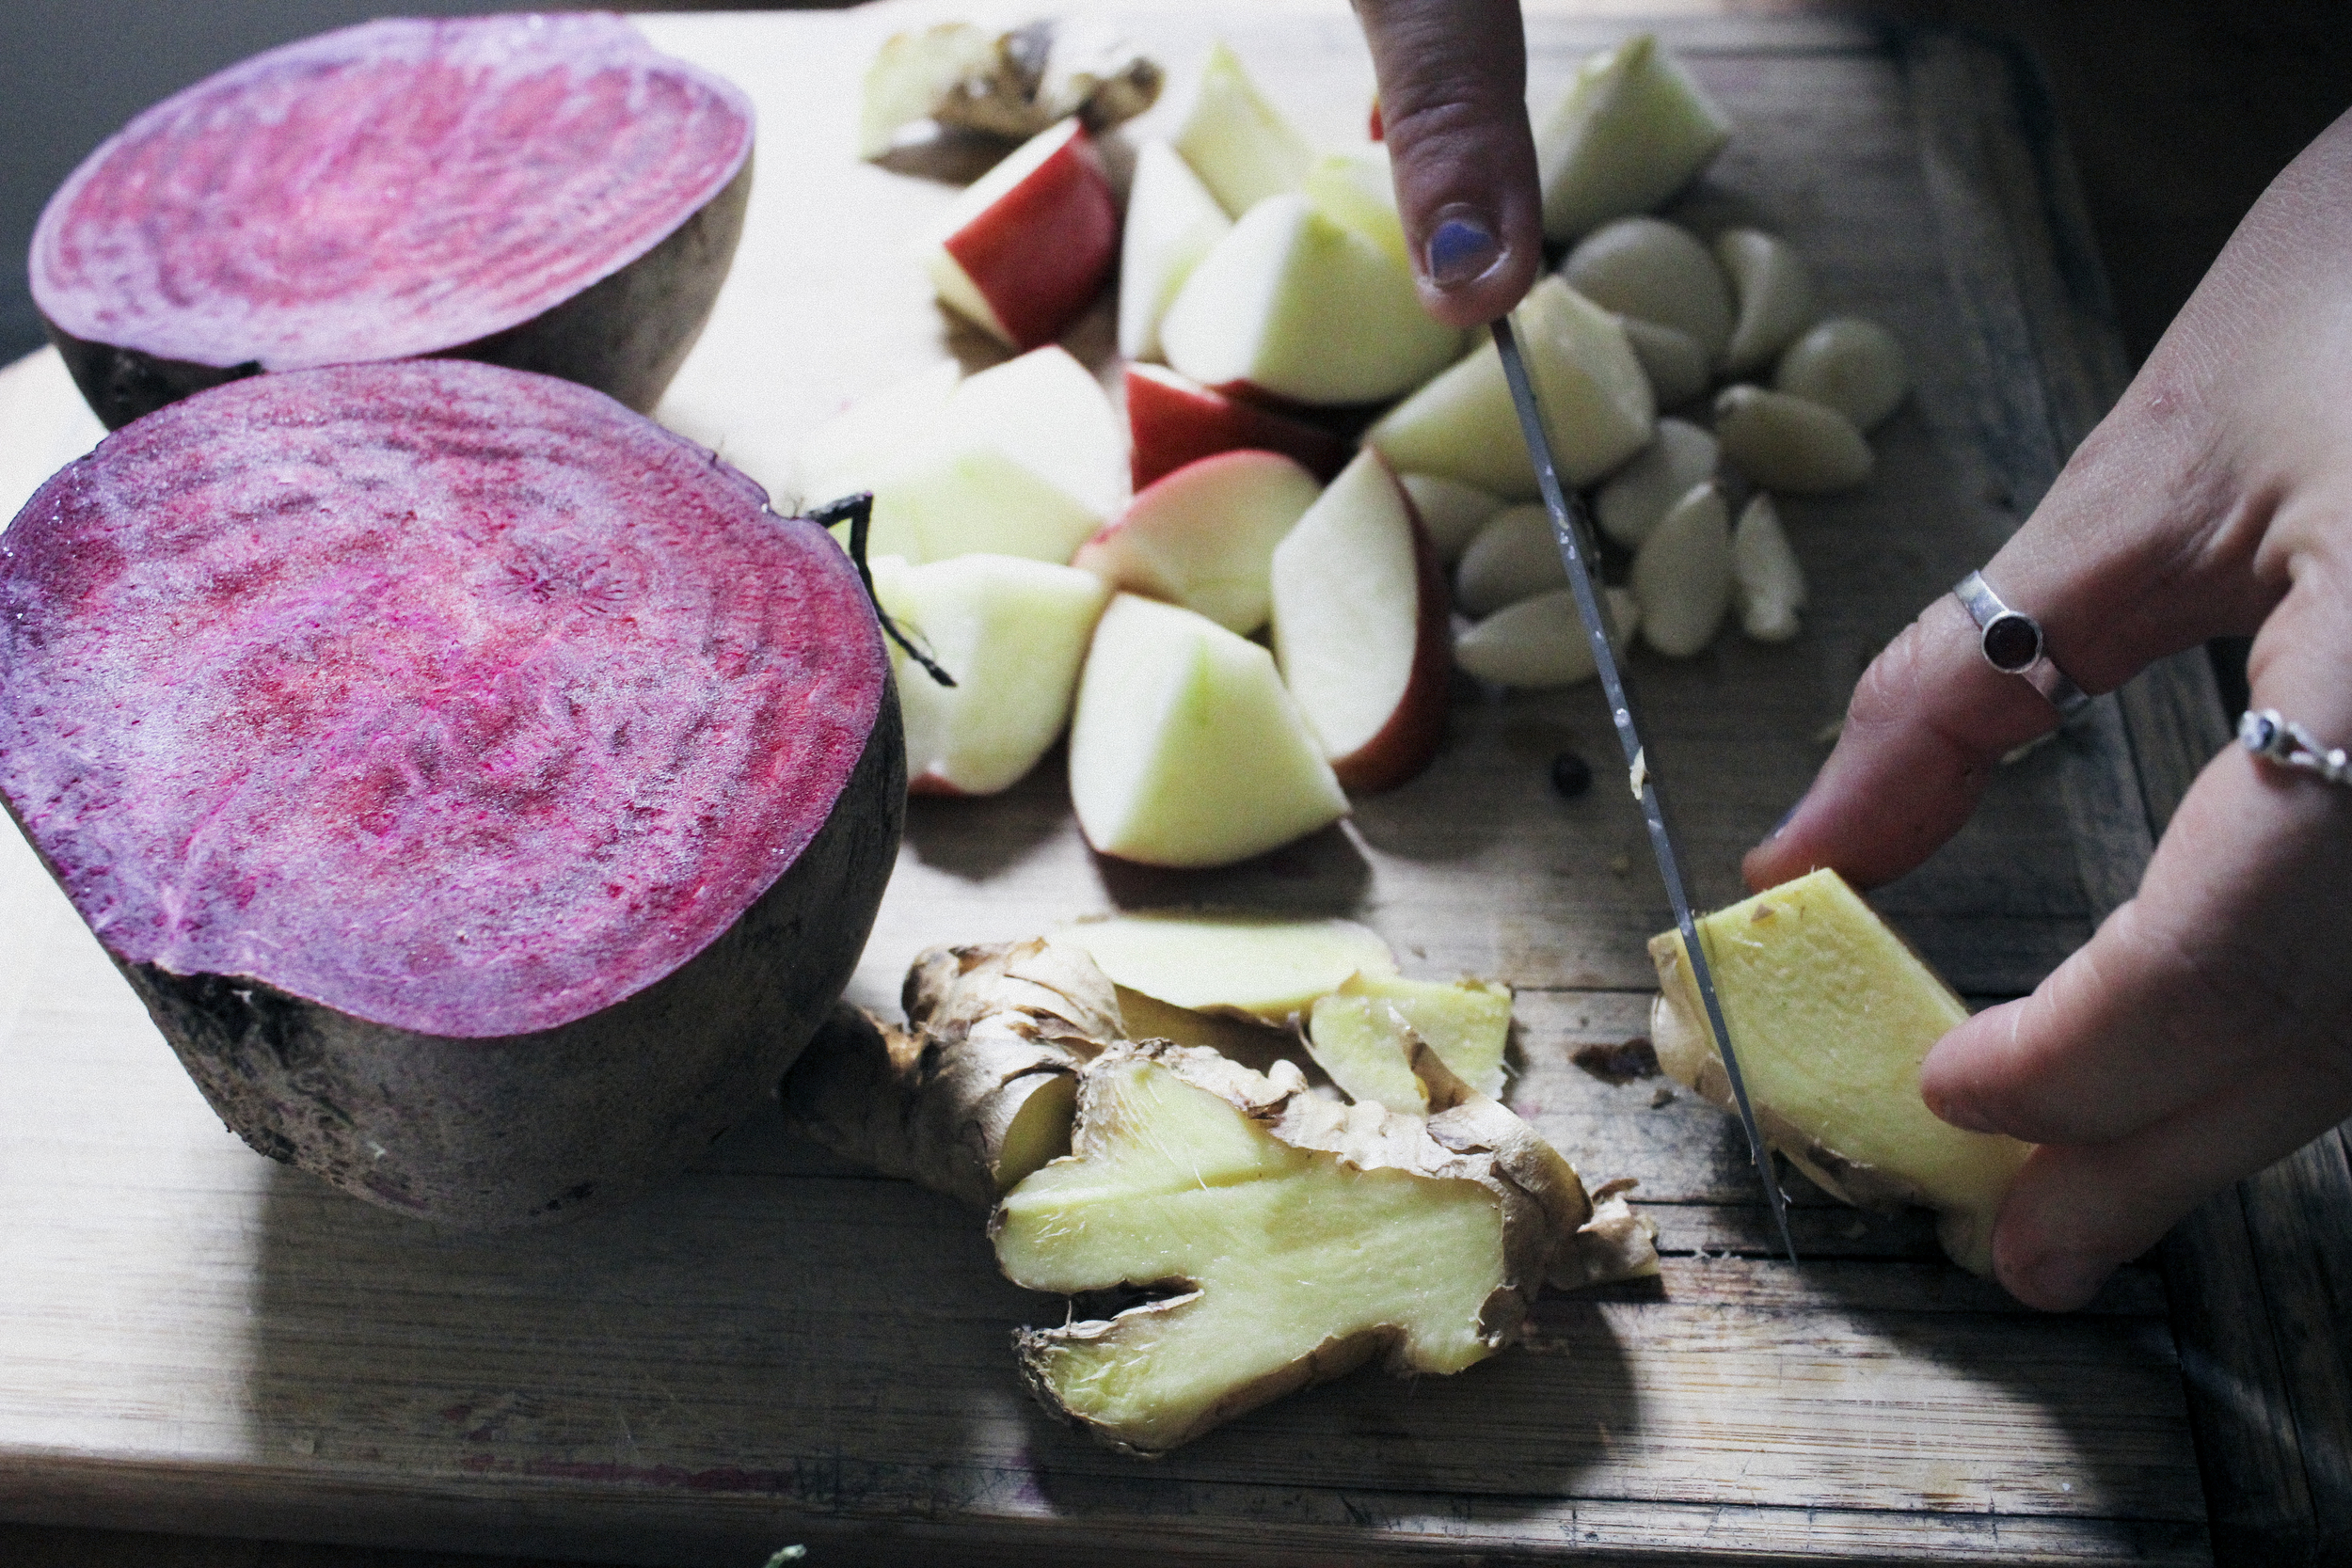
In a food processor blend ginger, garlic, and apple until well combined. If you don't have a food processor you can chop all the above finely then mash in a mortar and pestle instead. Add this mixture to the bowl of vegetables along with the sea salt.
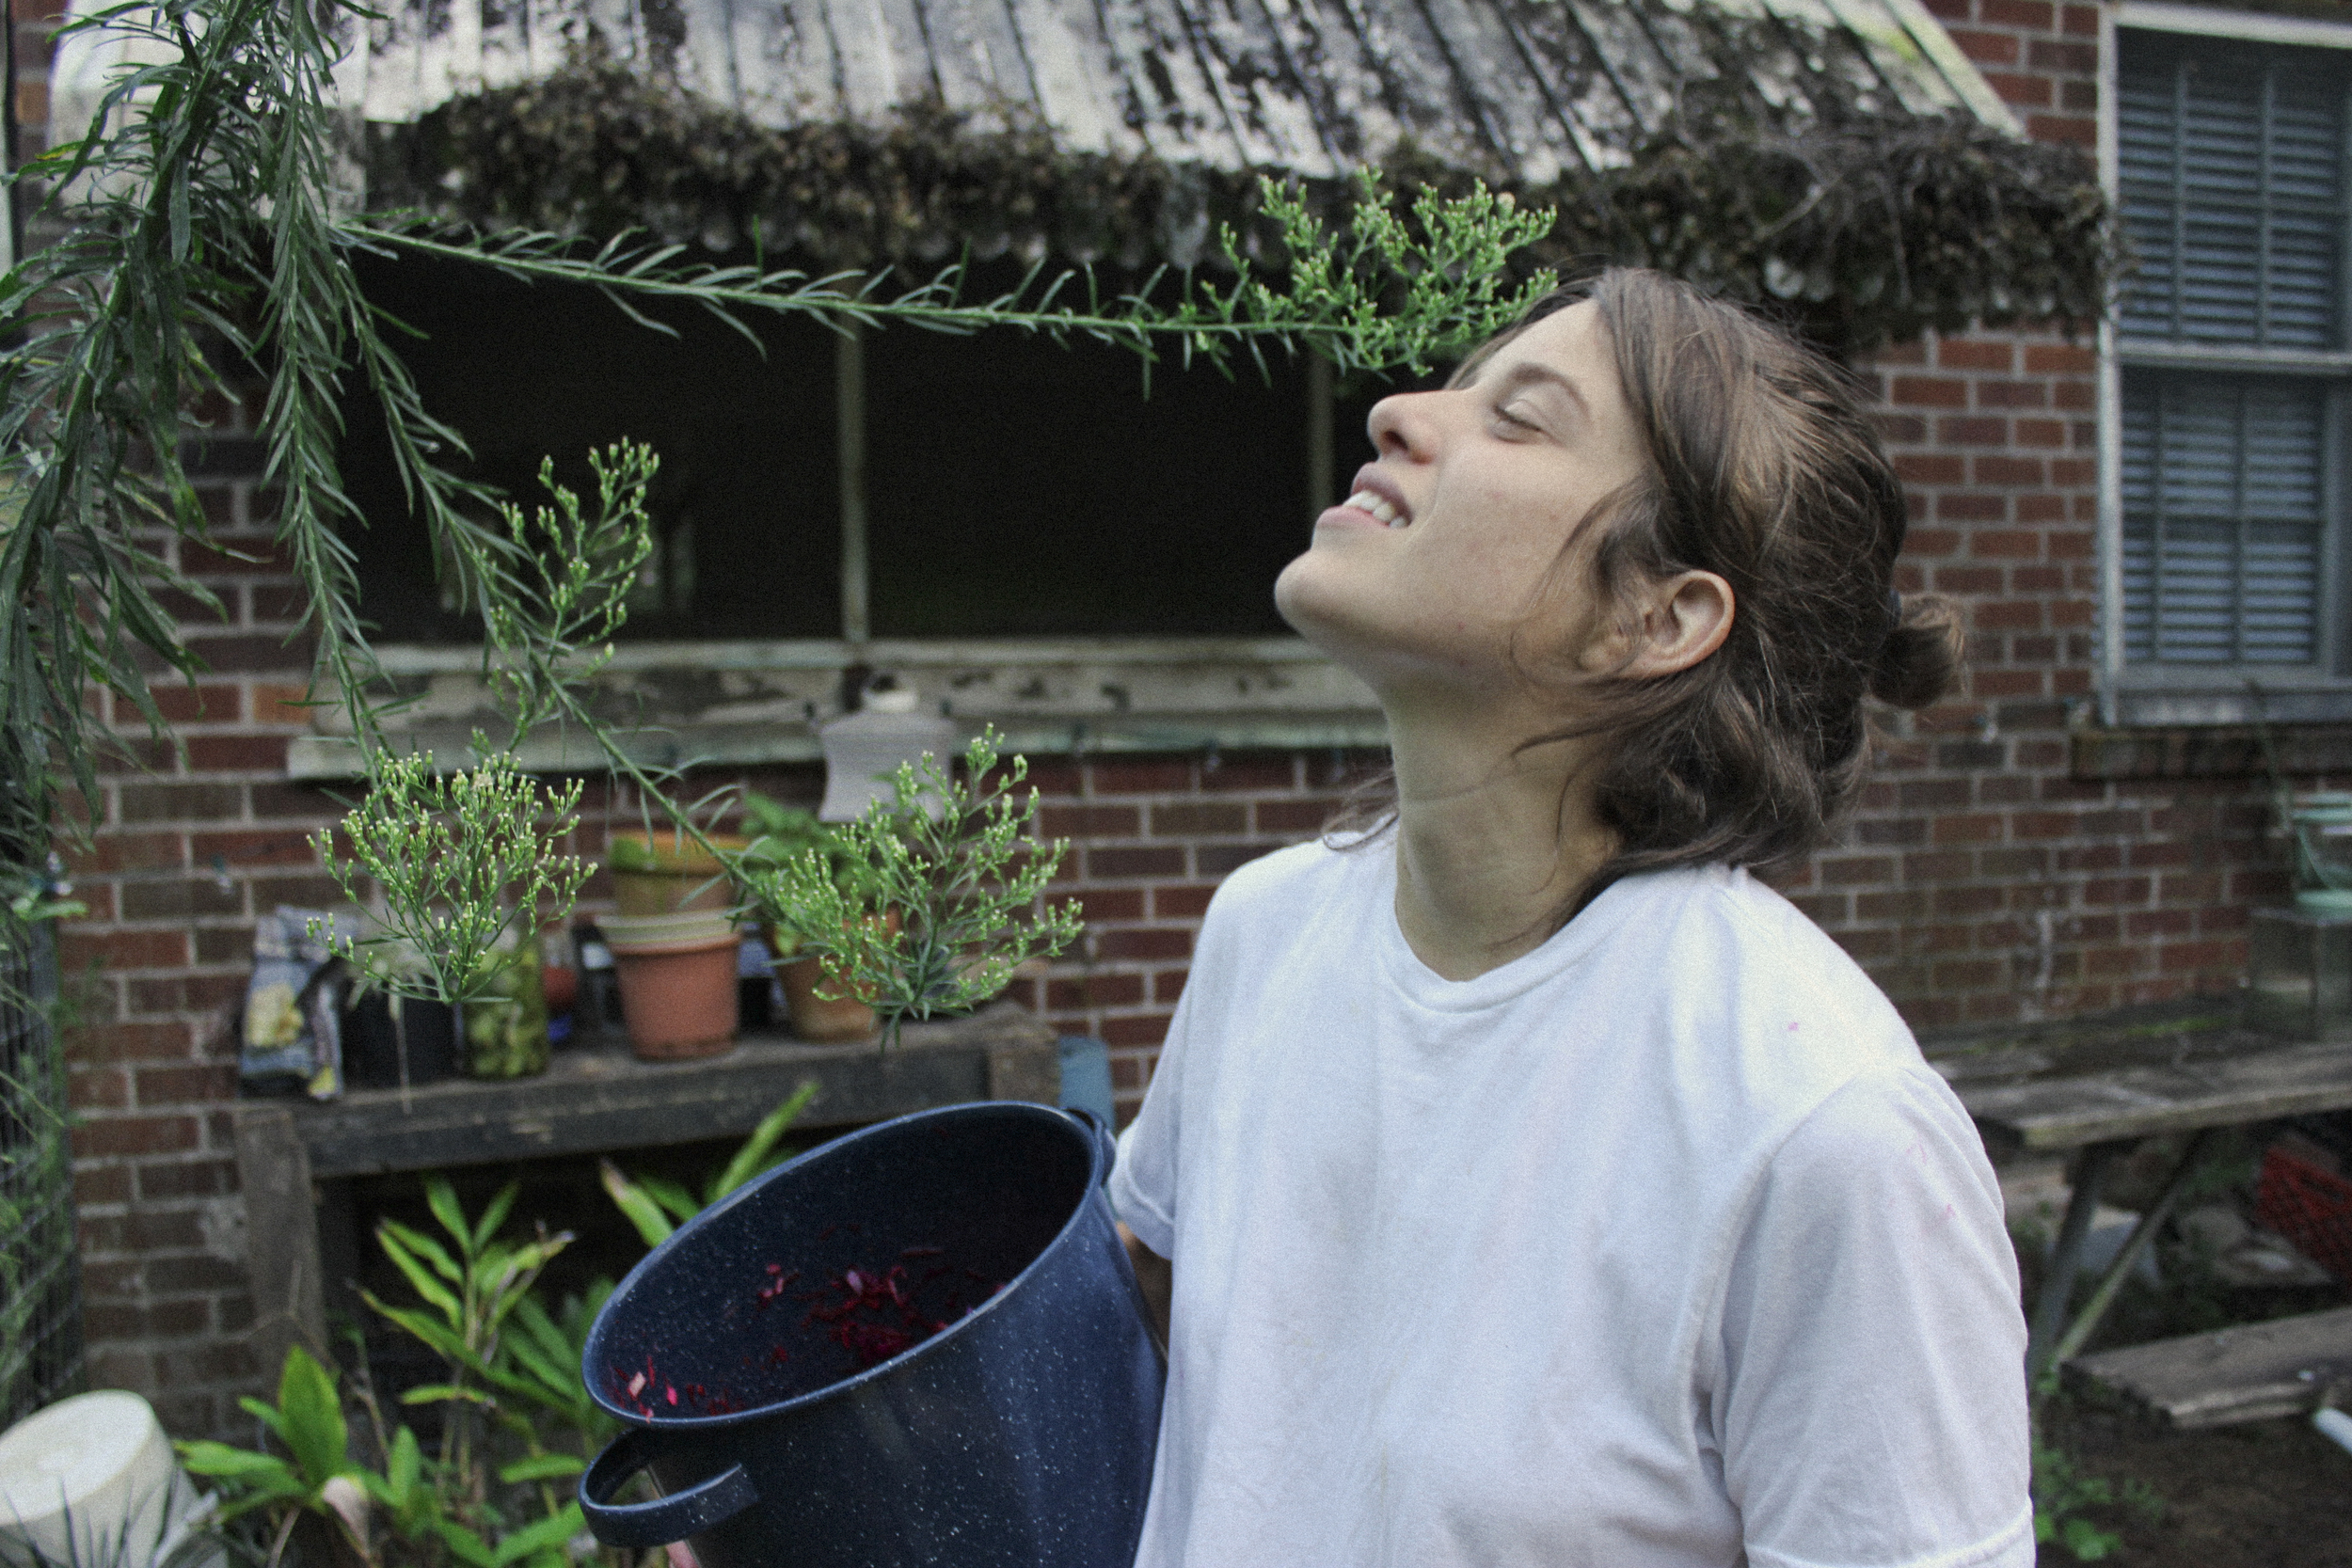
Mix and vigorously massage all ingredients together until the cabbage begins to soften and release fluid. Continue until you have a fair amount of liquid in the bottom of the bowl, about 4-5 minutes. The vegetables at this point should have lost much of their volume. Let the bowl sit out at room temperature for an hour or two, massaging once or twice more. Season with chili flakes to taste.
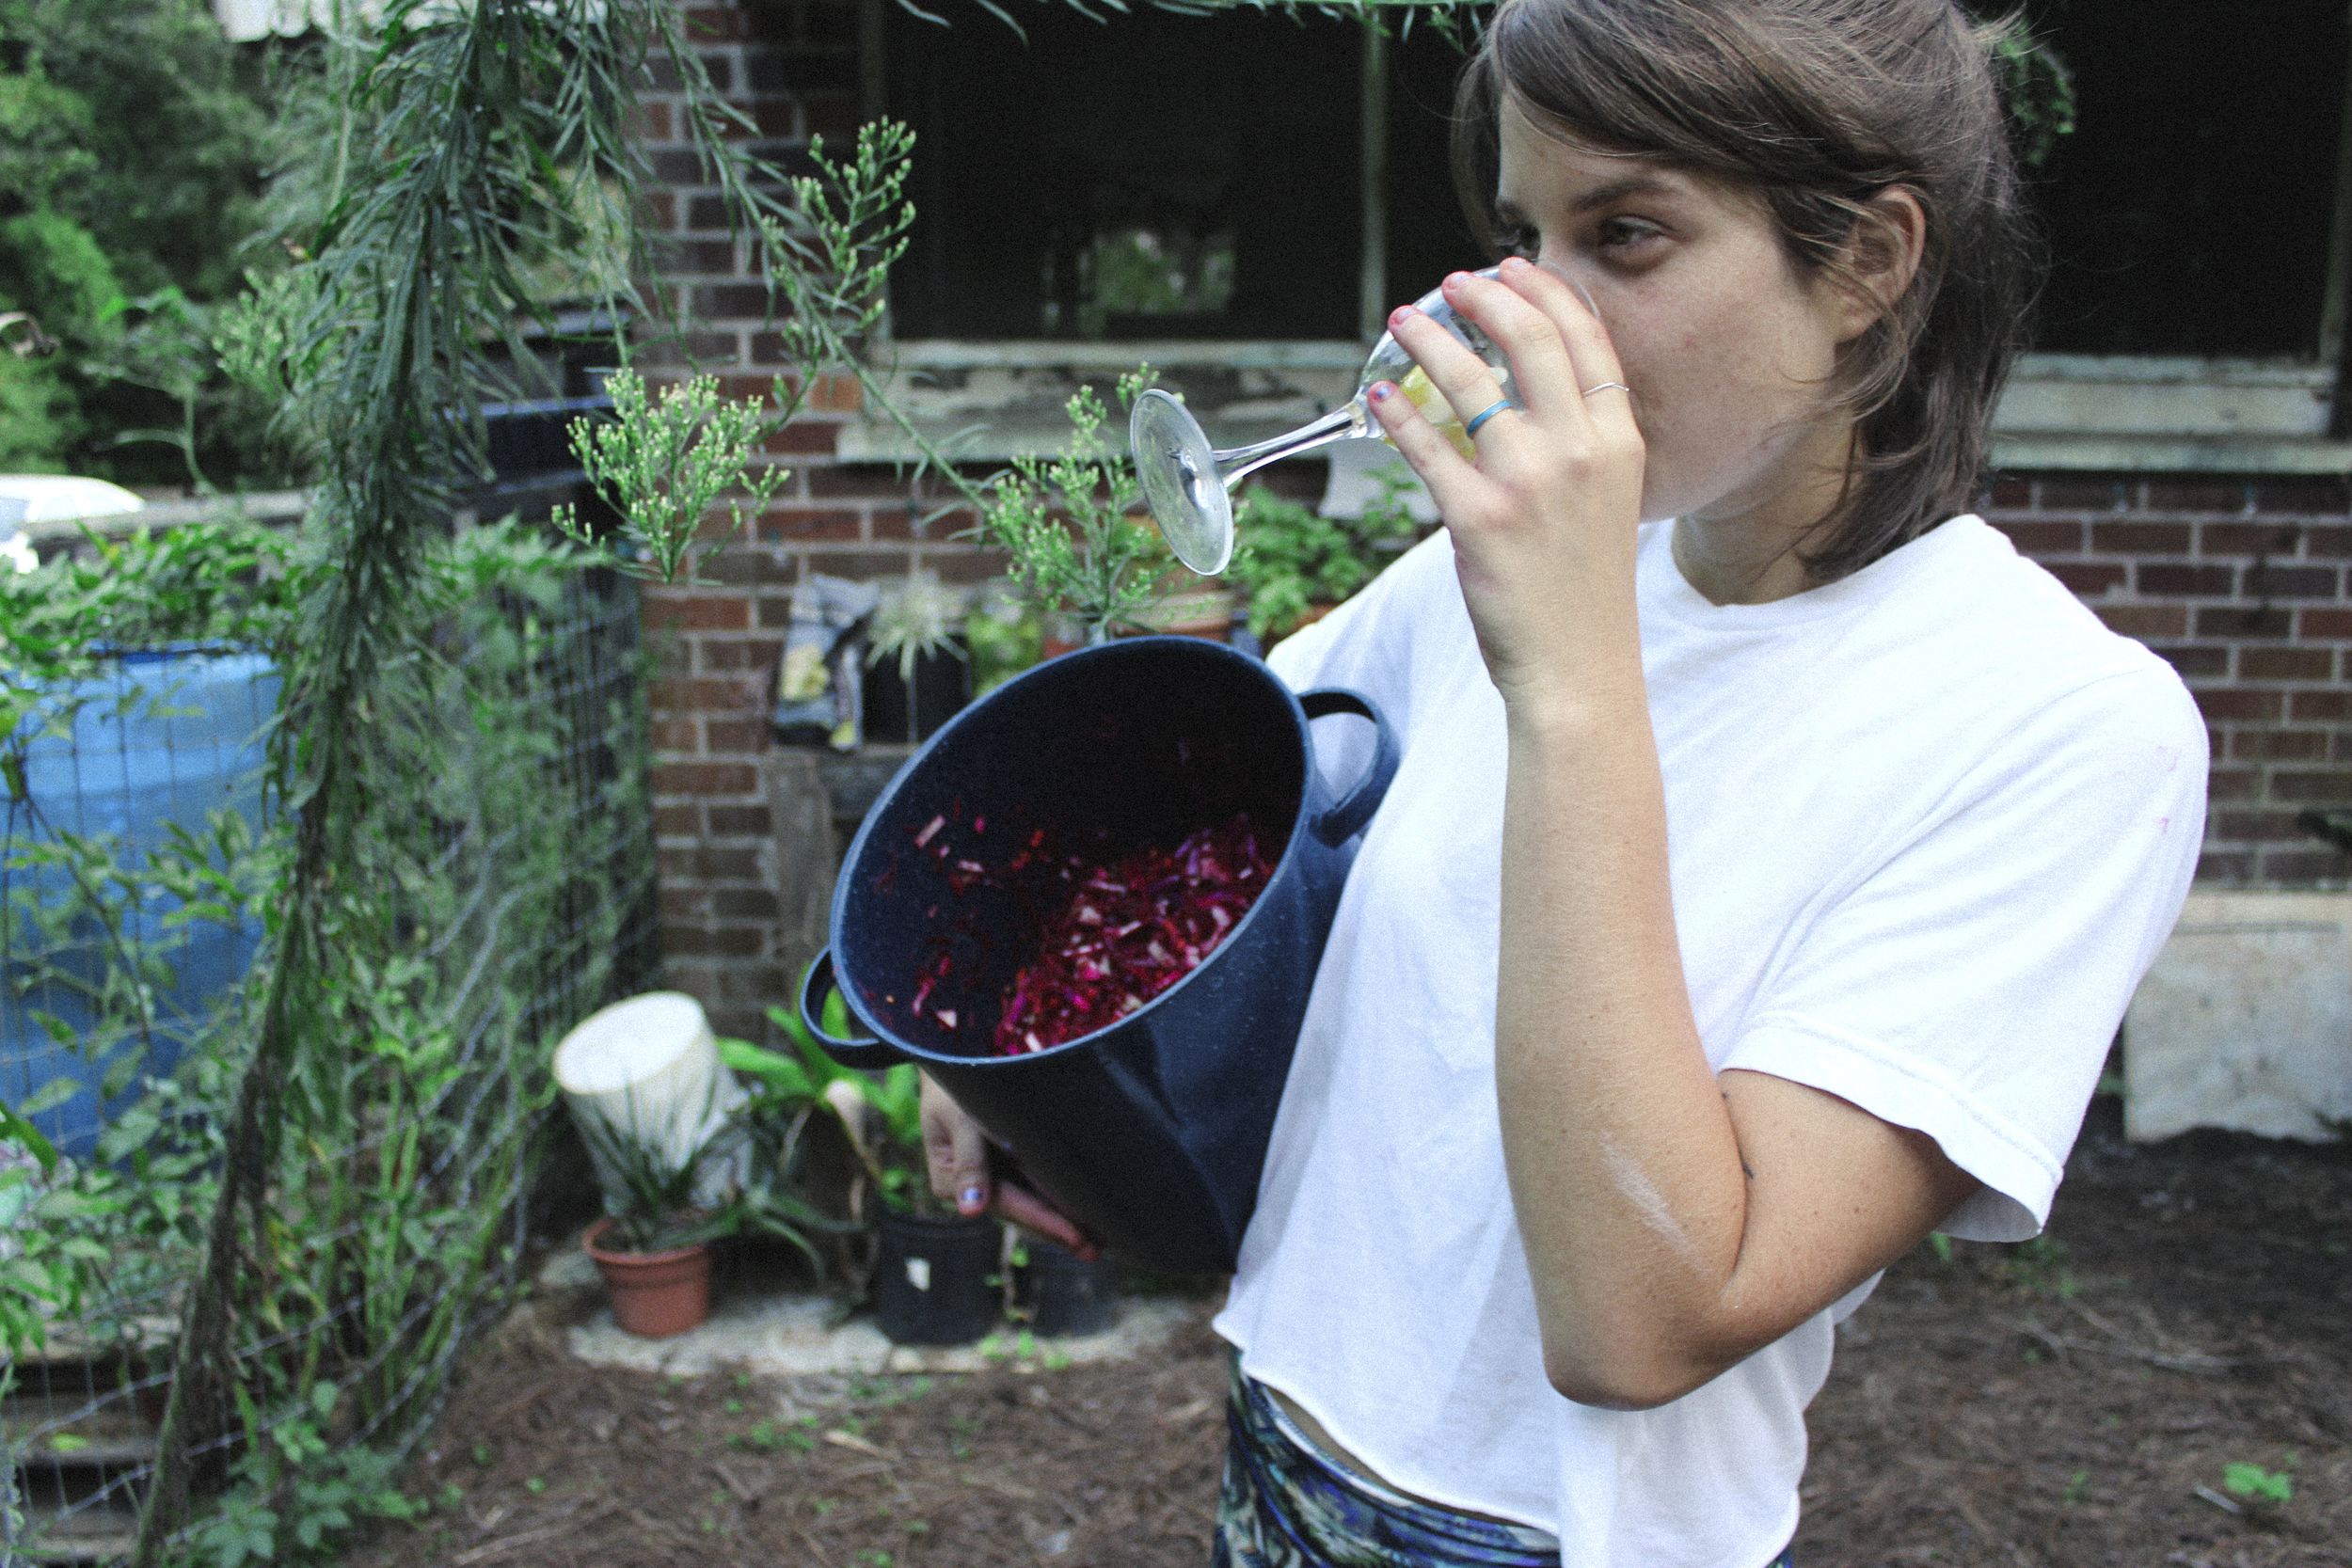
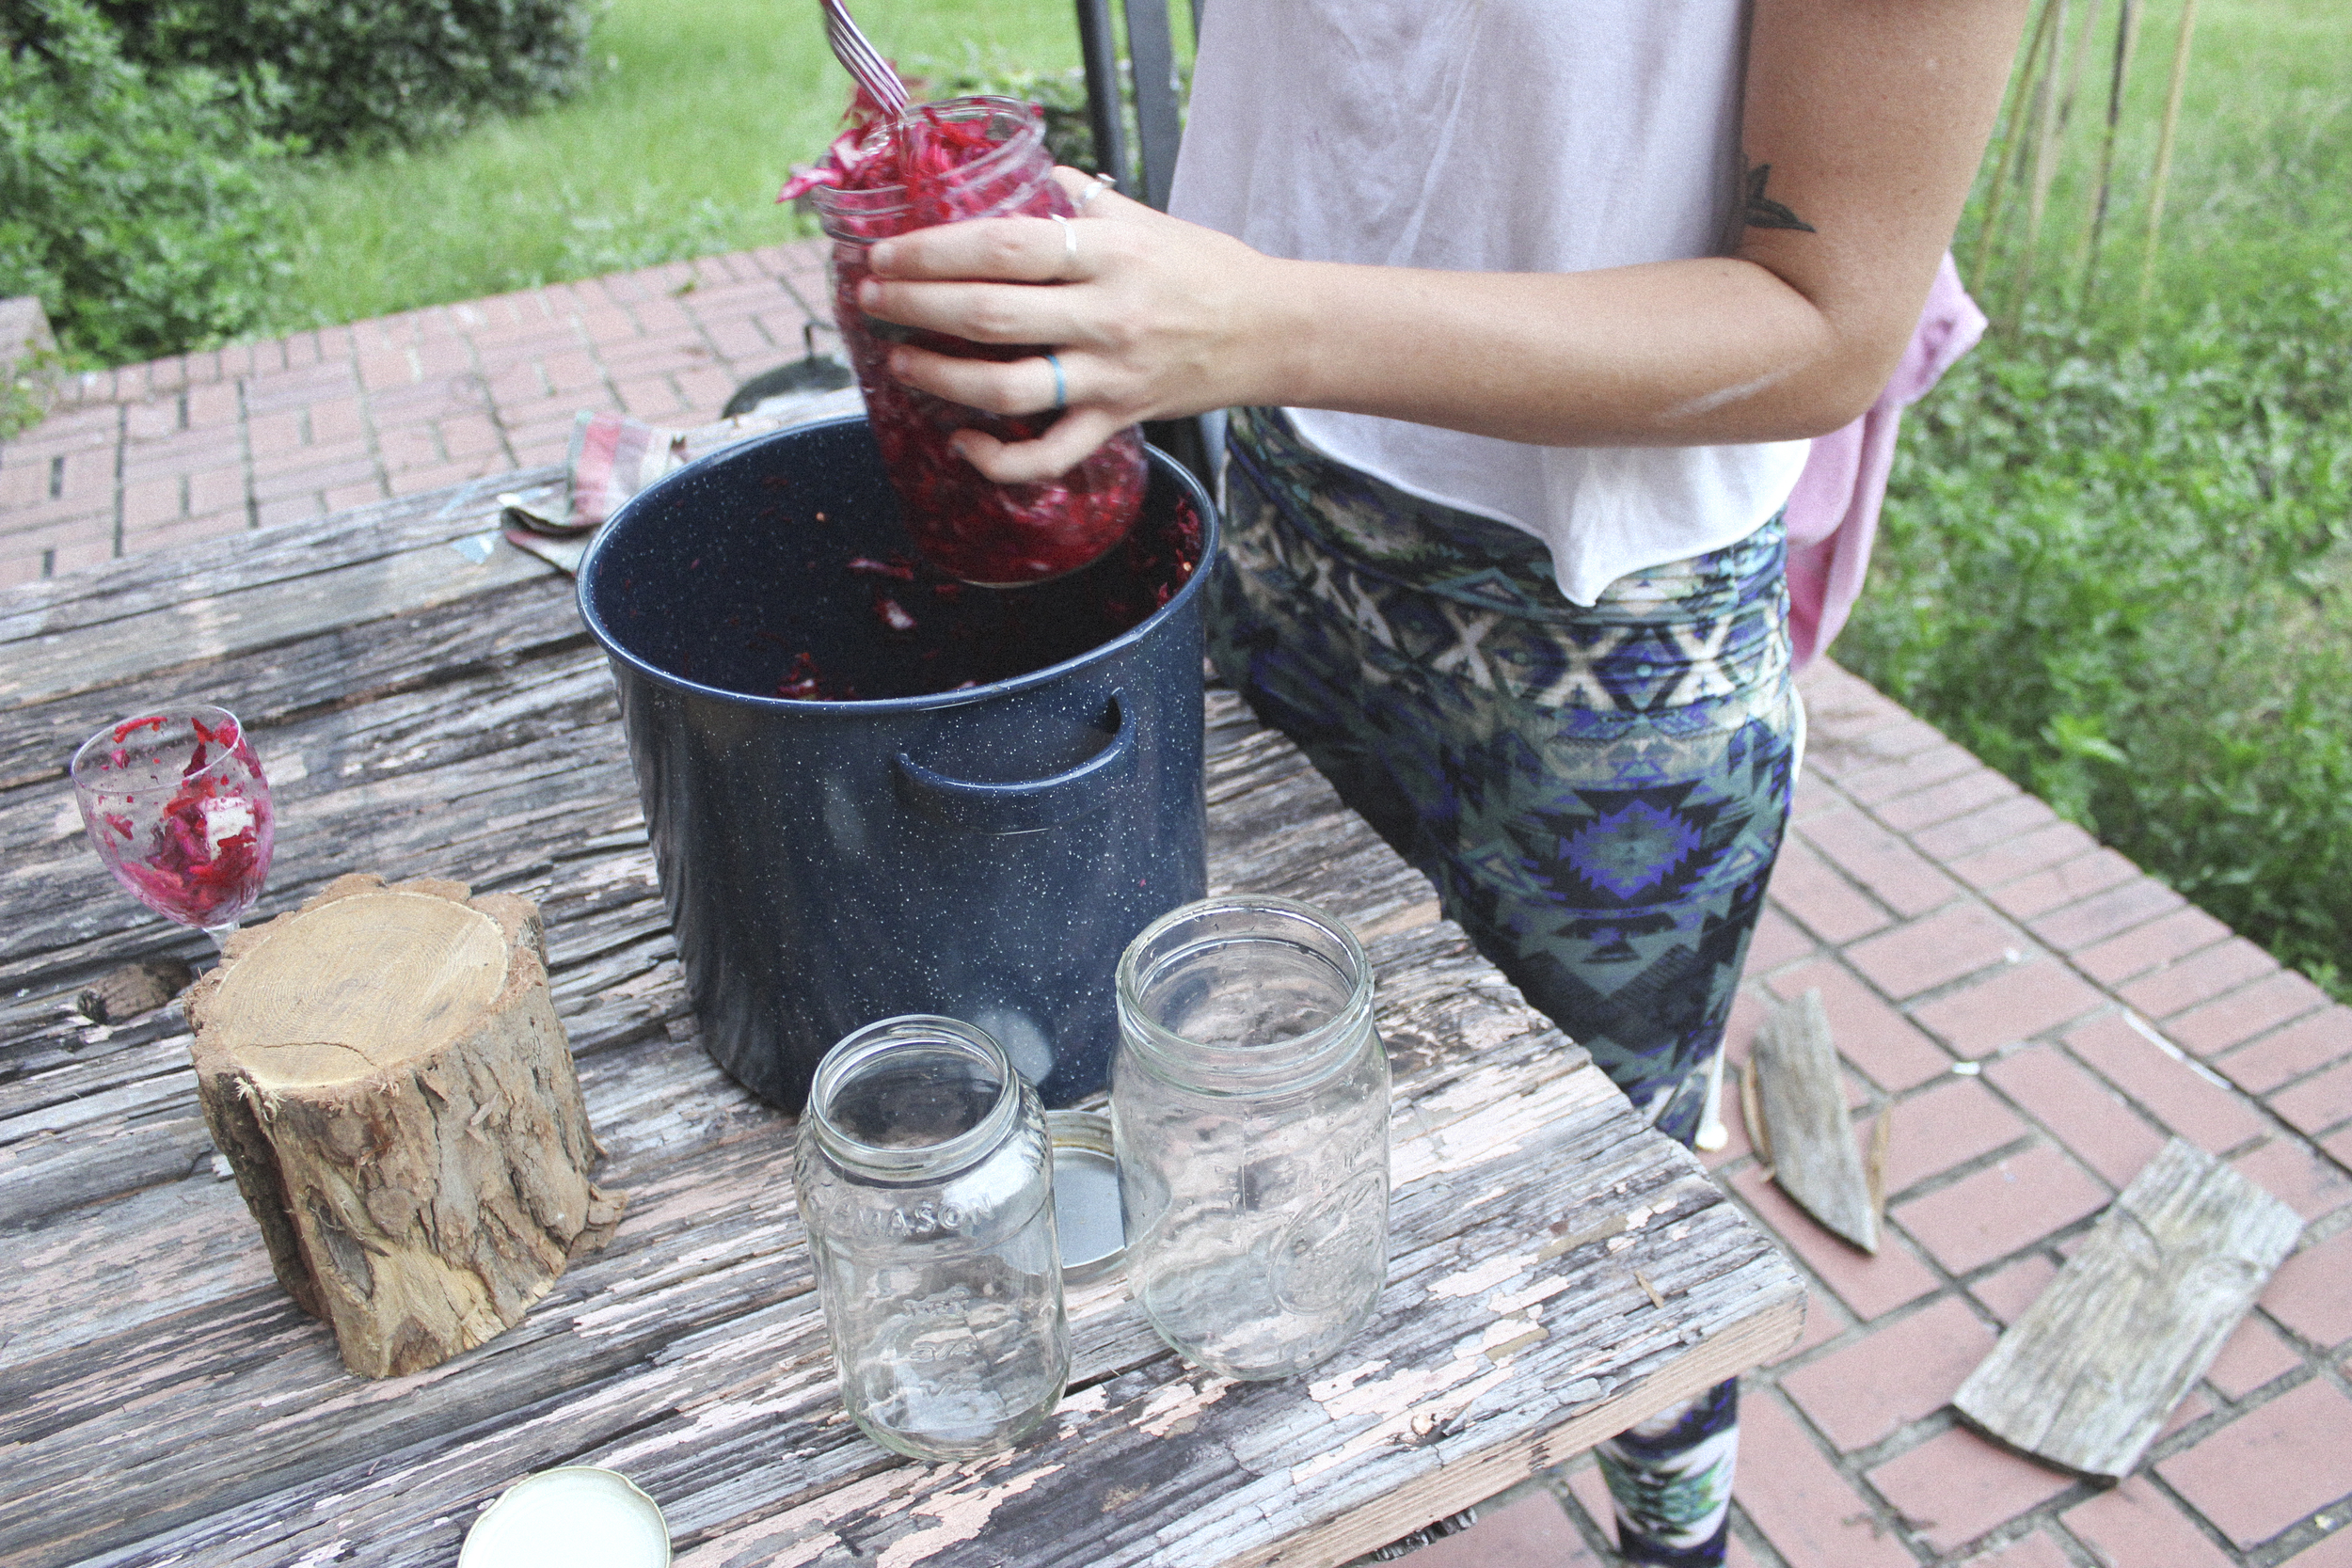
In a large, sterilized jar (or several small ones), pack in the vegetables trying to avoid any air pockets, making sure to leave a few inches of space at the top of the jar for carbon dioxide. Seal the jars so that they are tight but not too tight. This will allow for fermentation gas to escape while keeping air out. Leave the jar on the counter for 3-5 days. You may see bubbles forming in the jar – this is carbon dioxide and the first sign of fermentation. Taste the kimchi now and again. Once the flavor is to your liking, seal the jar and place in the fridge. And thats it! Pretty darn easy if you ask me. I call the fridge the "fermentation slowing machine," because your kimchi will continue to ferment and stay "alive", but at a much slower rate.
*Tip: After removing kimchi from the container to eat, push the remaining back down to keep most of the cabbage submerged in the brine (the liquid). This will help keep it fresh for longer.